How to Make Tokyo Style Shoyu Ramen
I haven’t had the time and energy to make homemade ramen in a while, but I met reddit user /u/ramen_lord in Tokyo earlier this year, and I was a bit inspired to try my hand at making ramen again. The recipe below is a combination of his Classic Shoyu Ramen recipe as well as my personal input from tasting hundreds of bowls of shoyu ramen over my lifetime. While I can definitely still use some work, especially in the noodles department (where I desperately need a stand mixer), I thought the overall bowl was quite good for homemade. Obviously I lack the years of training to make anything close to Tokyo restaurant quality ramen, but for overseas folks, I’m gonna go out on a limb and say this can go toe to toe with some not so great ramen shops you might encounter (ie, Wagamamas). Anyways, now, without further ado, here is my take on Tokyo Shoyu Ramen.

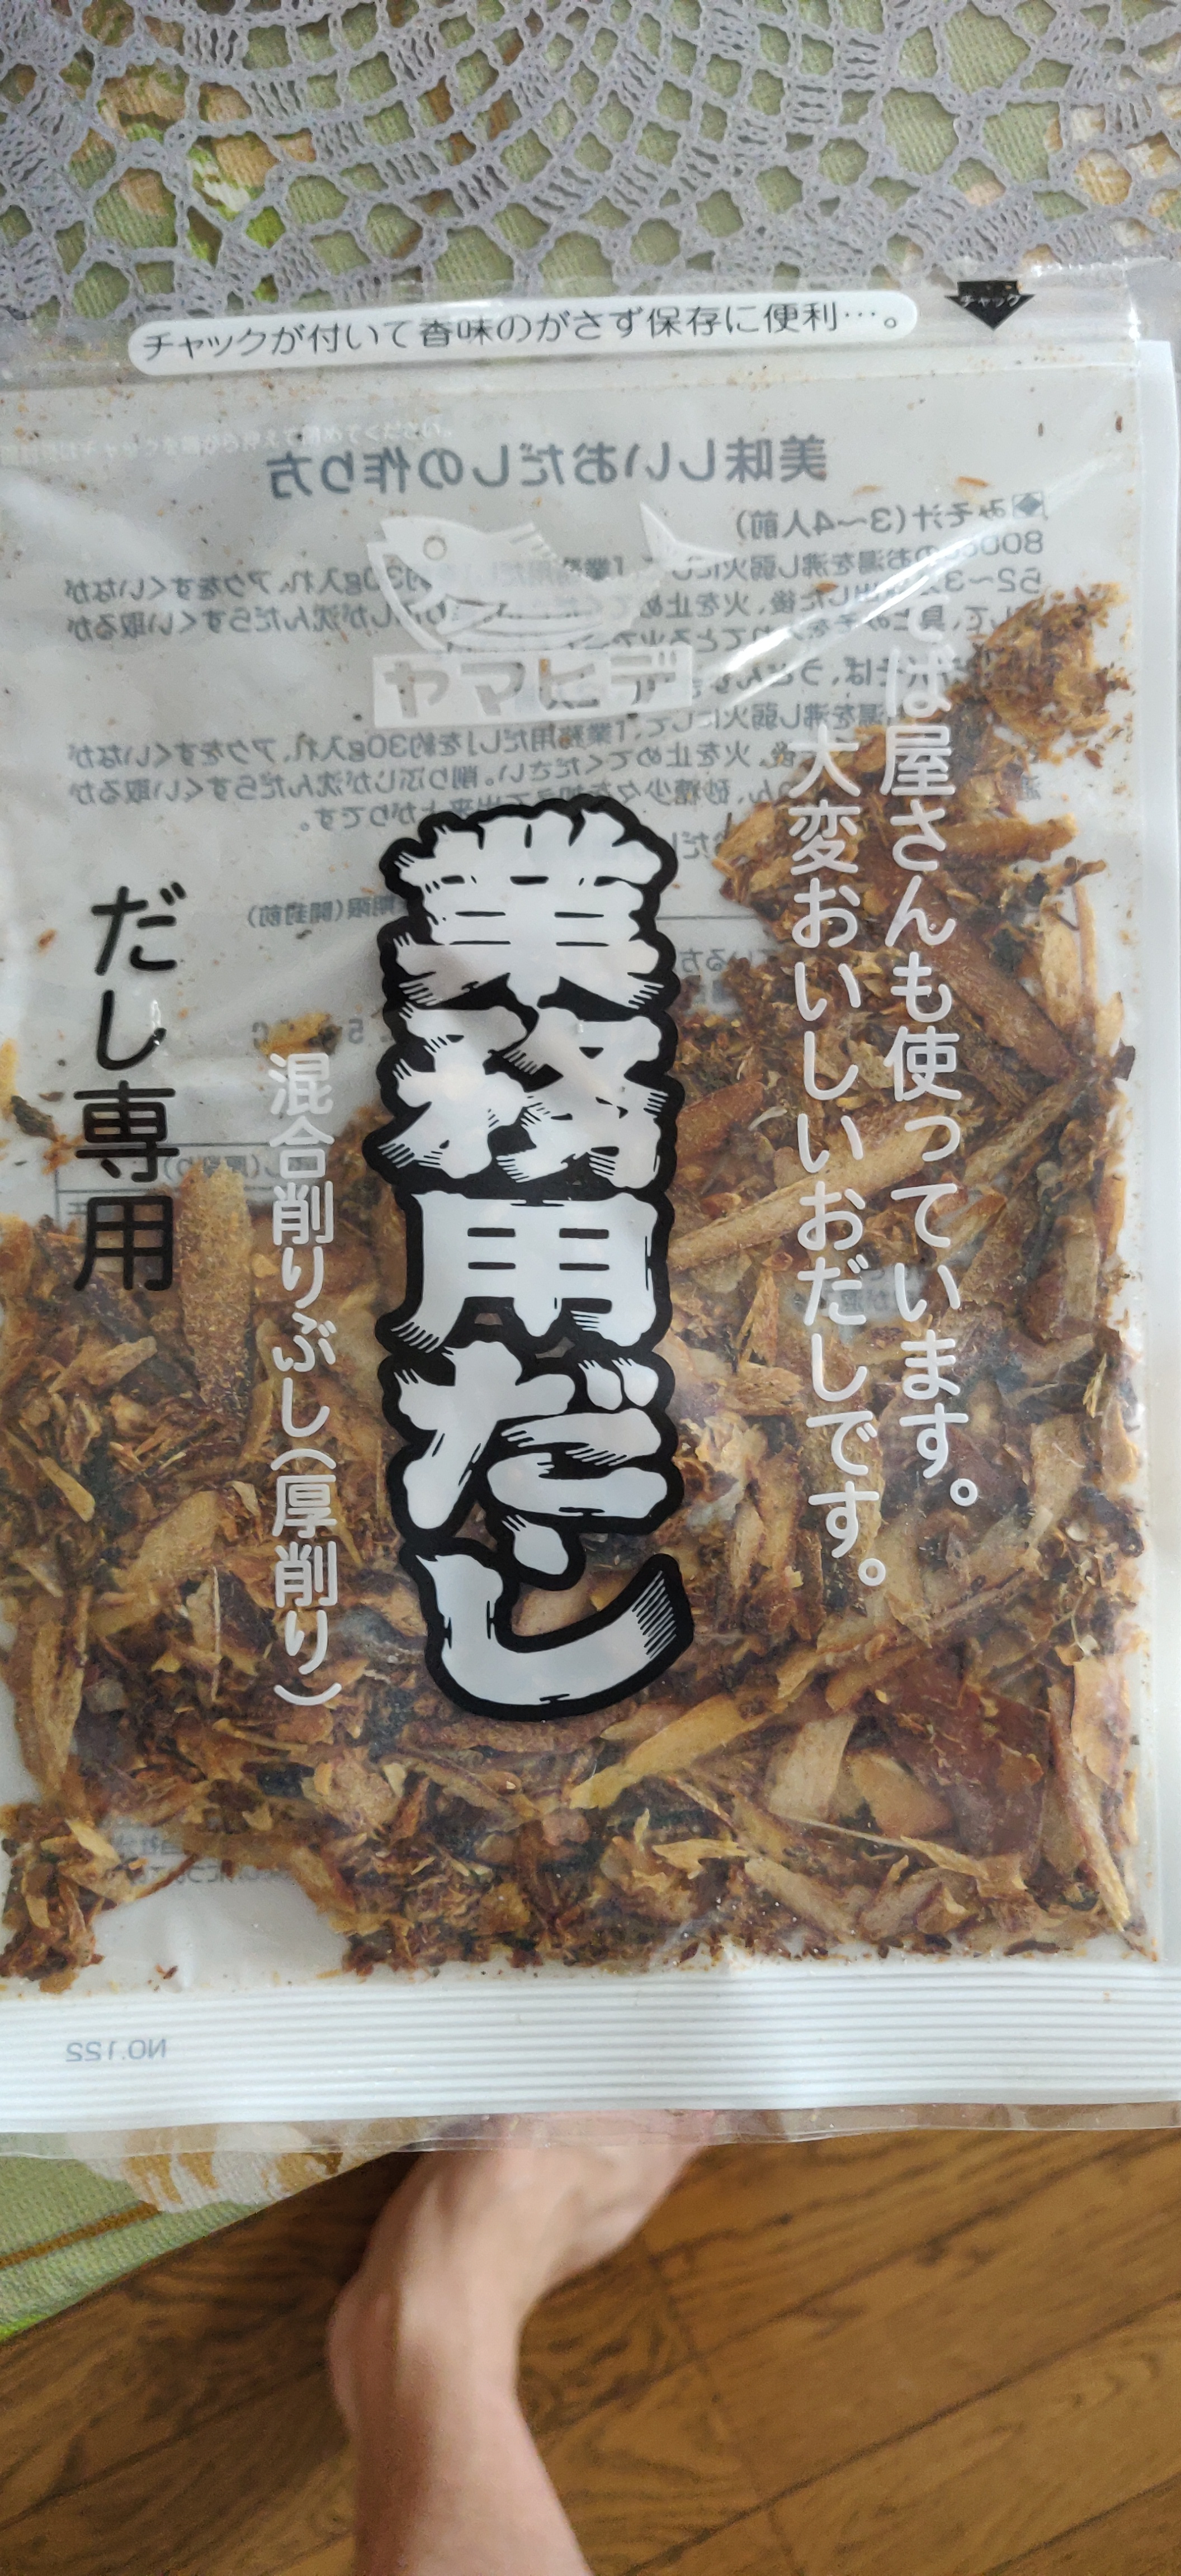
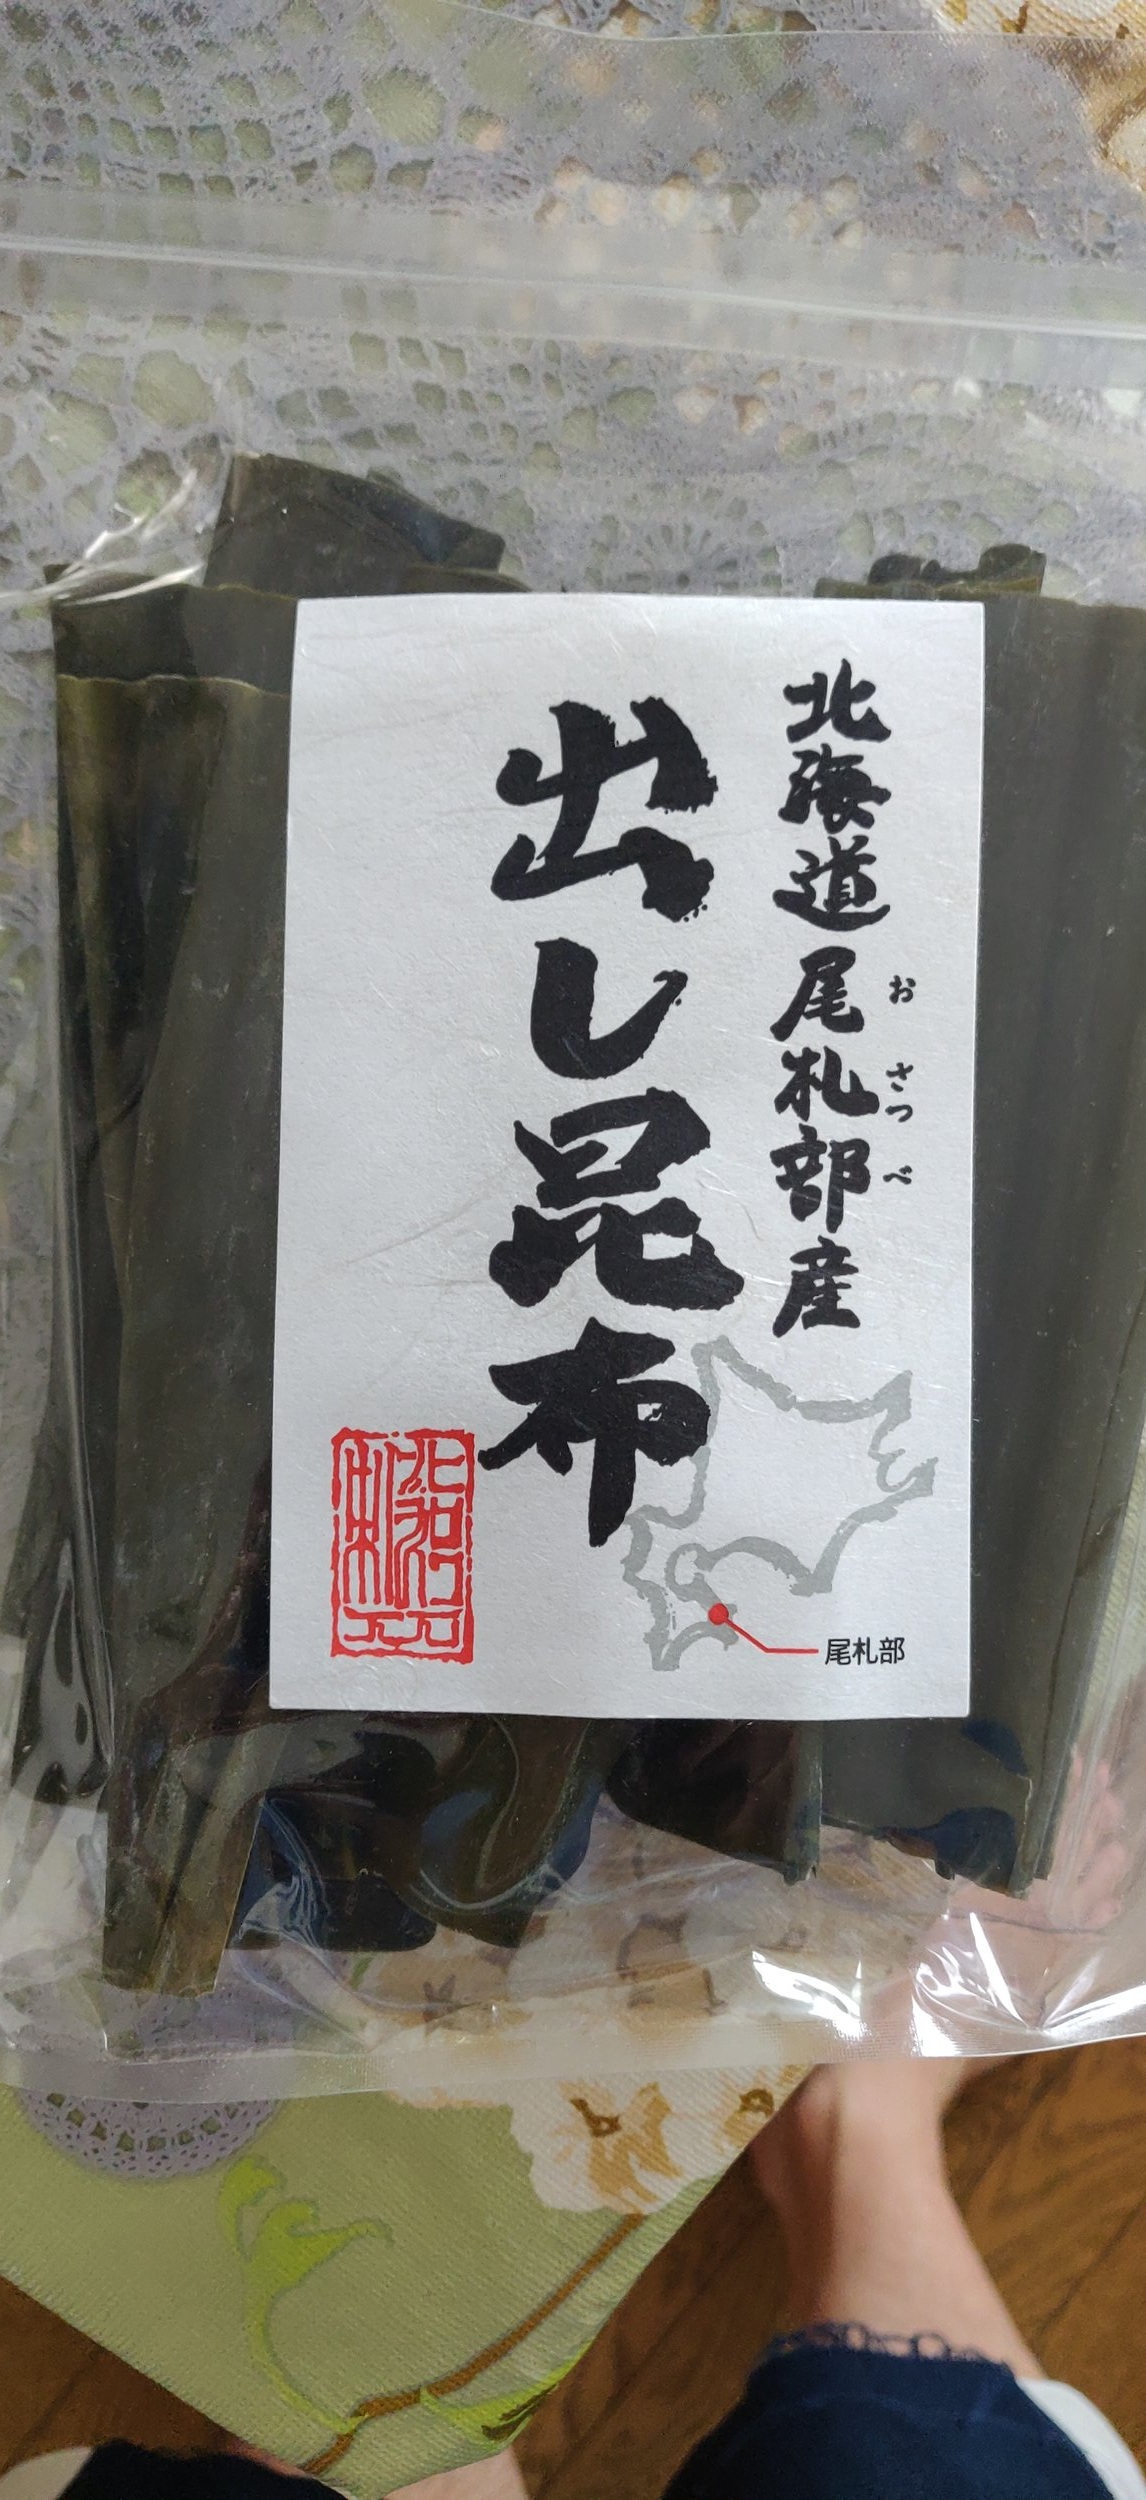
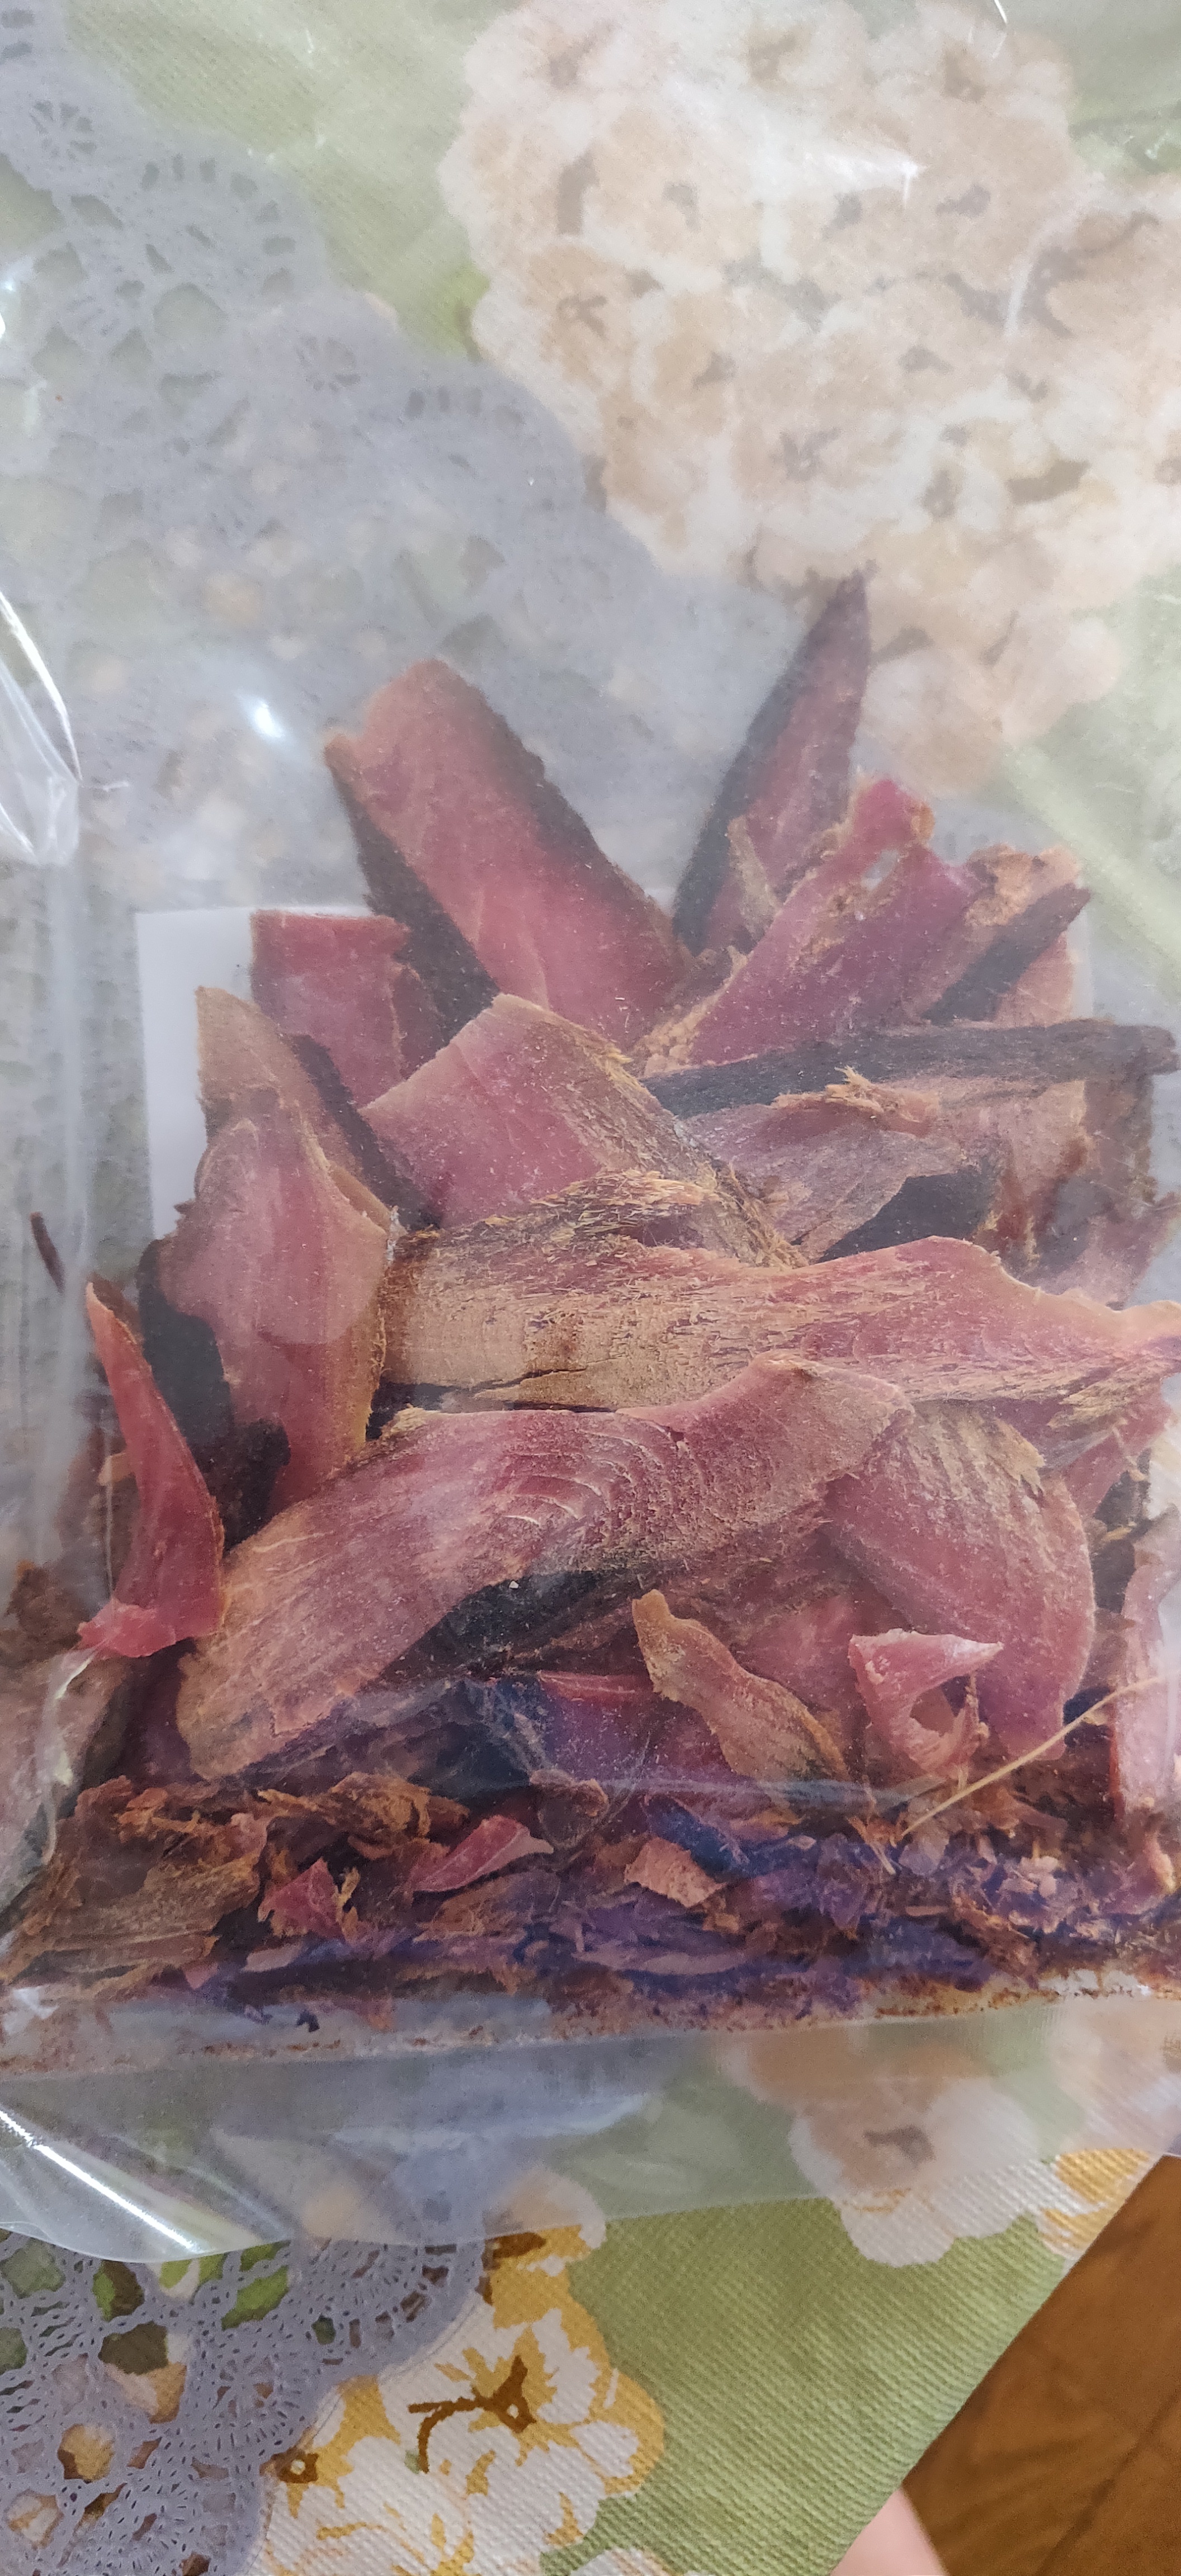
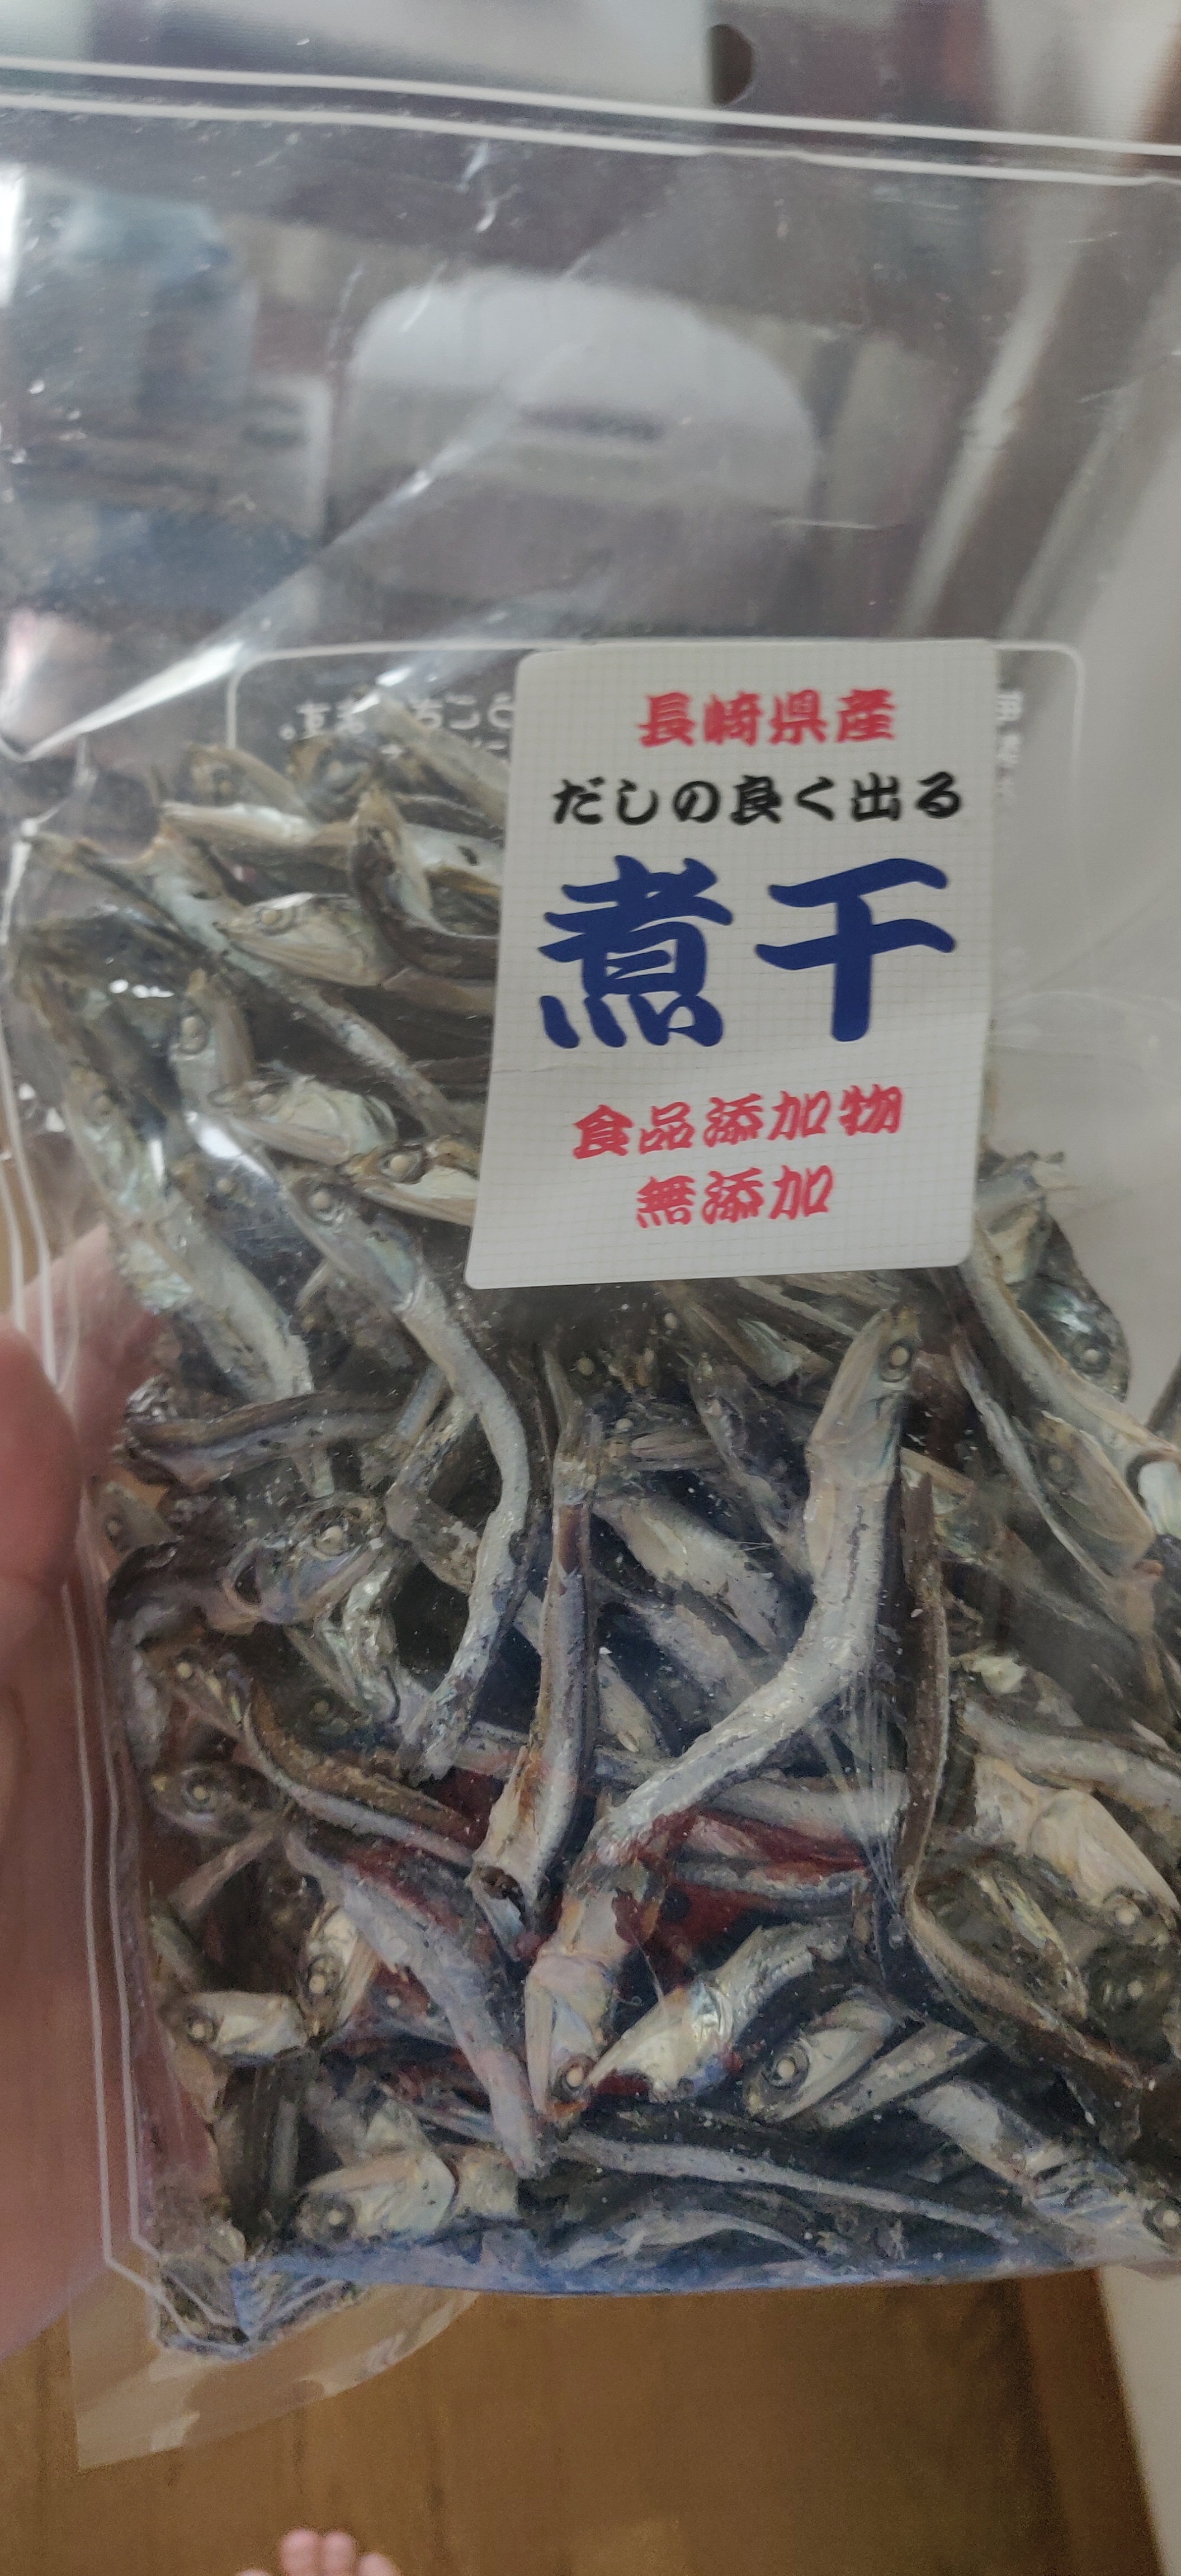
First off, here are some ingredients I used which might be difficult to obtain if you’re outside Japan, but is easily replaced by things you might find at your local Japanese or Asian supermarket. Starting with the Soy Sauce, you really want to get a nice, rich, aromatic soy sauce rather than a cheaper, traditional Kikkoman you might find at your local supermarket. The reason for this is that the soy sauce really imparts a ton of the flavor in to your bowl and is the base around what the other components of the bowl meshes with. Most professional ramen chefs that I’ve talked to in Japan have pretty nonchalantly explained what goes in to their soup stock, from chicken to pork and an assortment of dried fish and vegetables, but I have yet to find a single chef who delved in to the secrets behind their tare, or seasoning sauce, for their ramen. The soy sauce here is the base for your own secret tare. You want to try and use as high quality ingredients here as you can for this portion of your ramen. Next is my collection of dried fish and seaweed I used to add some depth to my soup. Starting from the left is Saba-bushi (dried mackerel), Konbu (dried kelp), Katsuo-bushi (dried bonito), and Niboshi (dried sardines). A quick amazon search showed me that you can find a variety of each ingredient there, however the Saba-bushi, or dried mackerel, is a bit expensive. Honestly, I went a bit overboard as I had gone to the local fish market and there was a special going with the dried fish selections, hence my accumulation of such niche ingredients, but you can definitely leave out the Saba-bushi if its a bit too expensive for your liking. If you can’t get all four, I highly recommend at least going for the Konbu and Katsuo-bushi. At least with these two ingredients, you can use them for other Japanese dishes you might want to try and cook later, while the Niboshi and Saba-bushi is quite niche and you may not find them useful outside of making ramen broth. Also, no need to worry about expiration dates as these are dried and last quite a long while. I’ve used dried fish as old as a year and a half and I’ve never had any problems.
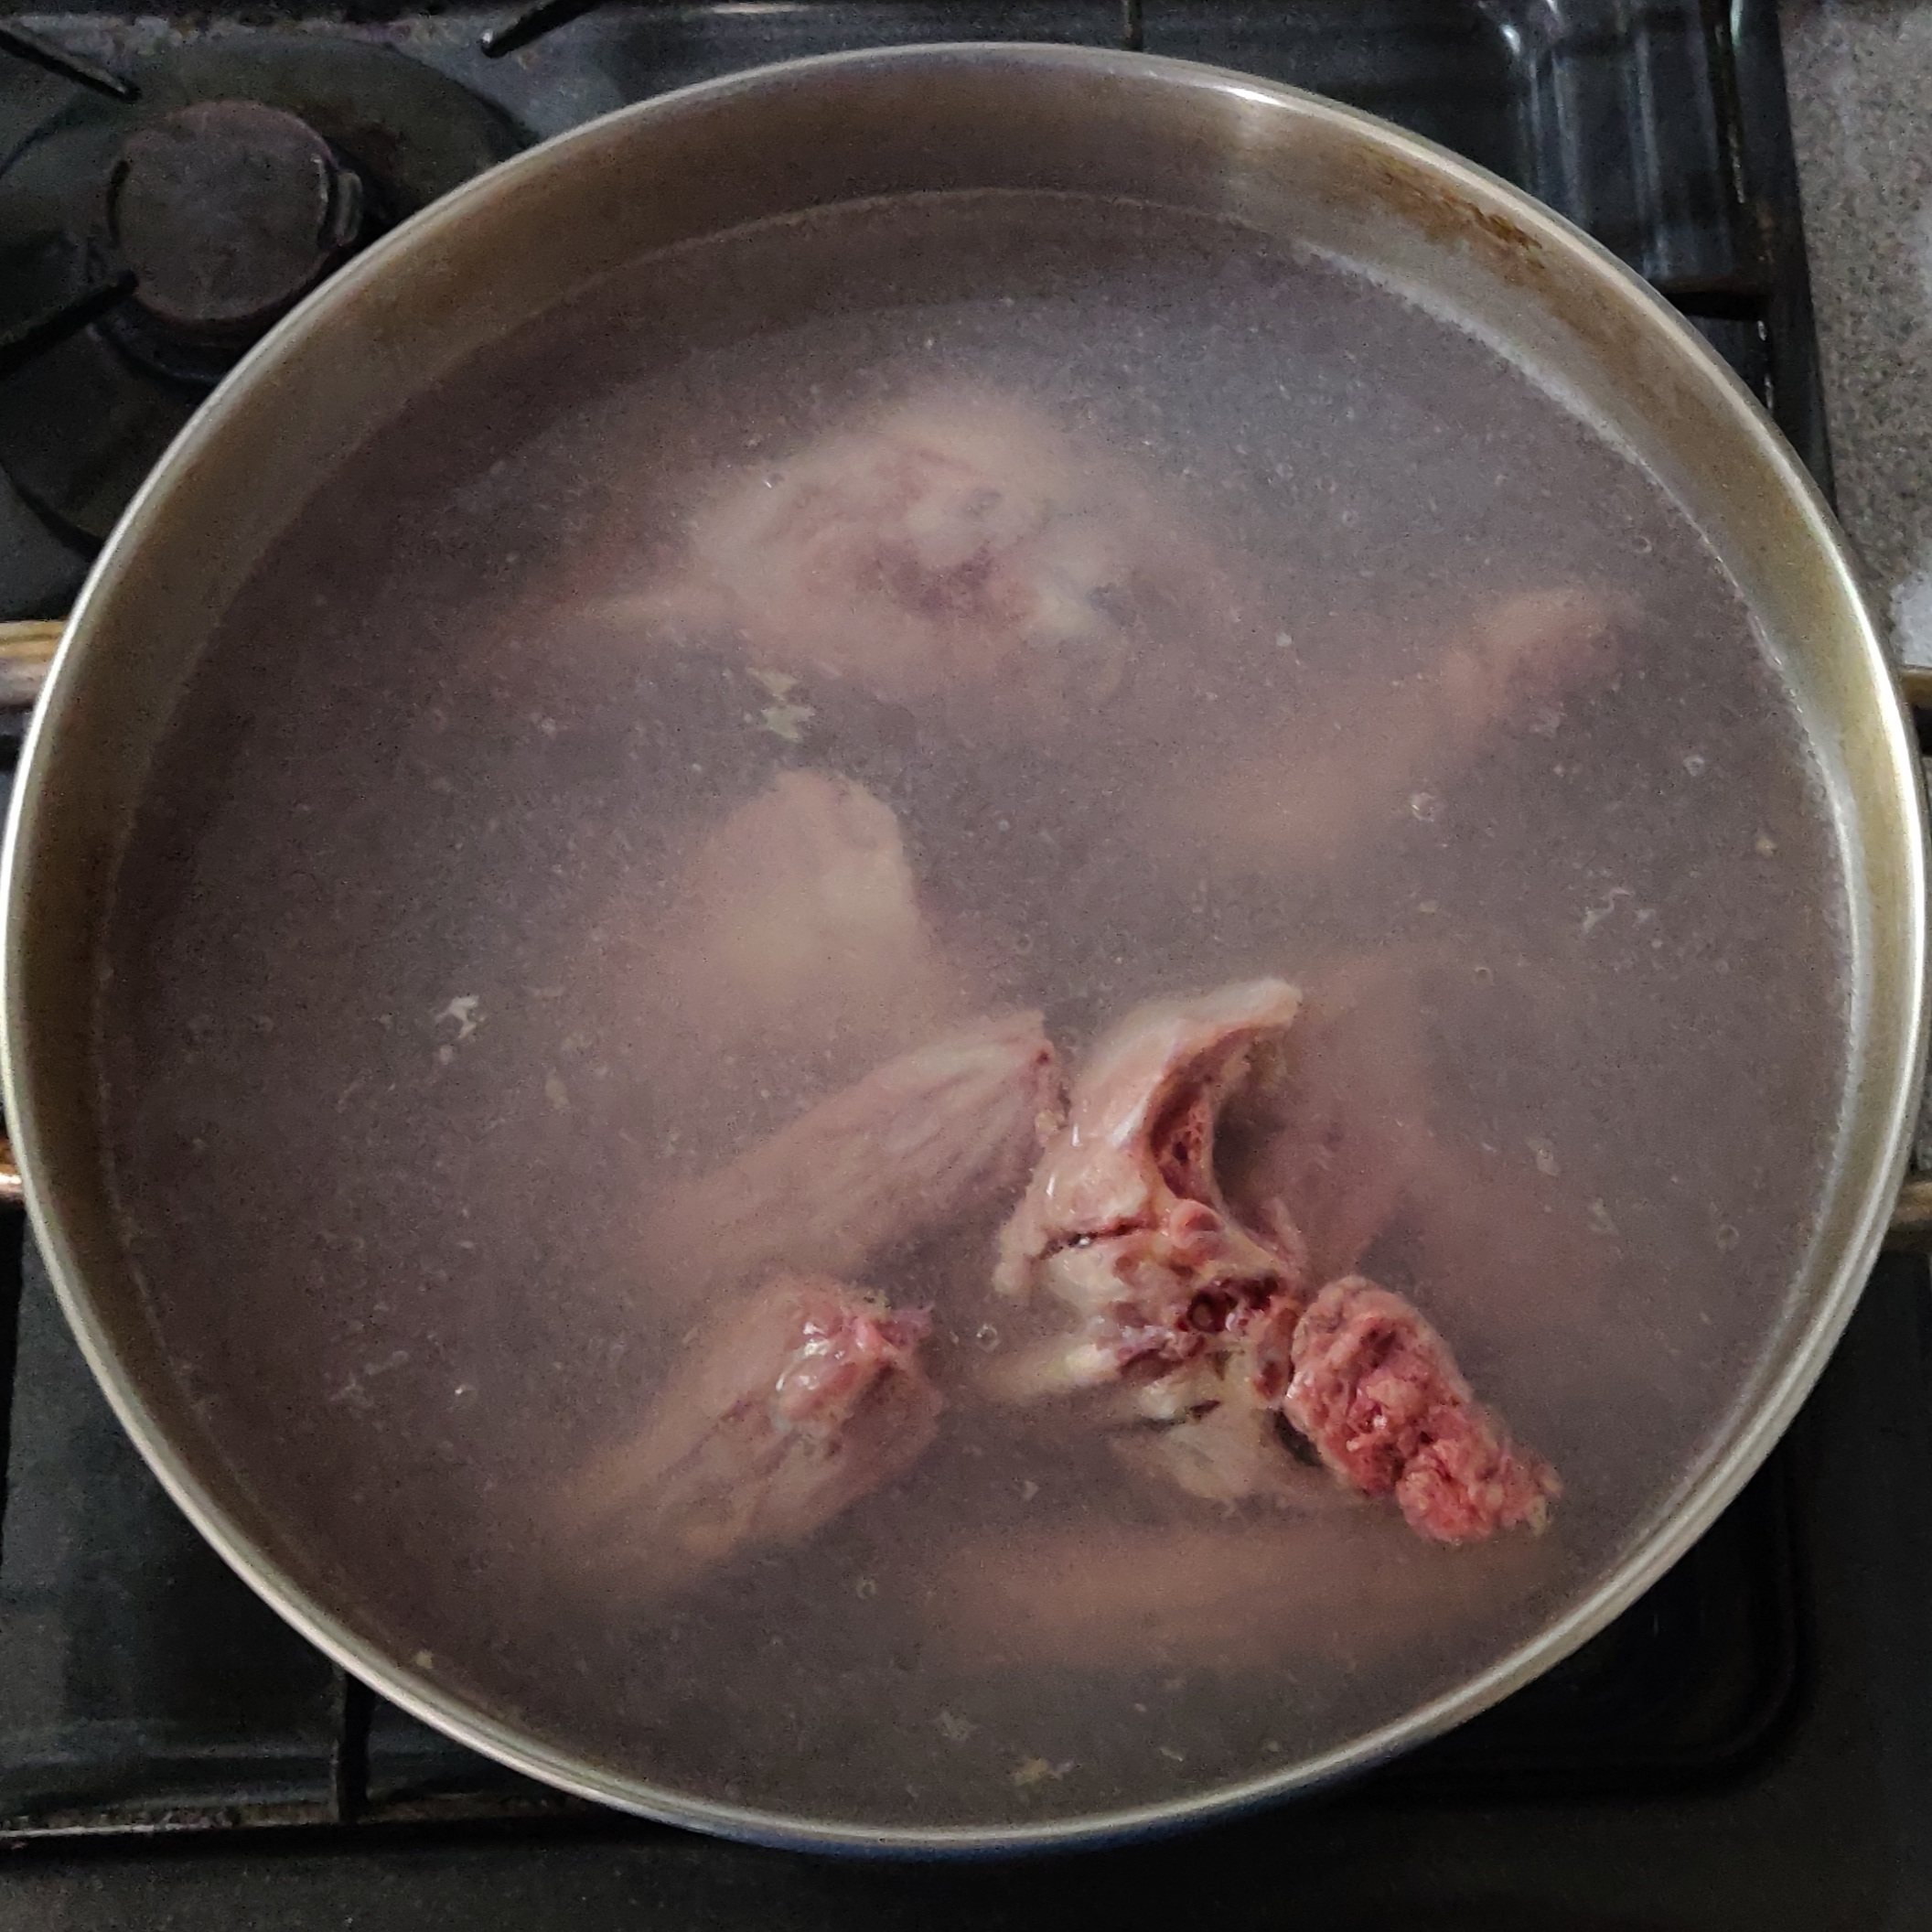

So first off, before you get started with anything else, you’re gonna want to parboil your chicken bones. For three servings, I used two entire chicken carcasses. I’m not sure what the situation is like in each and every country, but I assume you can easily find chicken bones at your local supermarket and/or butcher shop as they’ll typically have them in the back after cutting the chicken down to individual parts. If not, purchase a whole chicken and ask them to remove the breast and wings/legs. I find that, even when simmering at low temperatures, the leg/wings of the chicken will impart a lot of collagen and fat resulting in a milkier, thicker soup. I’m looking to extract a nice, clear broth so I only use the neck and back bones. I left out the chicken breasts as it doesn’t add much to the broth and my plan was to cook them separately sous vide as a topping, but unfortunately my amazon delivery for my sous vide machine was late so I ended up scratching that idea. If you do want to use the breast as topping, I highly suggest you cook it separately so that you keep them moist and succulent. Cooking them with the soup will result in a rubbery, chewy chicken breast. Anyways, after you parboil the chicken bones, empty out your pot and give the bones a quick scrub. You want to remove any blood lines, blood clots, and silver skin so that you reduce any scum you have to skim off later. The cleaner your bones, the clearer your broth so try and do a thorough job here. Once you’re finished cleaning the bones, throw them back in to your pot with the 4 chicken thighs (de-boned), the green portions of a few leeks, about two inches of ginger (skin on is fine), and one whole garlic. I brought this all to a boil and reduced it to the lowest setting on my stove top and let sit for about 5 hours, skimming scum off the top for the first thirty minutes and every hour or so thereafter.
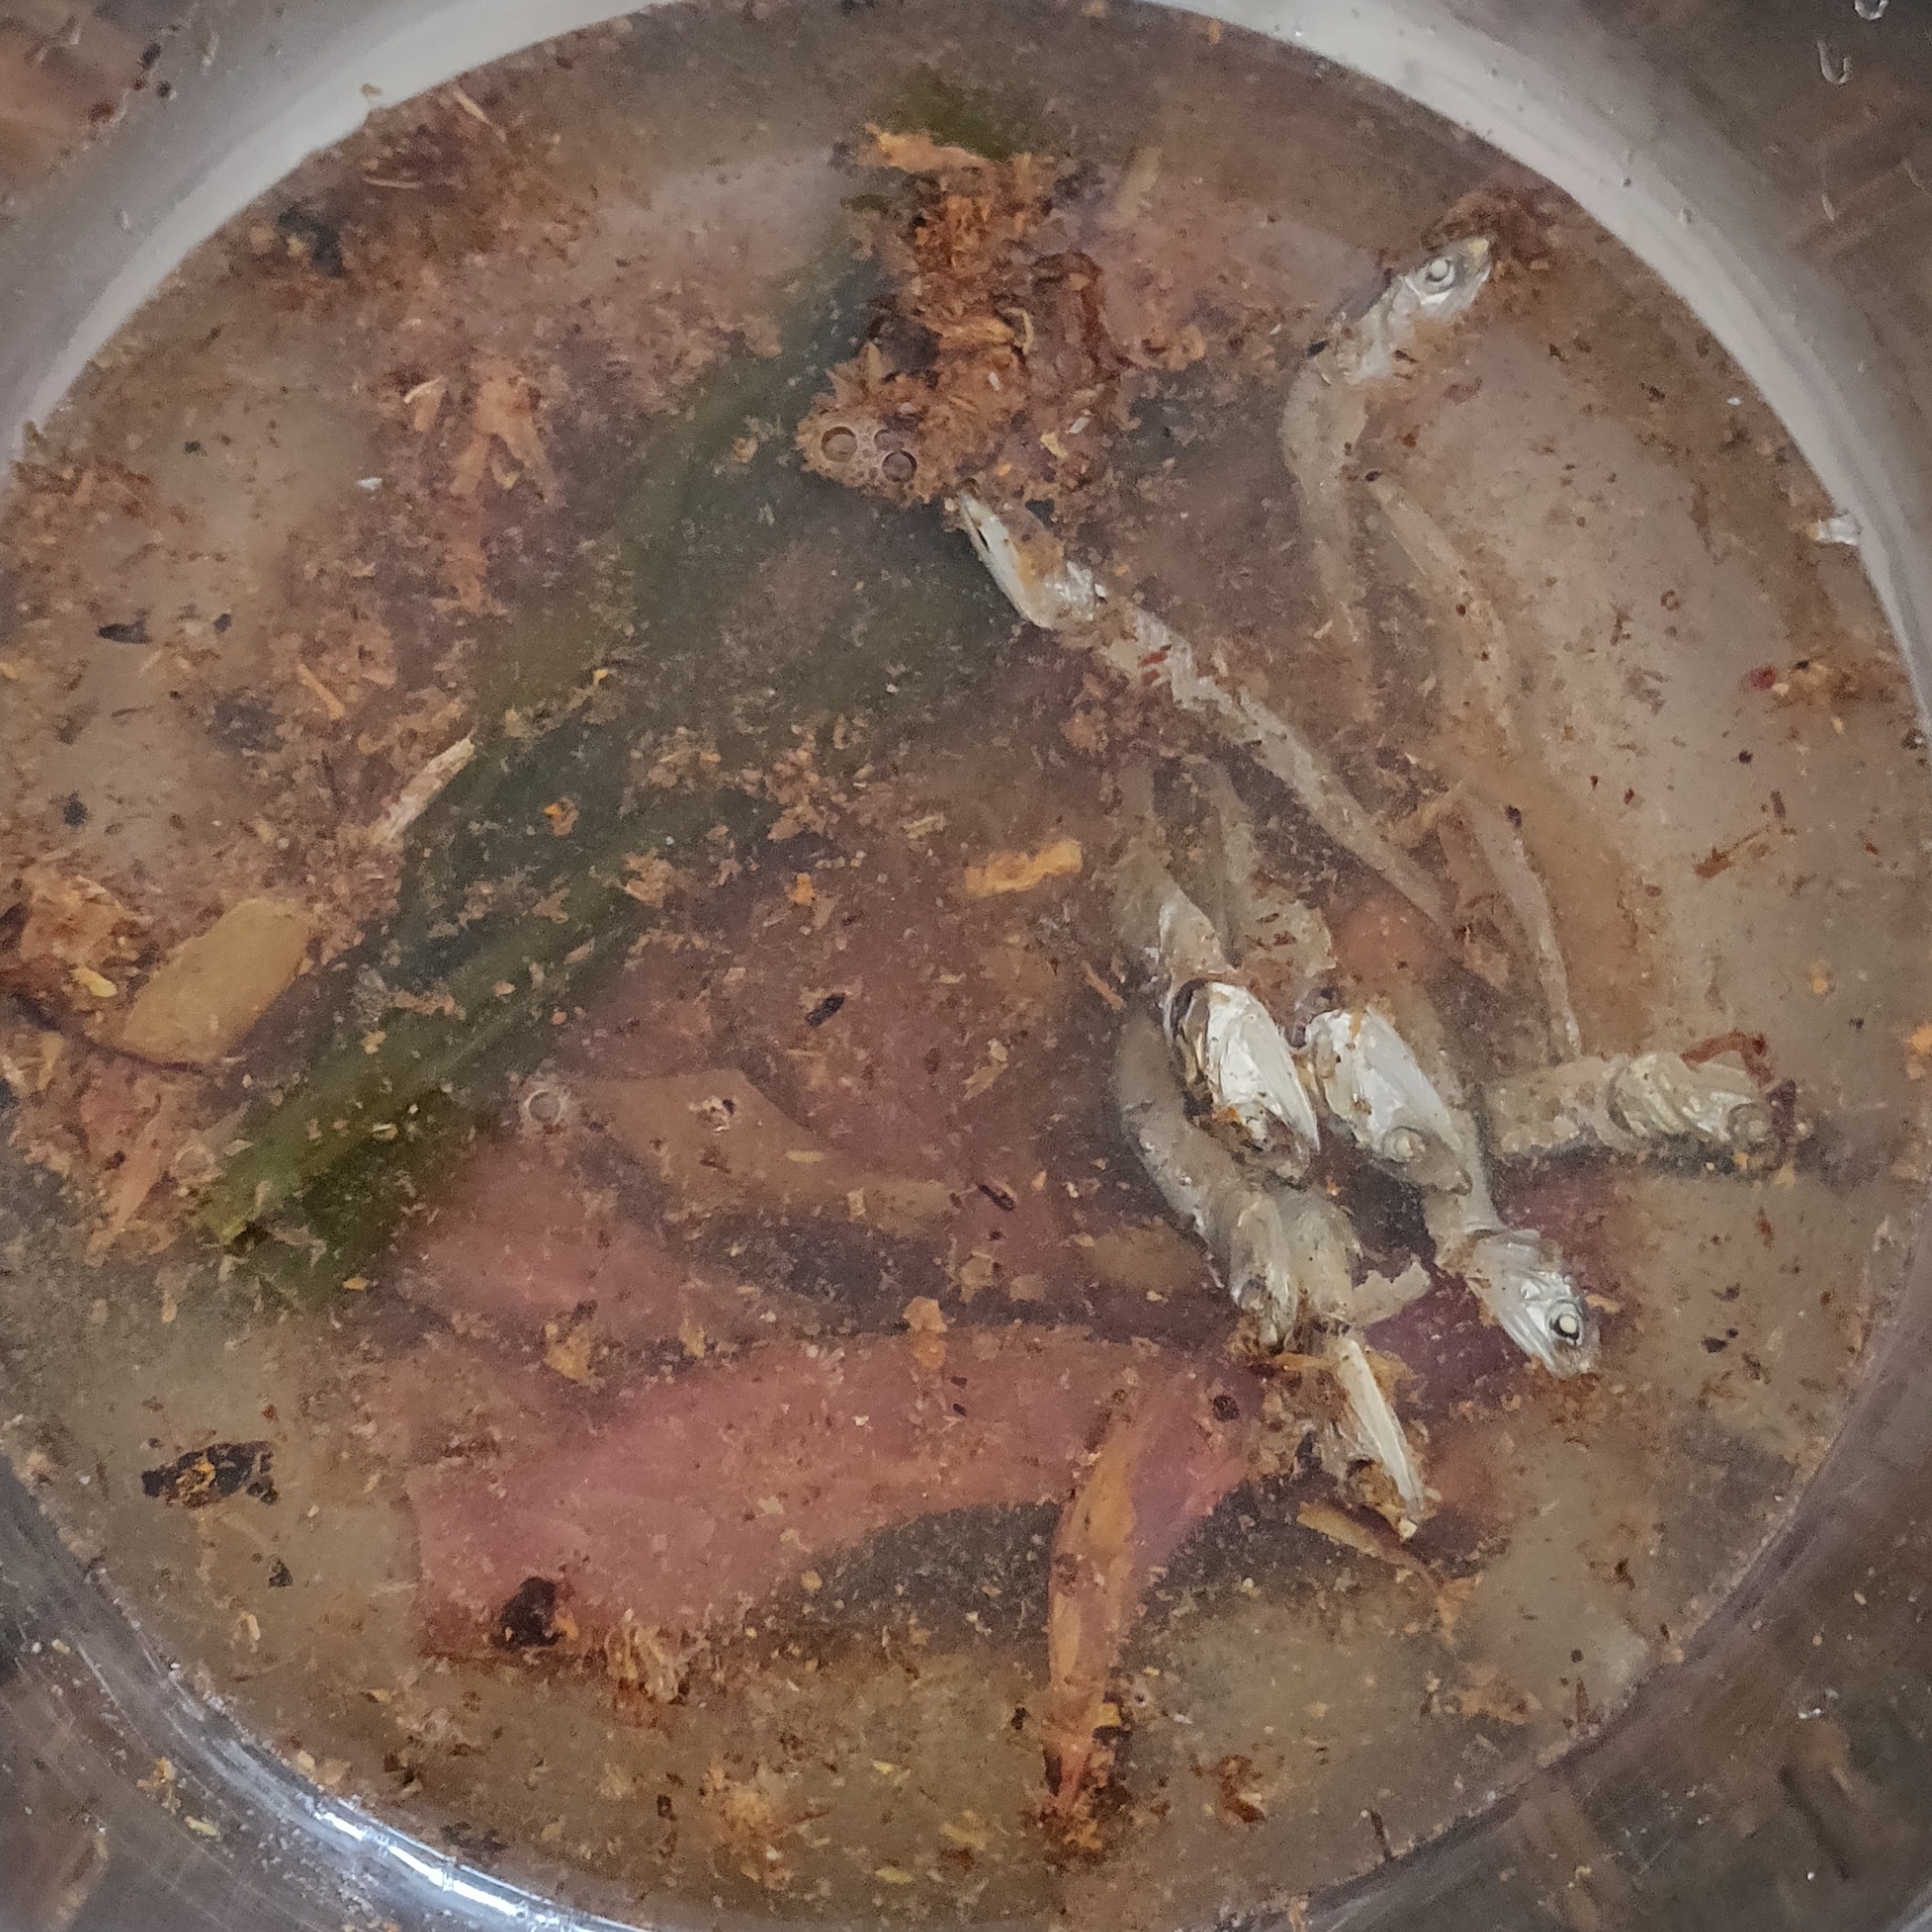
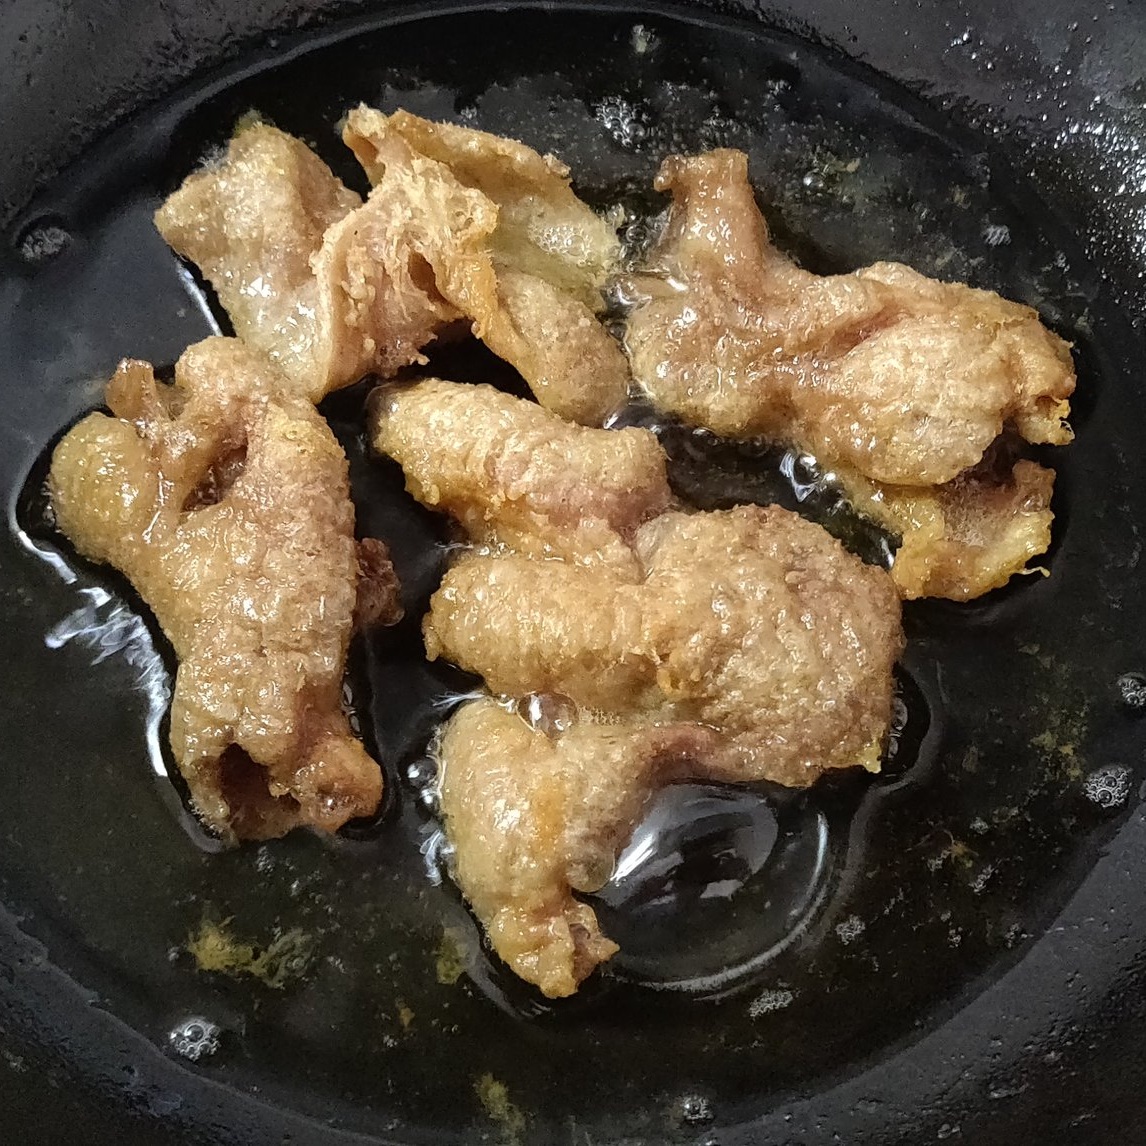
Next off you want to prepare the dried fish portion of your broth. Here I threw in about 75g each of the Sababushi, Katsuobushi, Niboshi. and Kombu dried kelp in to about 1 liter of water and let it soak while my broth was simmering on the stove. It’s important here to just use cold water. Dried fish doesn’t need to be simmered for their flavors to be extracted and letting them steep will do quite a lot for the broth. Next off I started making the shoyu, soy sauce tare seasoning. In a bowl I added about 400 mL of soy sauce, 50 mL of mirin, and a slice of kombu, dried kelp, with a sprinkle of Hawaiian rock salt. Himalayan salt will work as well, you just want something with high mineral content so you get a bit more flavor to your tare. Next off was throwing some chicken skin in to a fry pan and letting the fat render until the skin is crispy. Pictured is about 100g of chicken skin and I had just enough for my three bowls. You don’t want to burn anything so throw them on to the lowest heat setting and let it sit, checking on them every few minutes for about 30 minutes. Once you’ve rendered as much of the fat as possible, pick out the skin, season with salt and its a perfect appetizer or side dish with a nice, cold glass of beer.
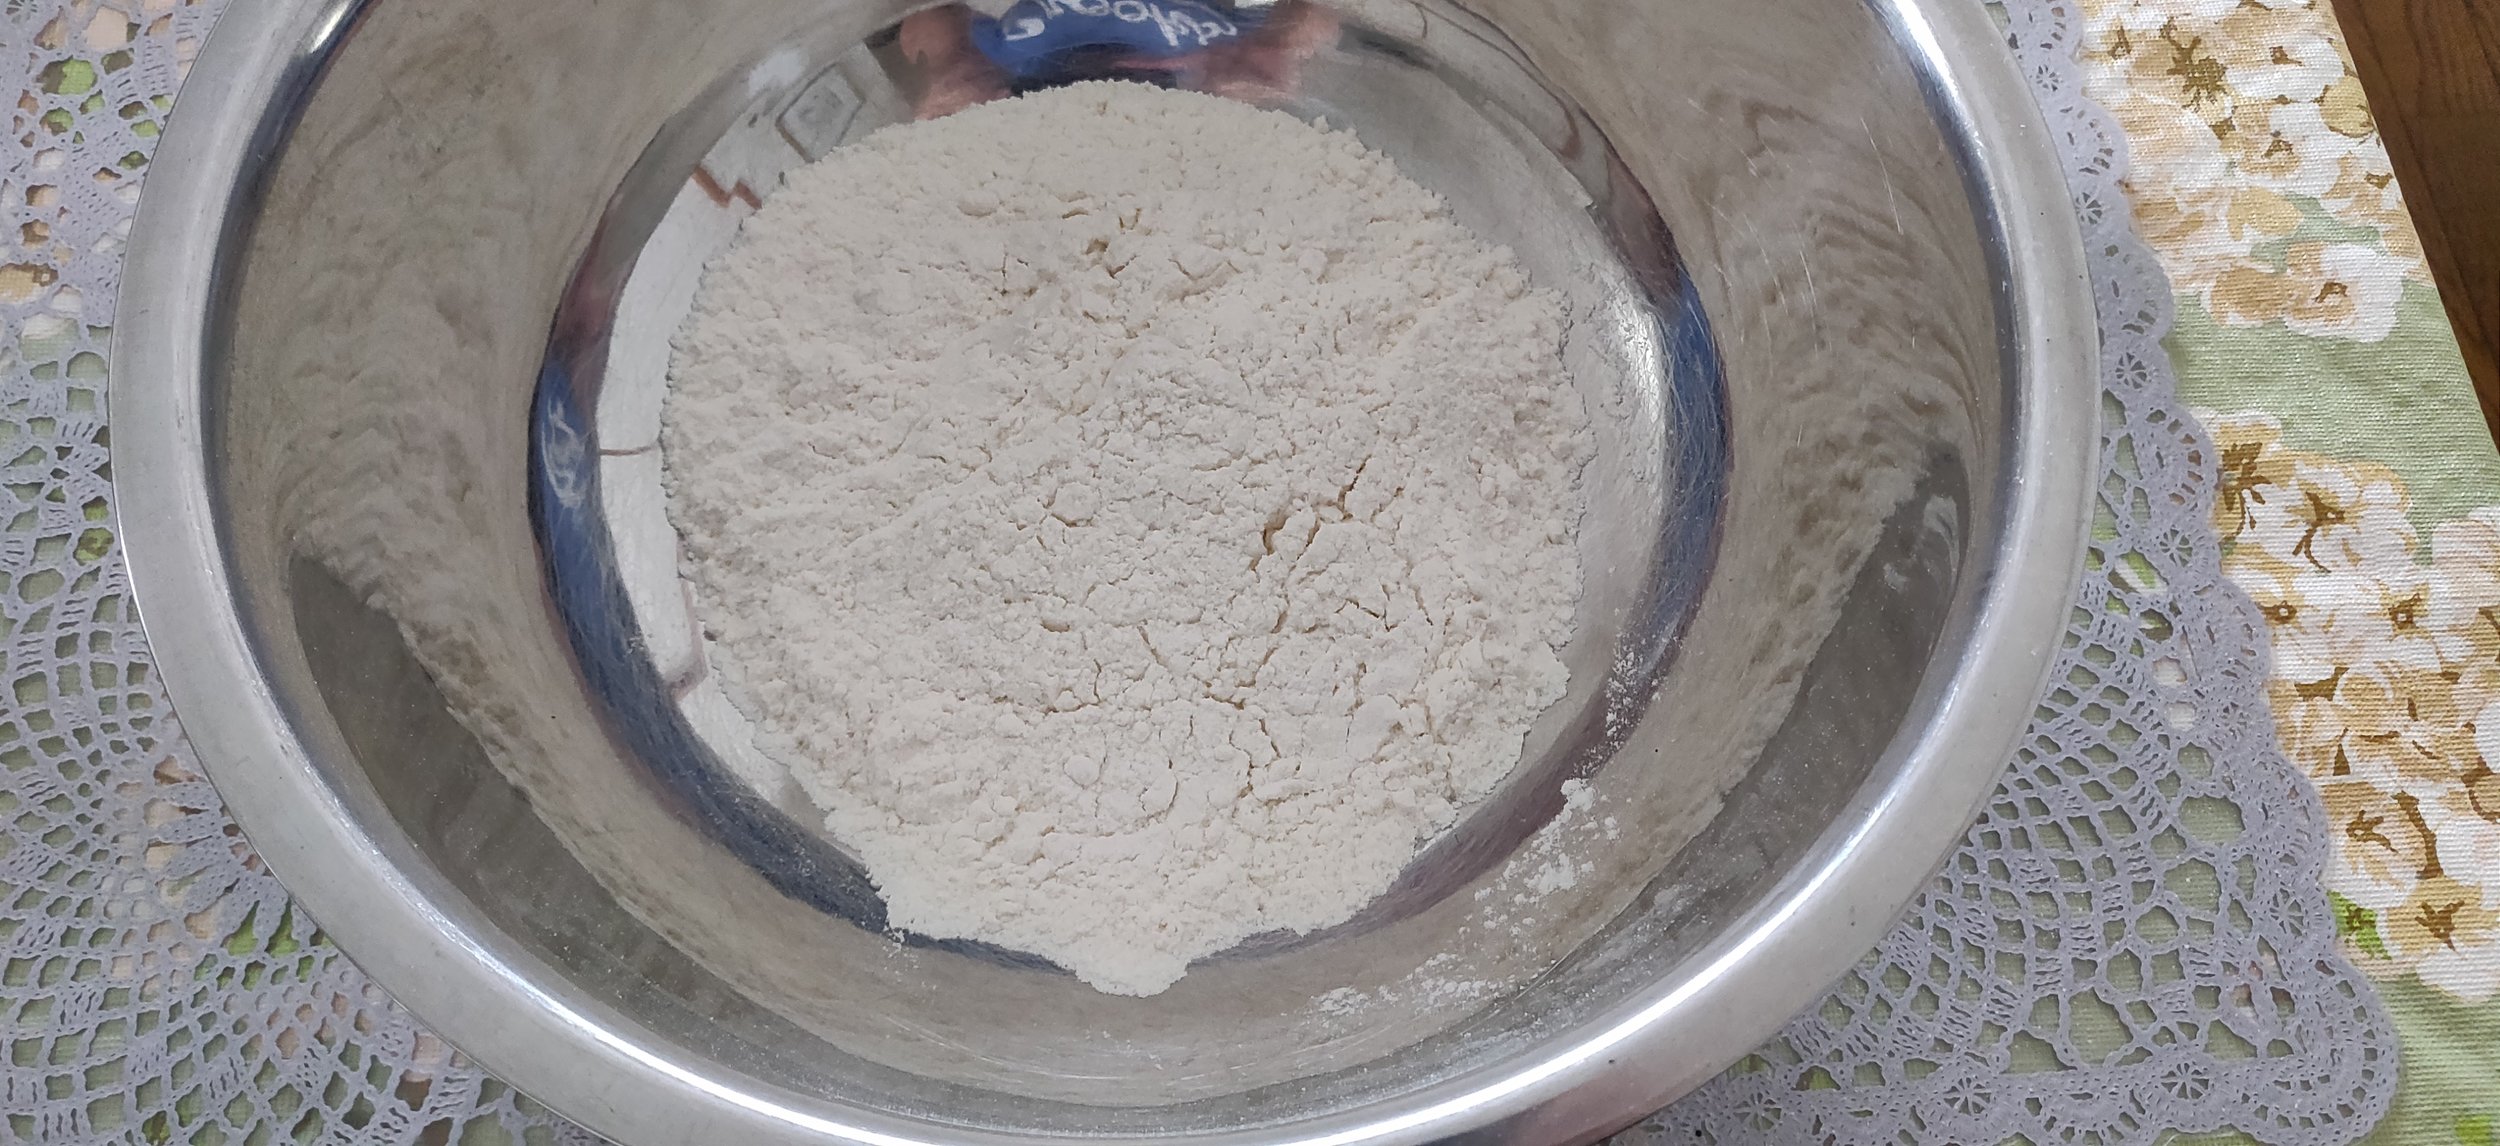
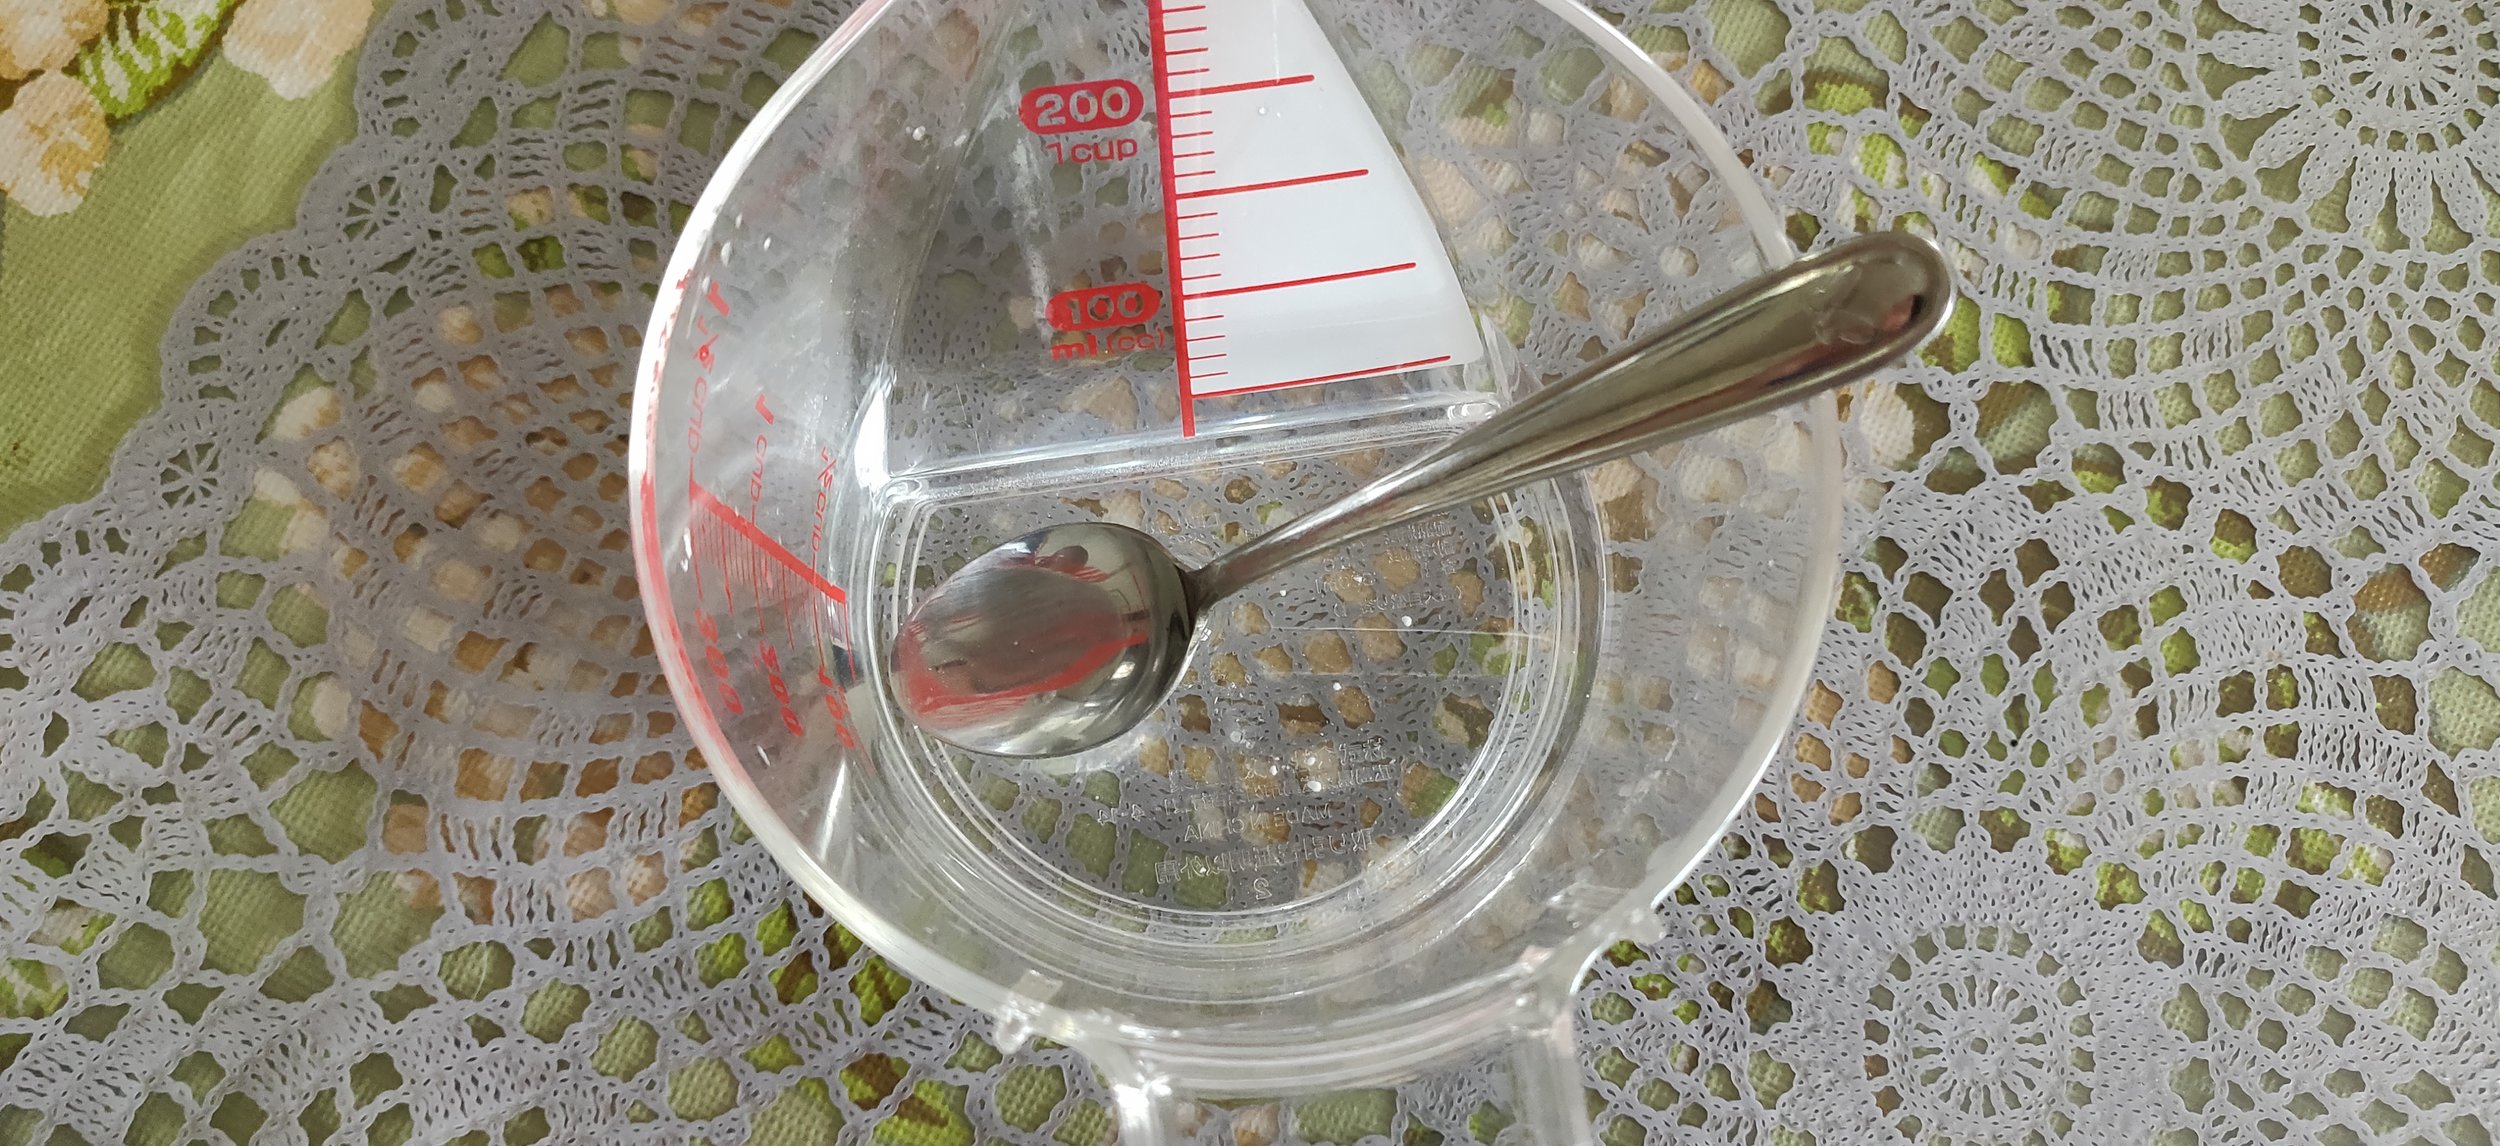
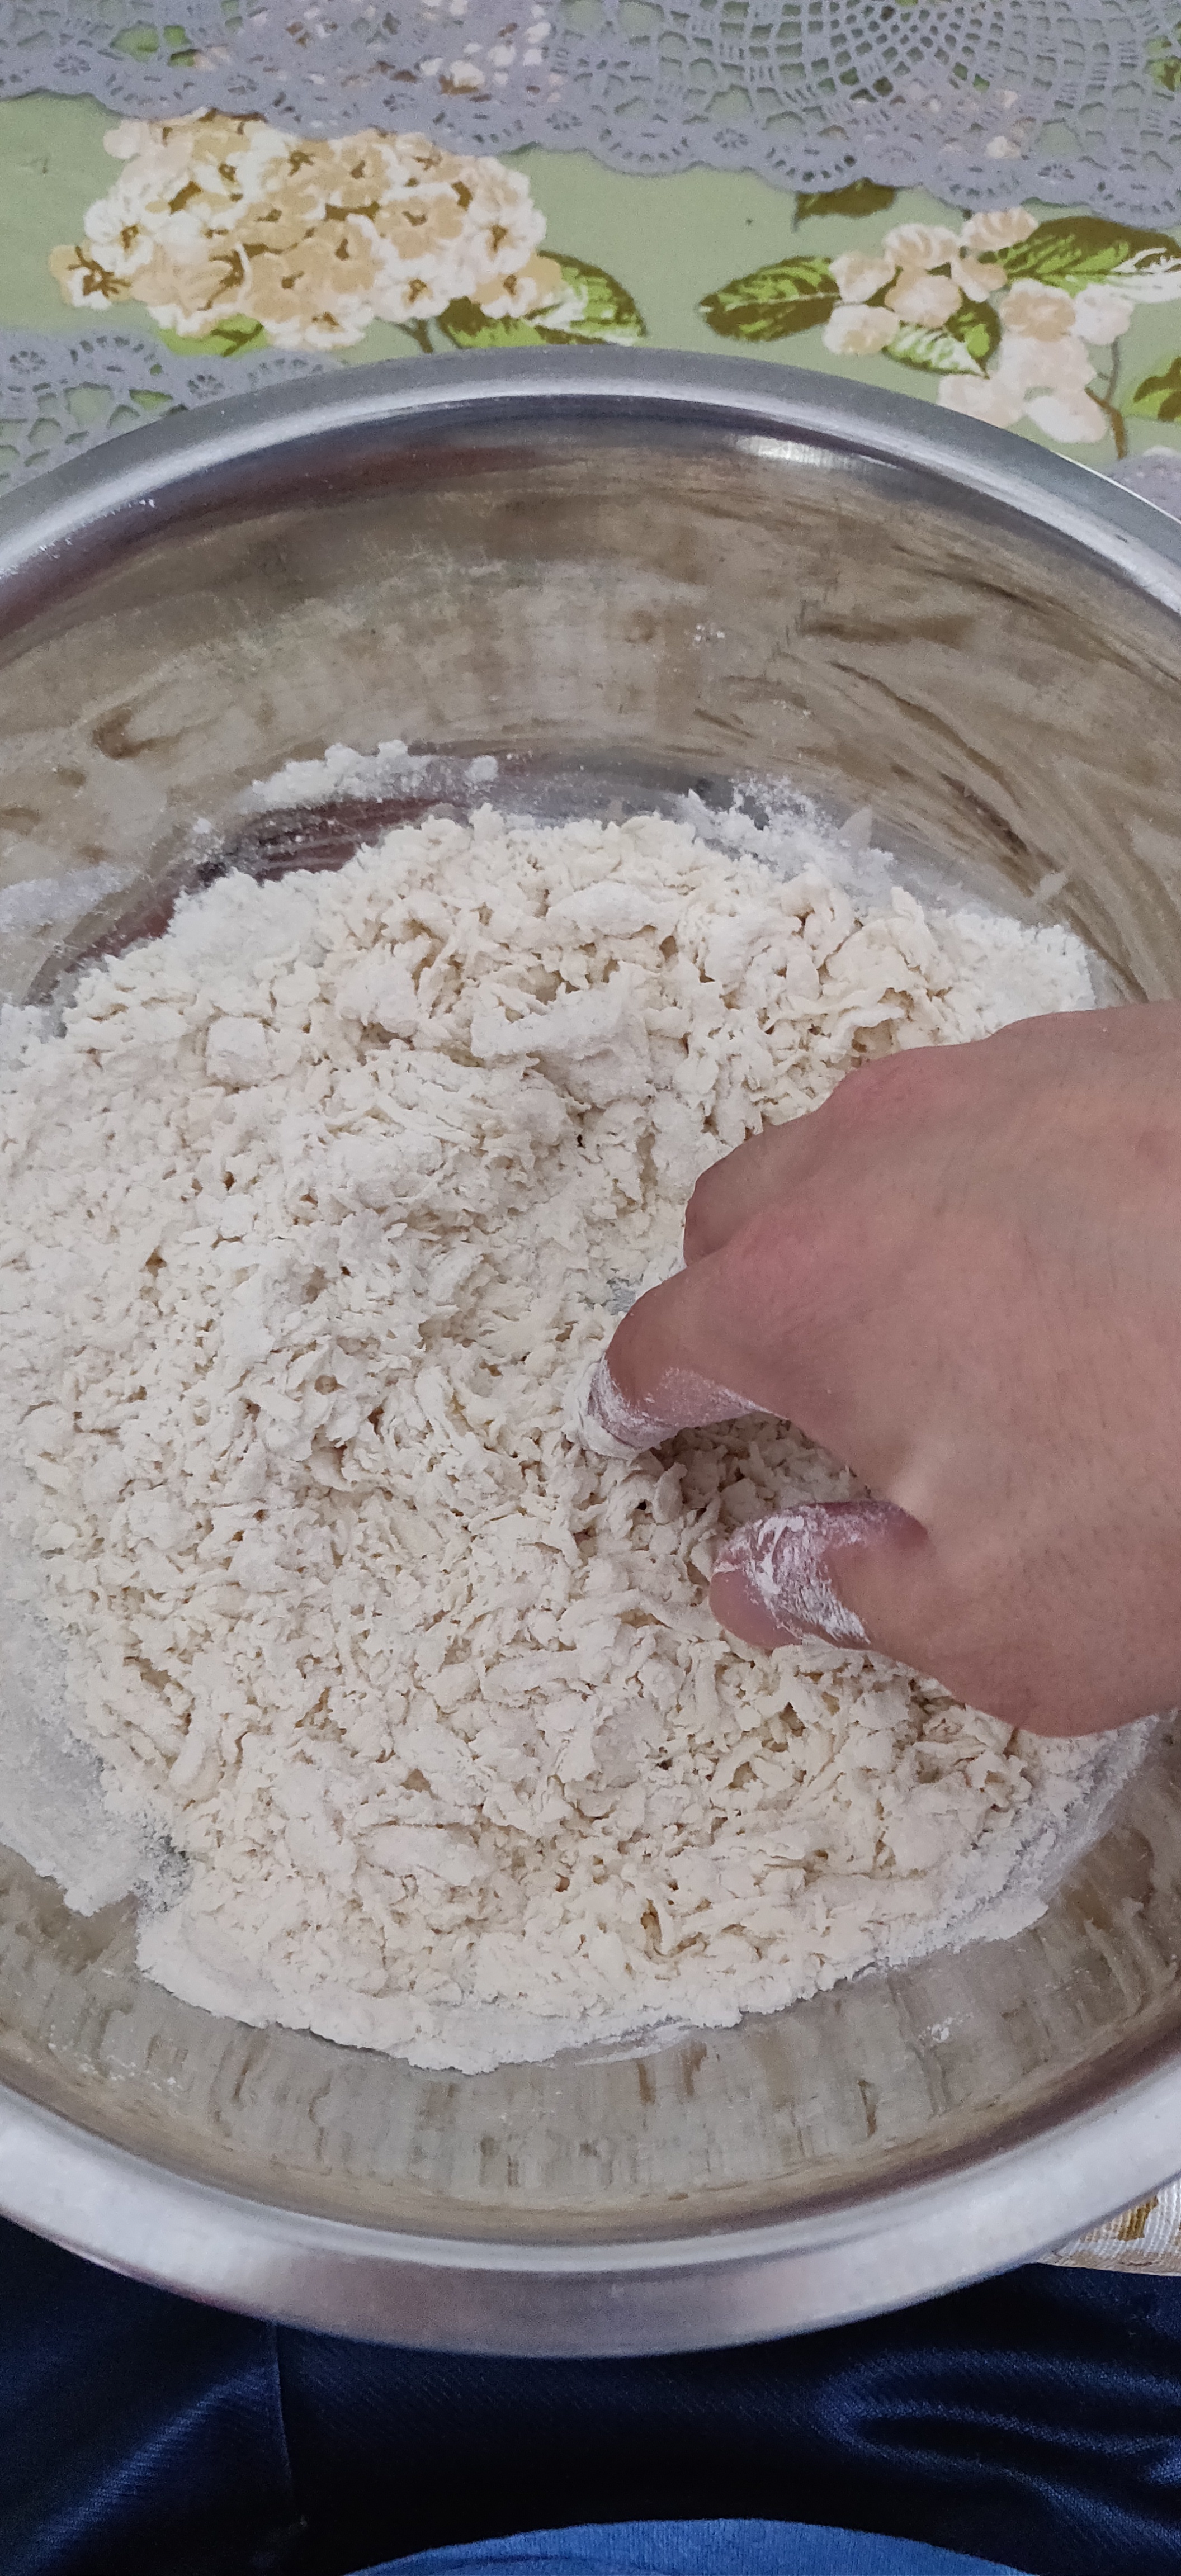

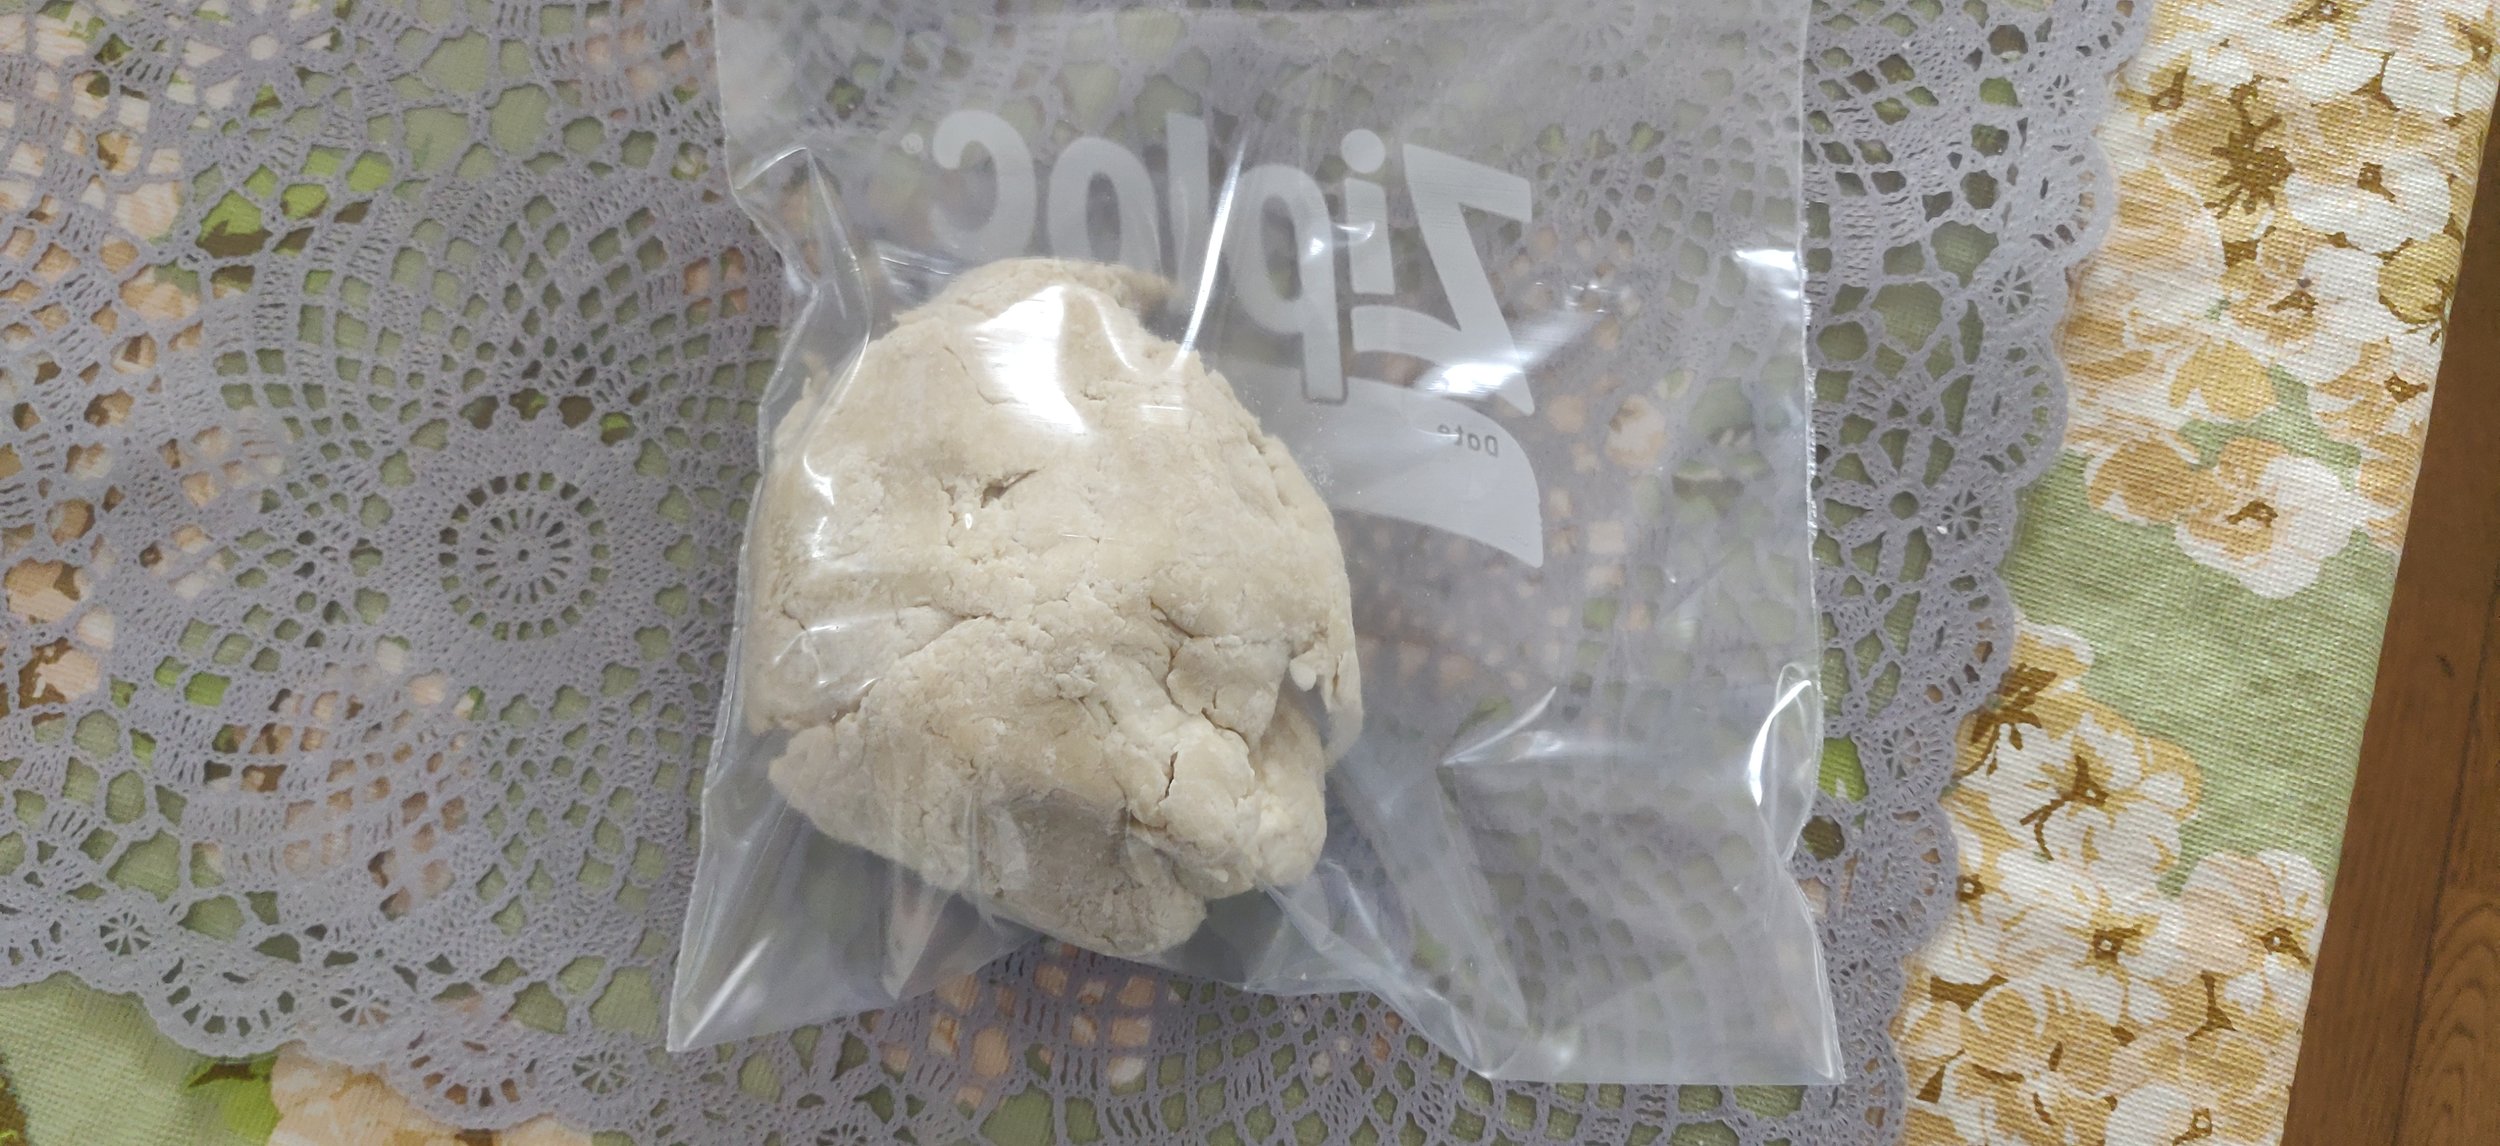
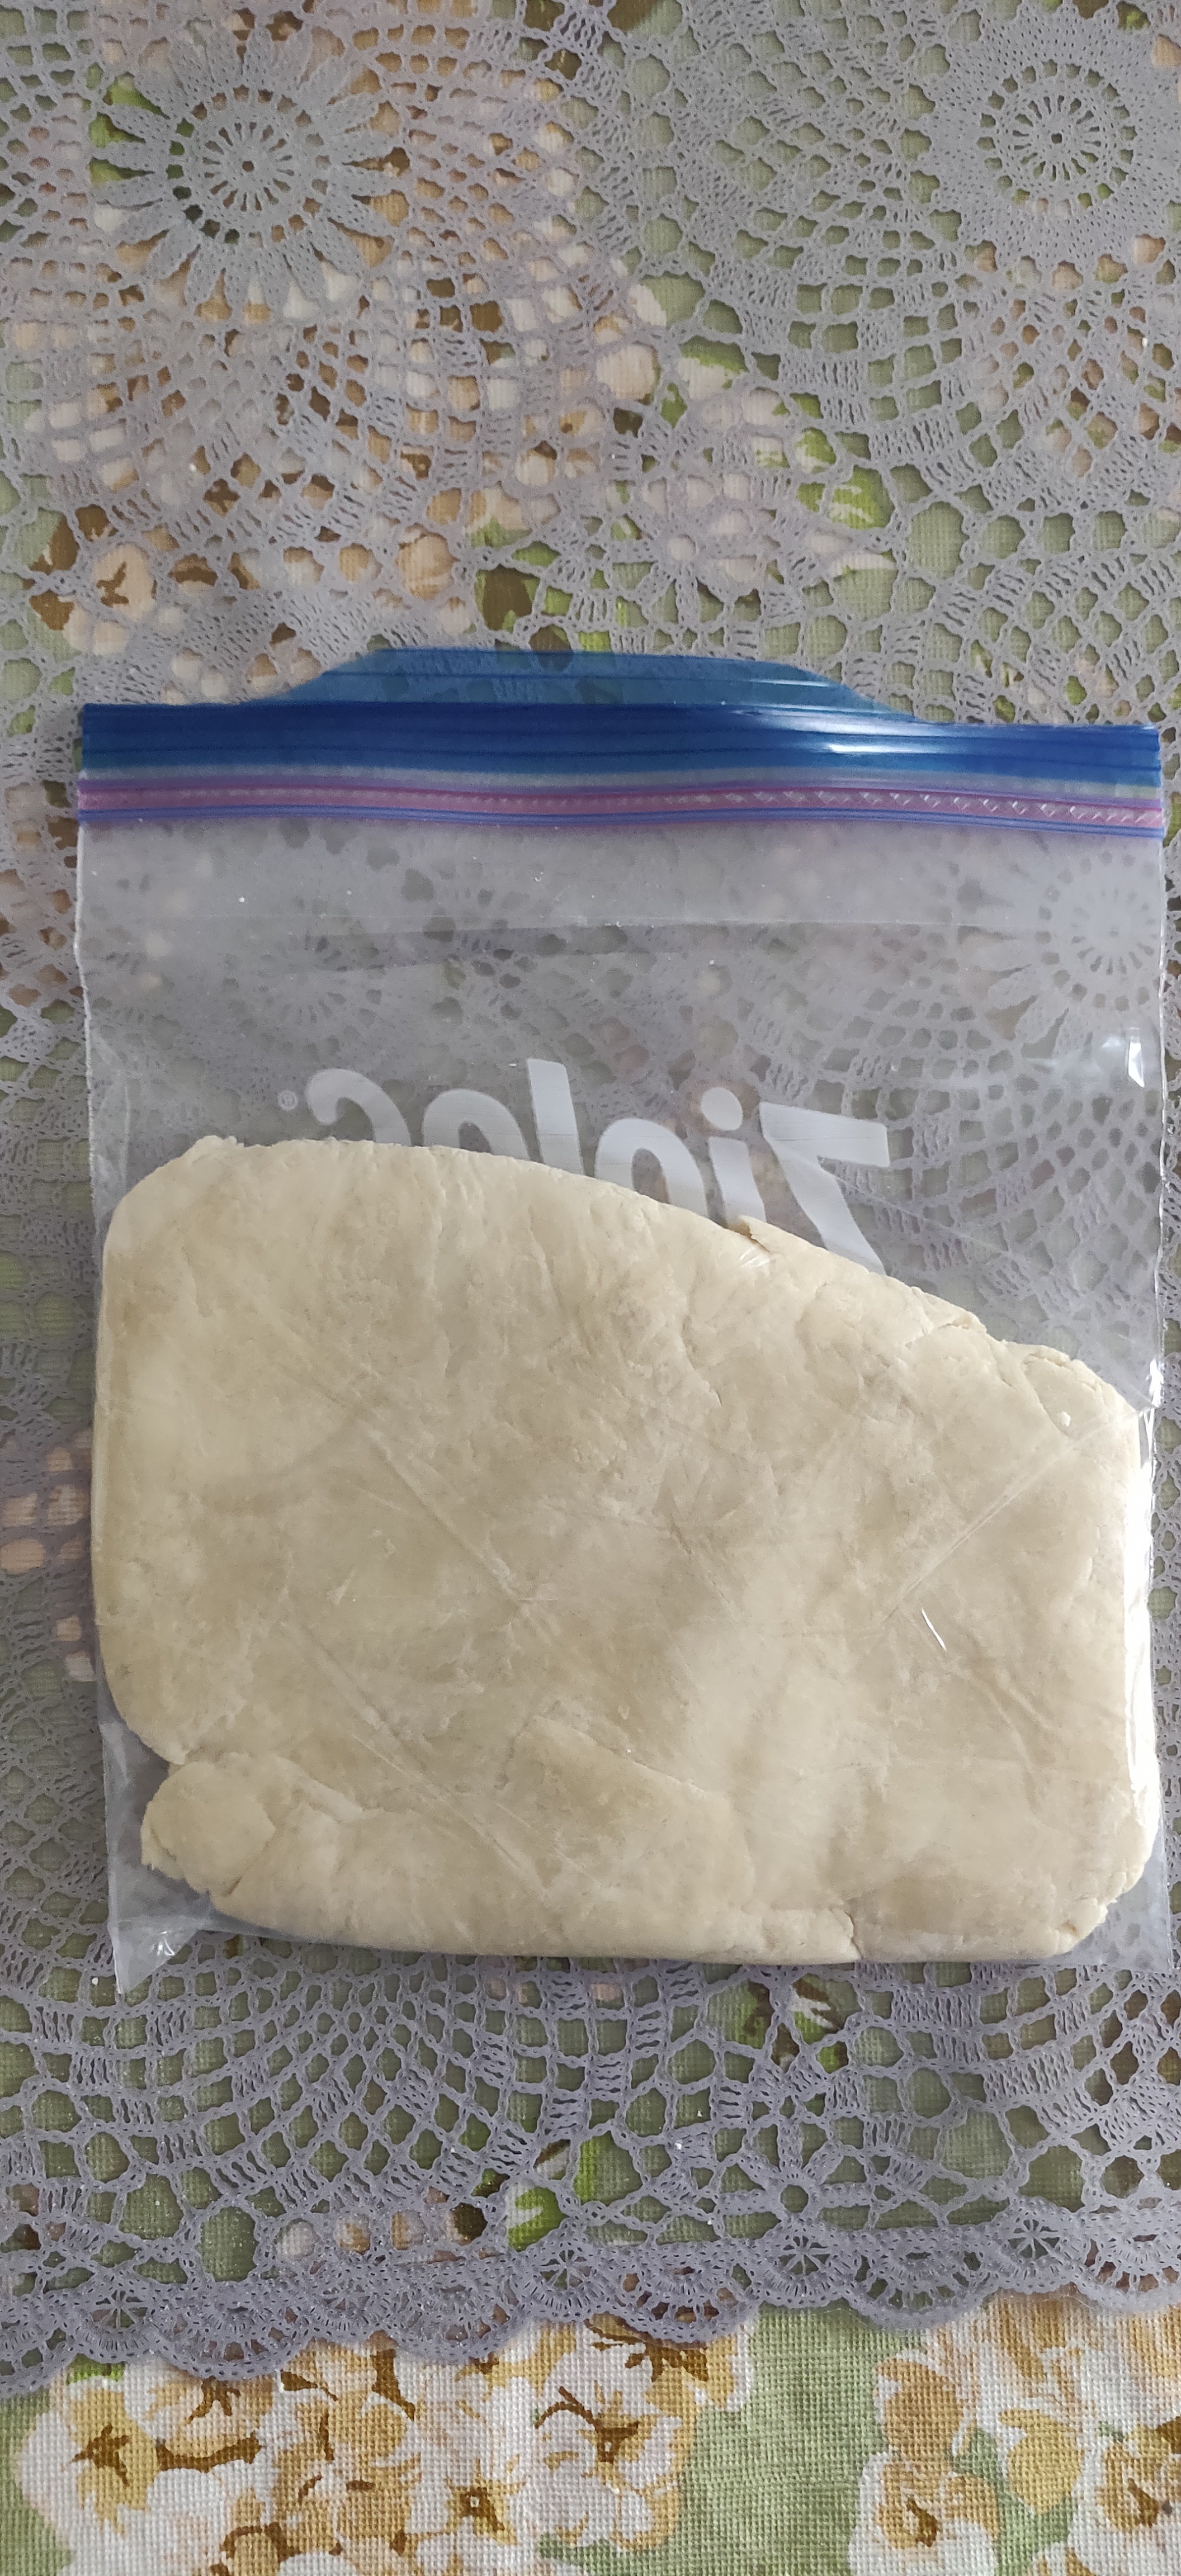
Next off is the most daunting and tiring part of the entire ramen making process, the noodles. You can always buy your own noodles via sun noodles or off amazon, but I decided to go all out and make my own noodles. I luckily live in Japan so its easy for me to purchase Kansui, which is a solution of potassium carbonate and sodium bicarbonate, but for those who can’t readily get it, the recipe from ramen lord I linked above has a recipe to make it yourself. Anyways, I wanted a bit of a softer noodle so went a little high on my water content and mixed 200 grams of flour to 85 g of water. My flour of choice is O-shon, a bread flour that is quite popular for ramen noodles in Japan. I linked to my amazon affiliate link in case you wanted to buy some yourself to ship over to where ever you may be. I personally find this flour variety to be the best for noodles, but any high quality bread flour will do fine. In the water I mixed in 2 grams each of salt and Kansui, dissolving them before mixing in to the flour. Once you’ve mixed the flour and water together in to a ball, I typically will put it in a ziplock bag and double wrap it before stepping on them to make it flat as shown in the last photo. You can knead it, or use a stand mixer to get it all consistent, but alas I had to make do with what I got. I forgot to take photos of the noodle cutting process, but I used a pasta maker rather than hand cutting them. If you own a pasta maker, you want to go from the highest setting (thickest) to the second lowest setting, rolling your noodles through every setting along the way before cutting. You’ll form the most gluten this way and get a nice thin noodle at the end.
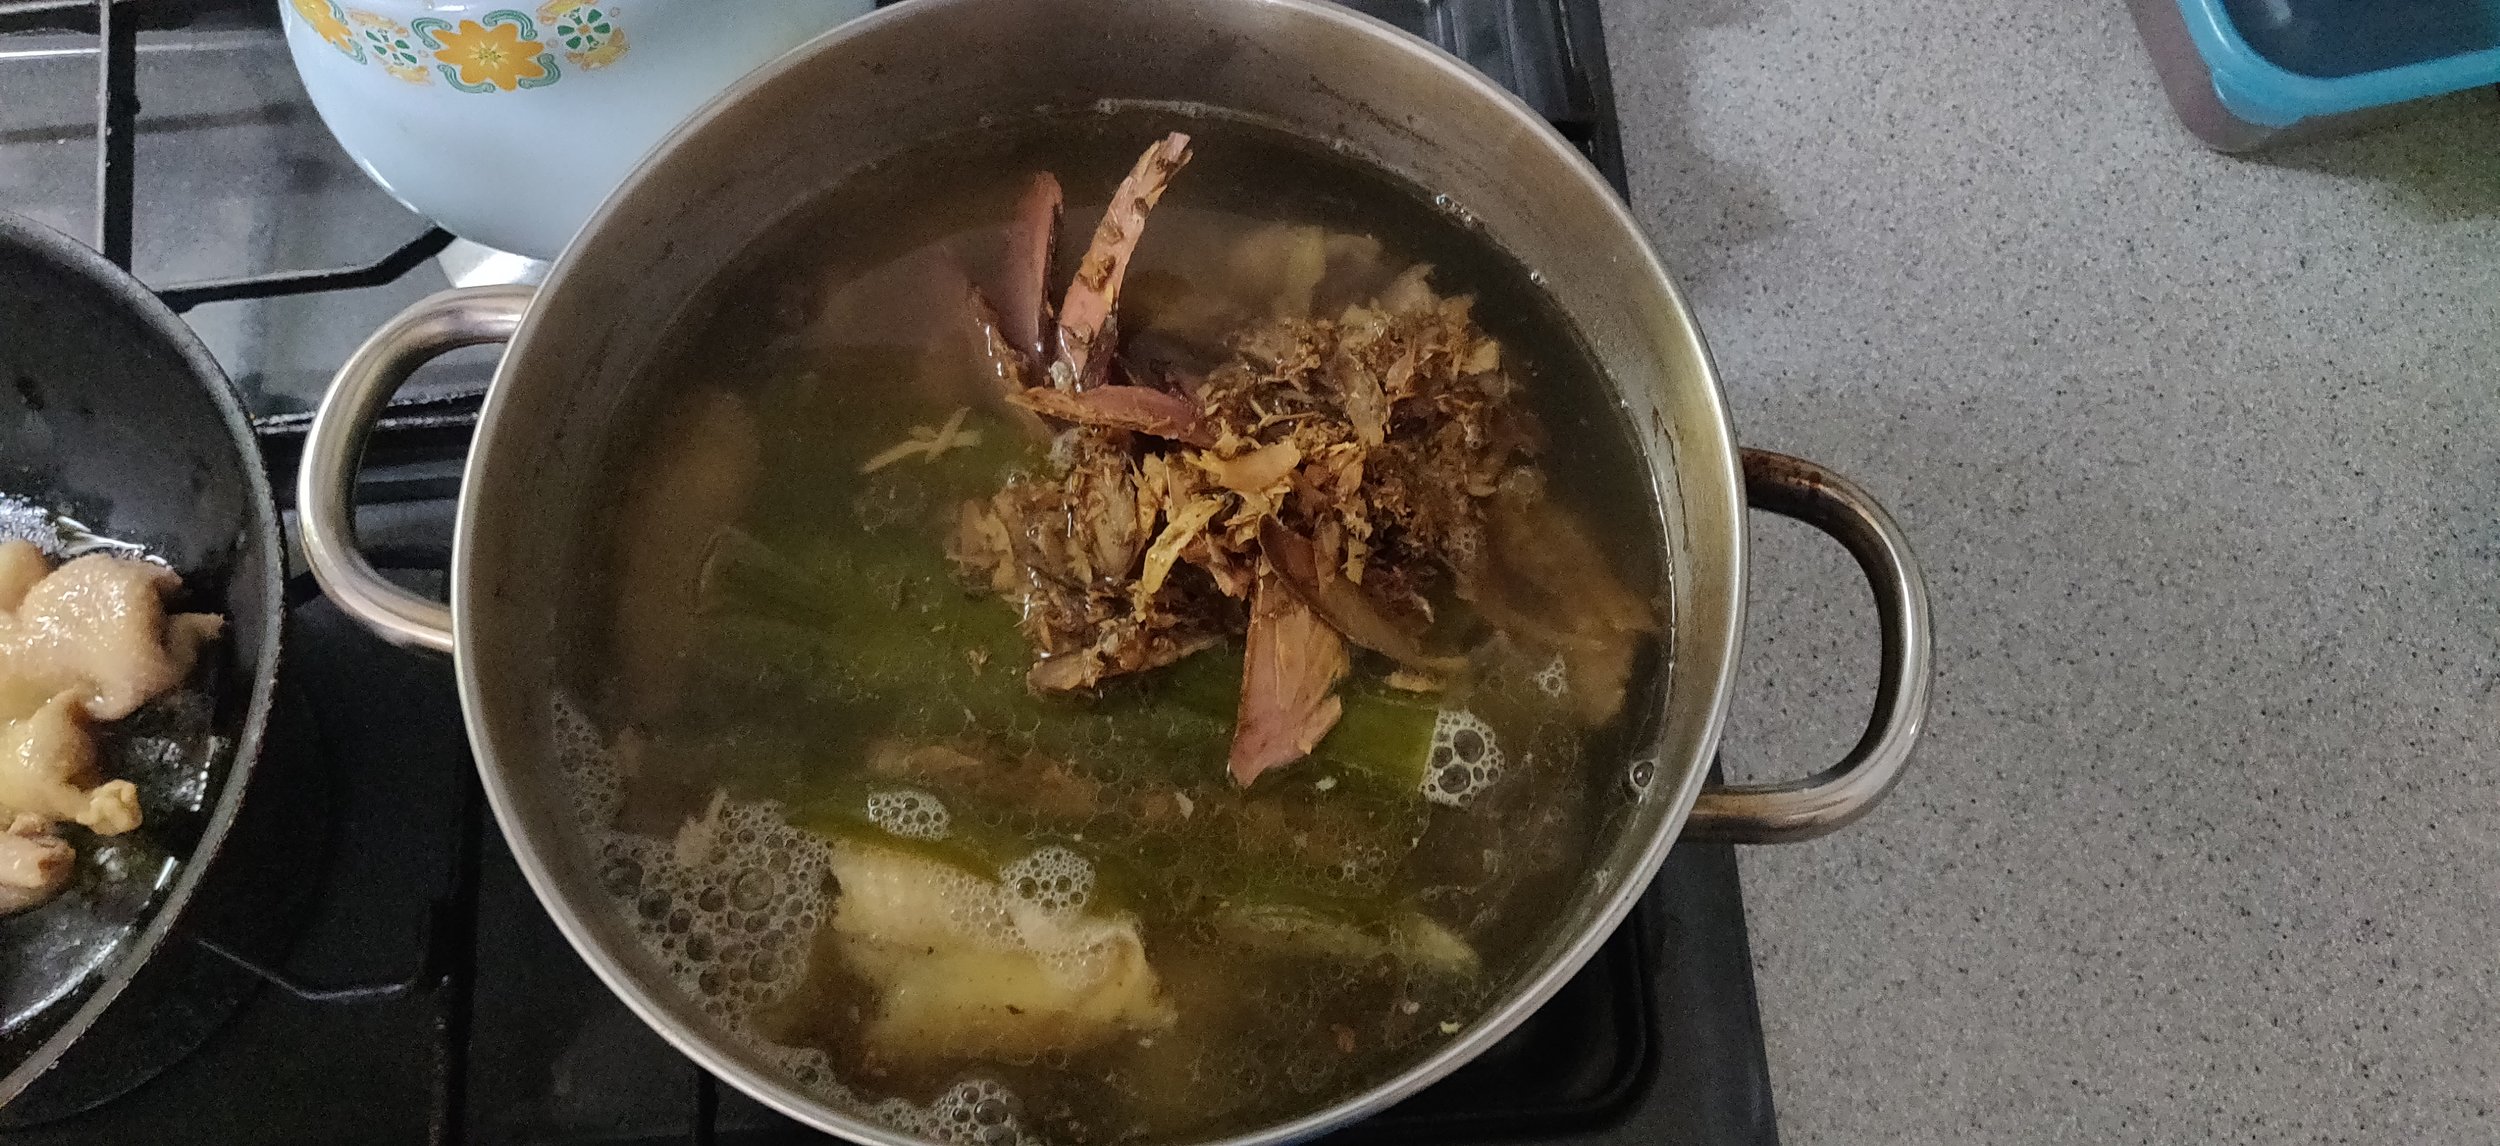
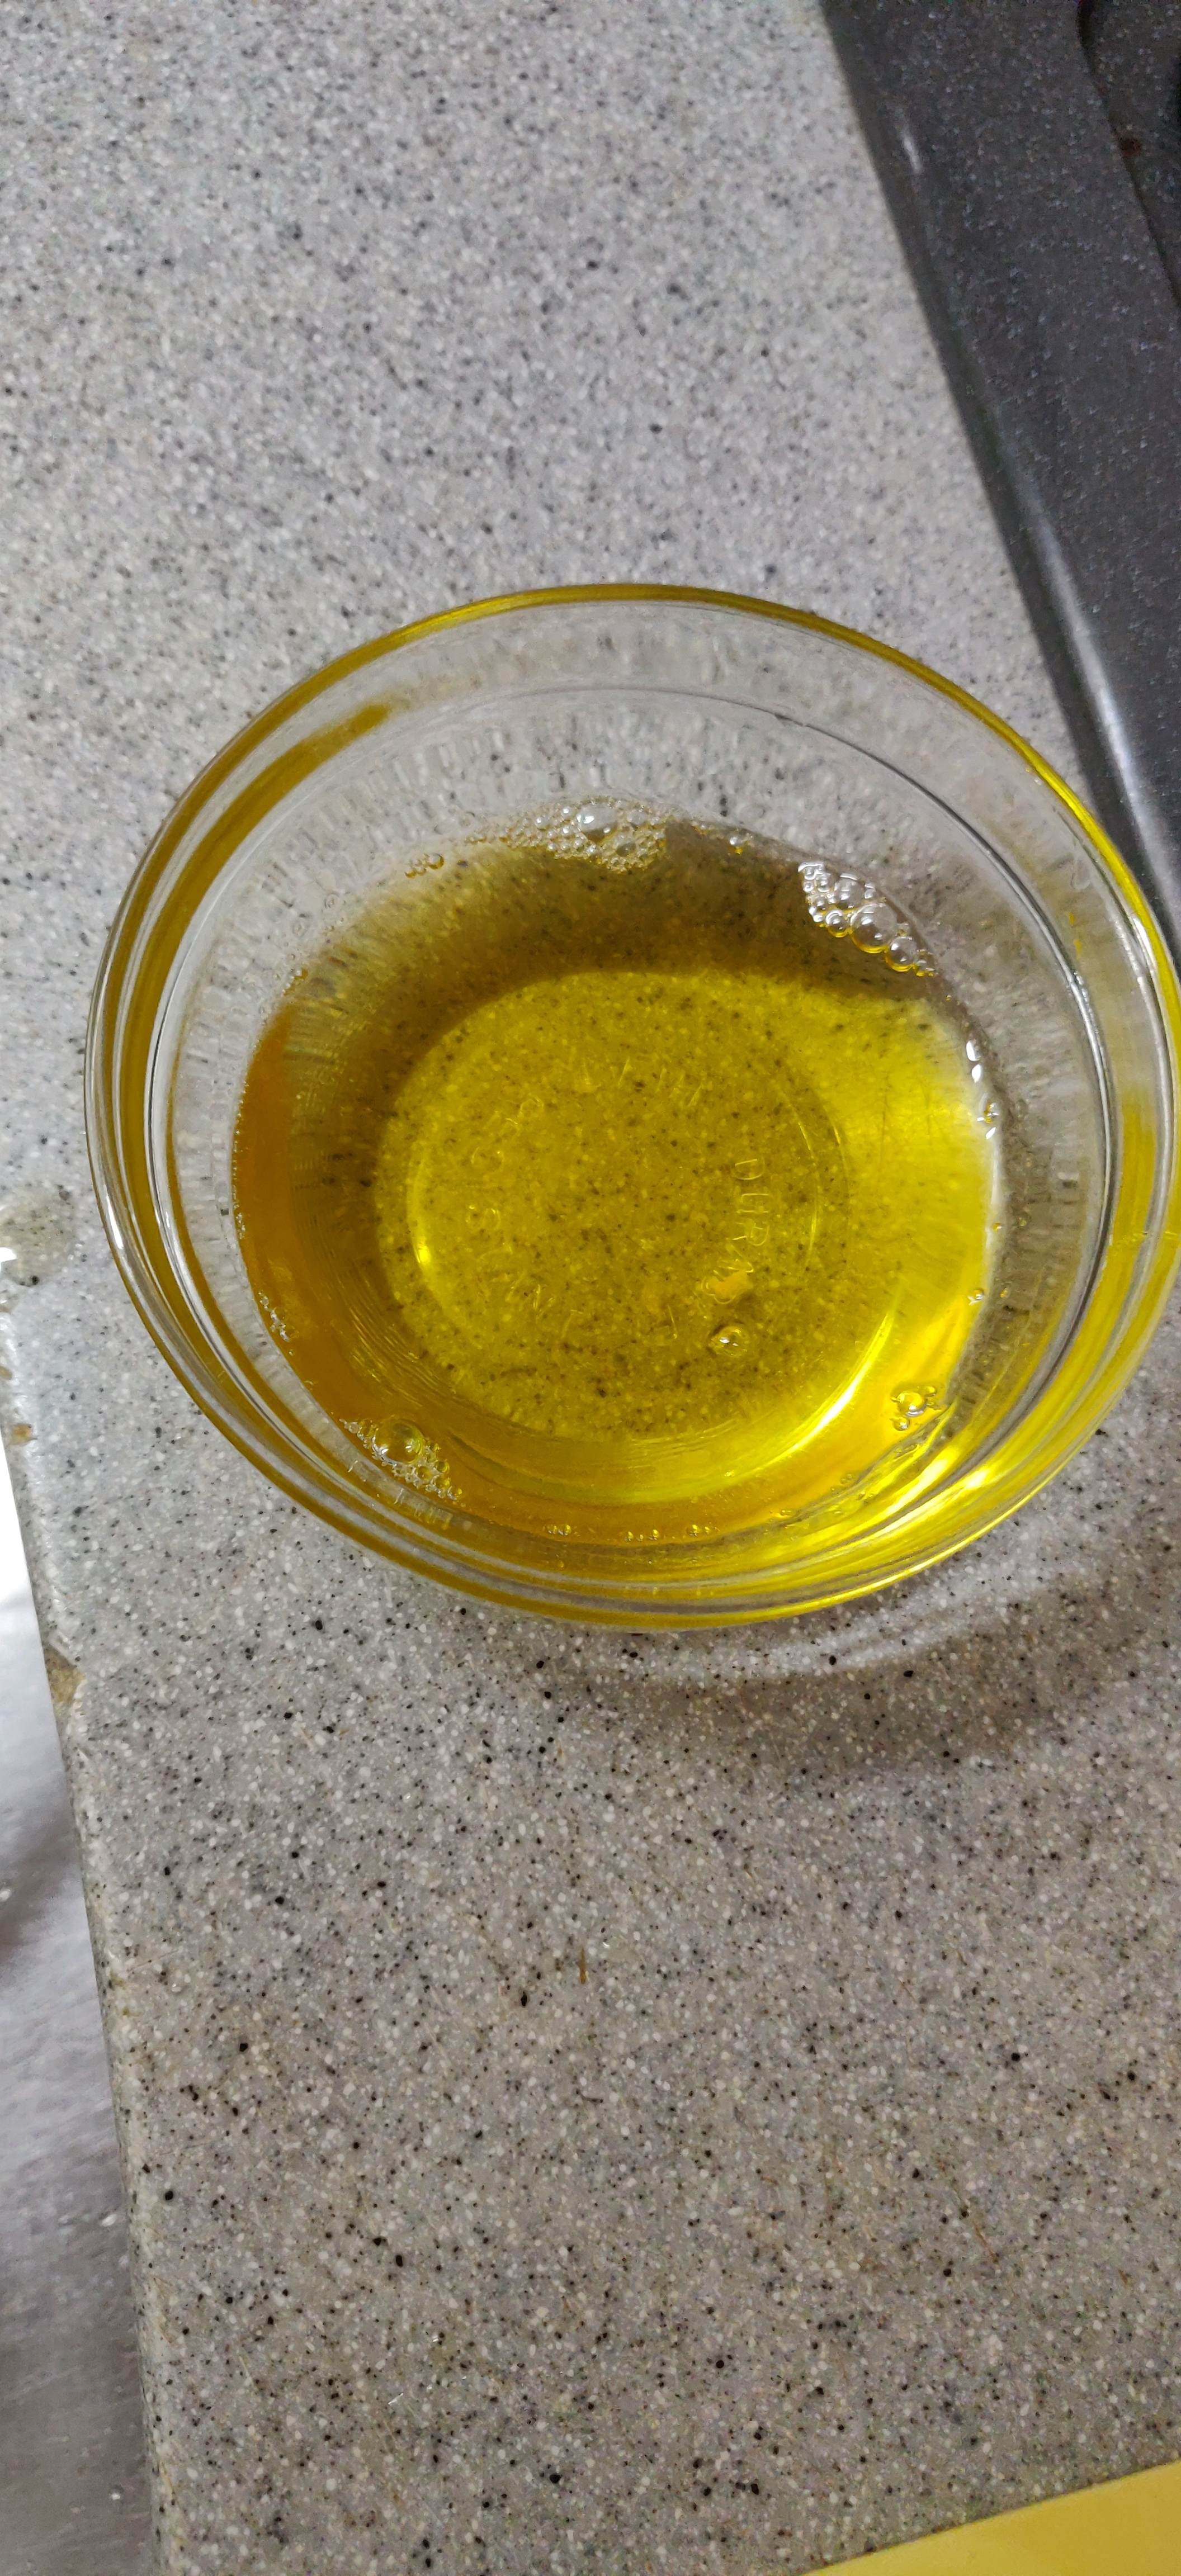
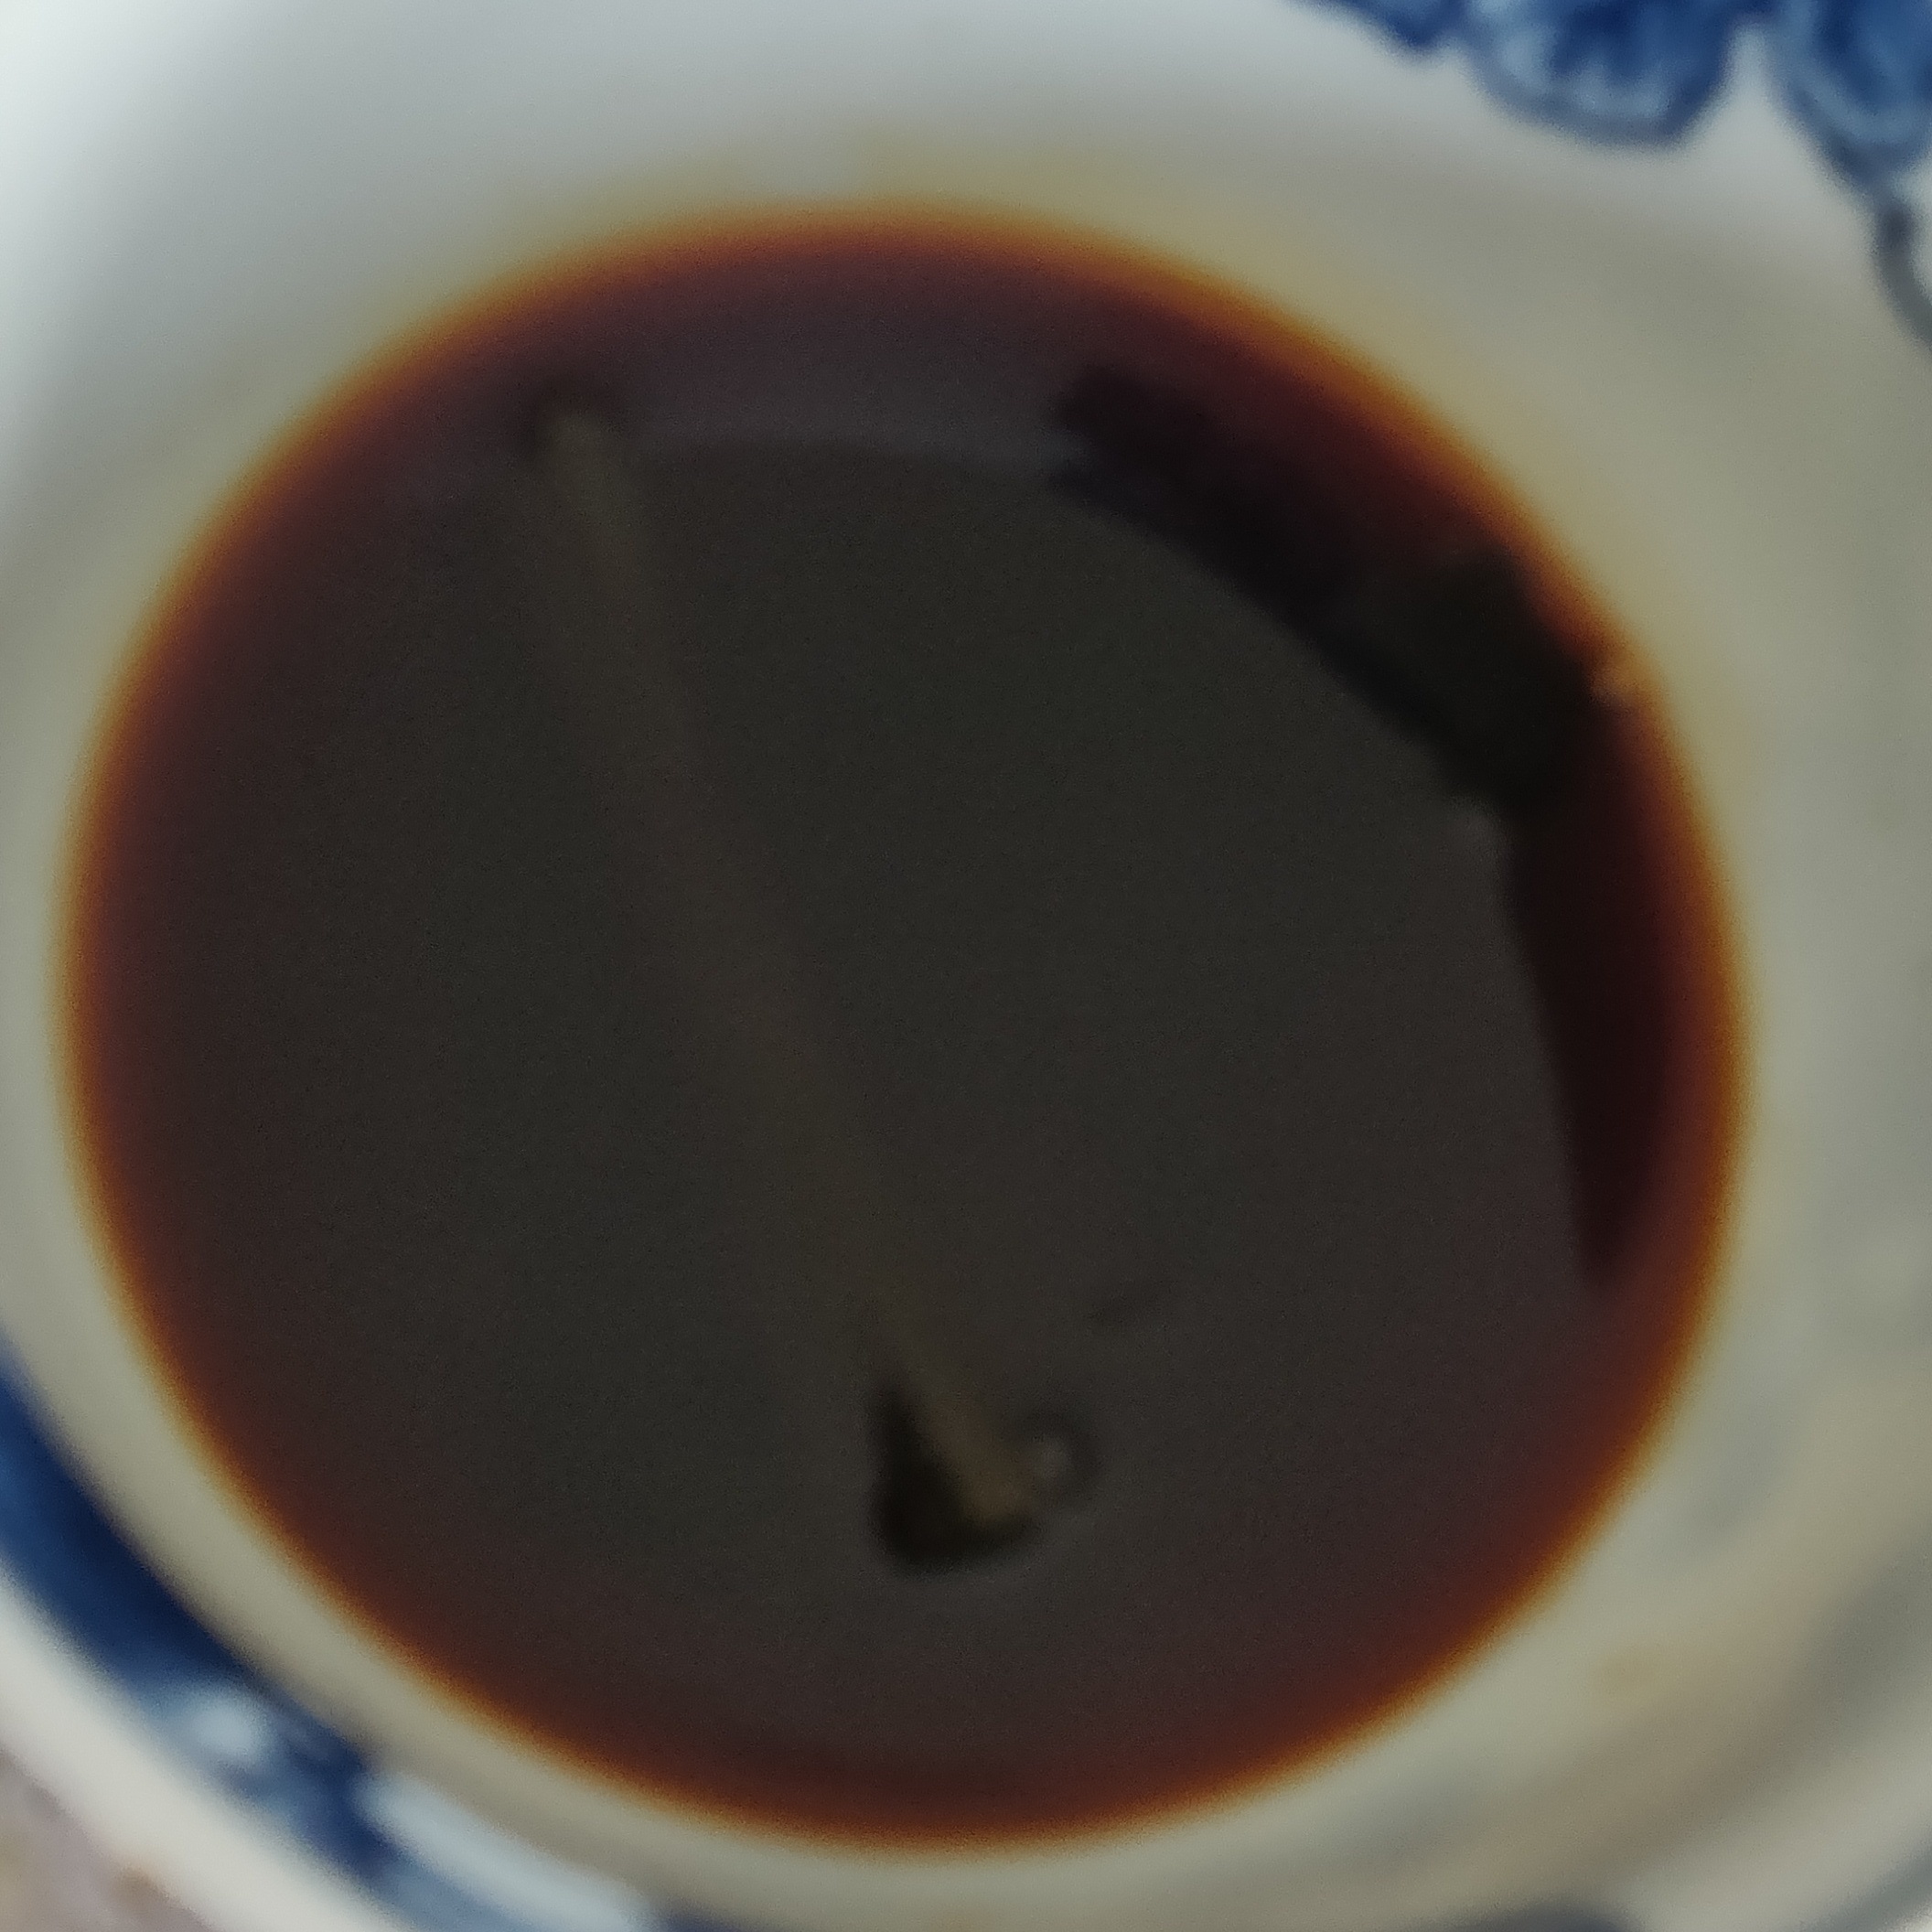
Once you let your soup simmer for 5 hours, I pulled out my chicken thighs and put them in my shoyu seasoning tare before adding my dried fish broth in to pot for the last hour. You really don’t want to do this too long, so save it for the last hour so that your soup remains as clear as possible. You’ll get a slight coloring from the Konbu, but it won’t make that much of a difference once you’ve mixed your tare and chicken oils when mixing in to your bowl. The photo on the right is the chicken oil. You want something clean like the one pictured without any burning and char, which is why it is incredibly important you render the fat on low heat.
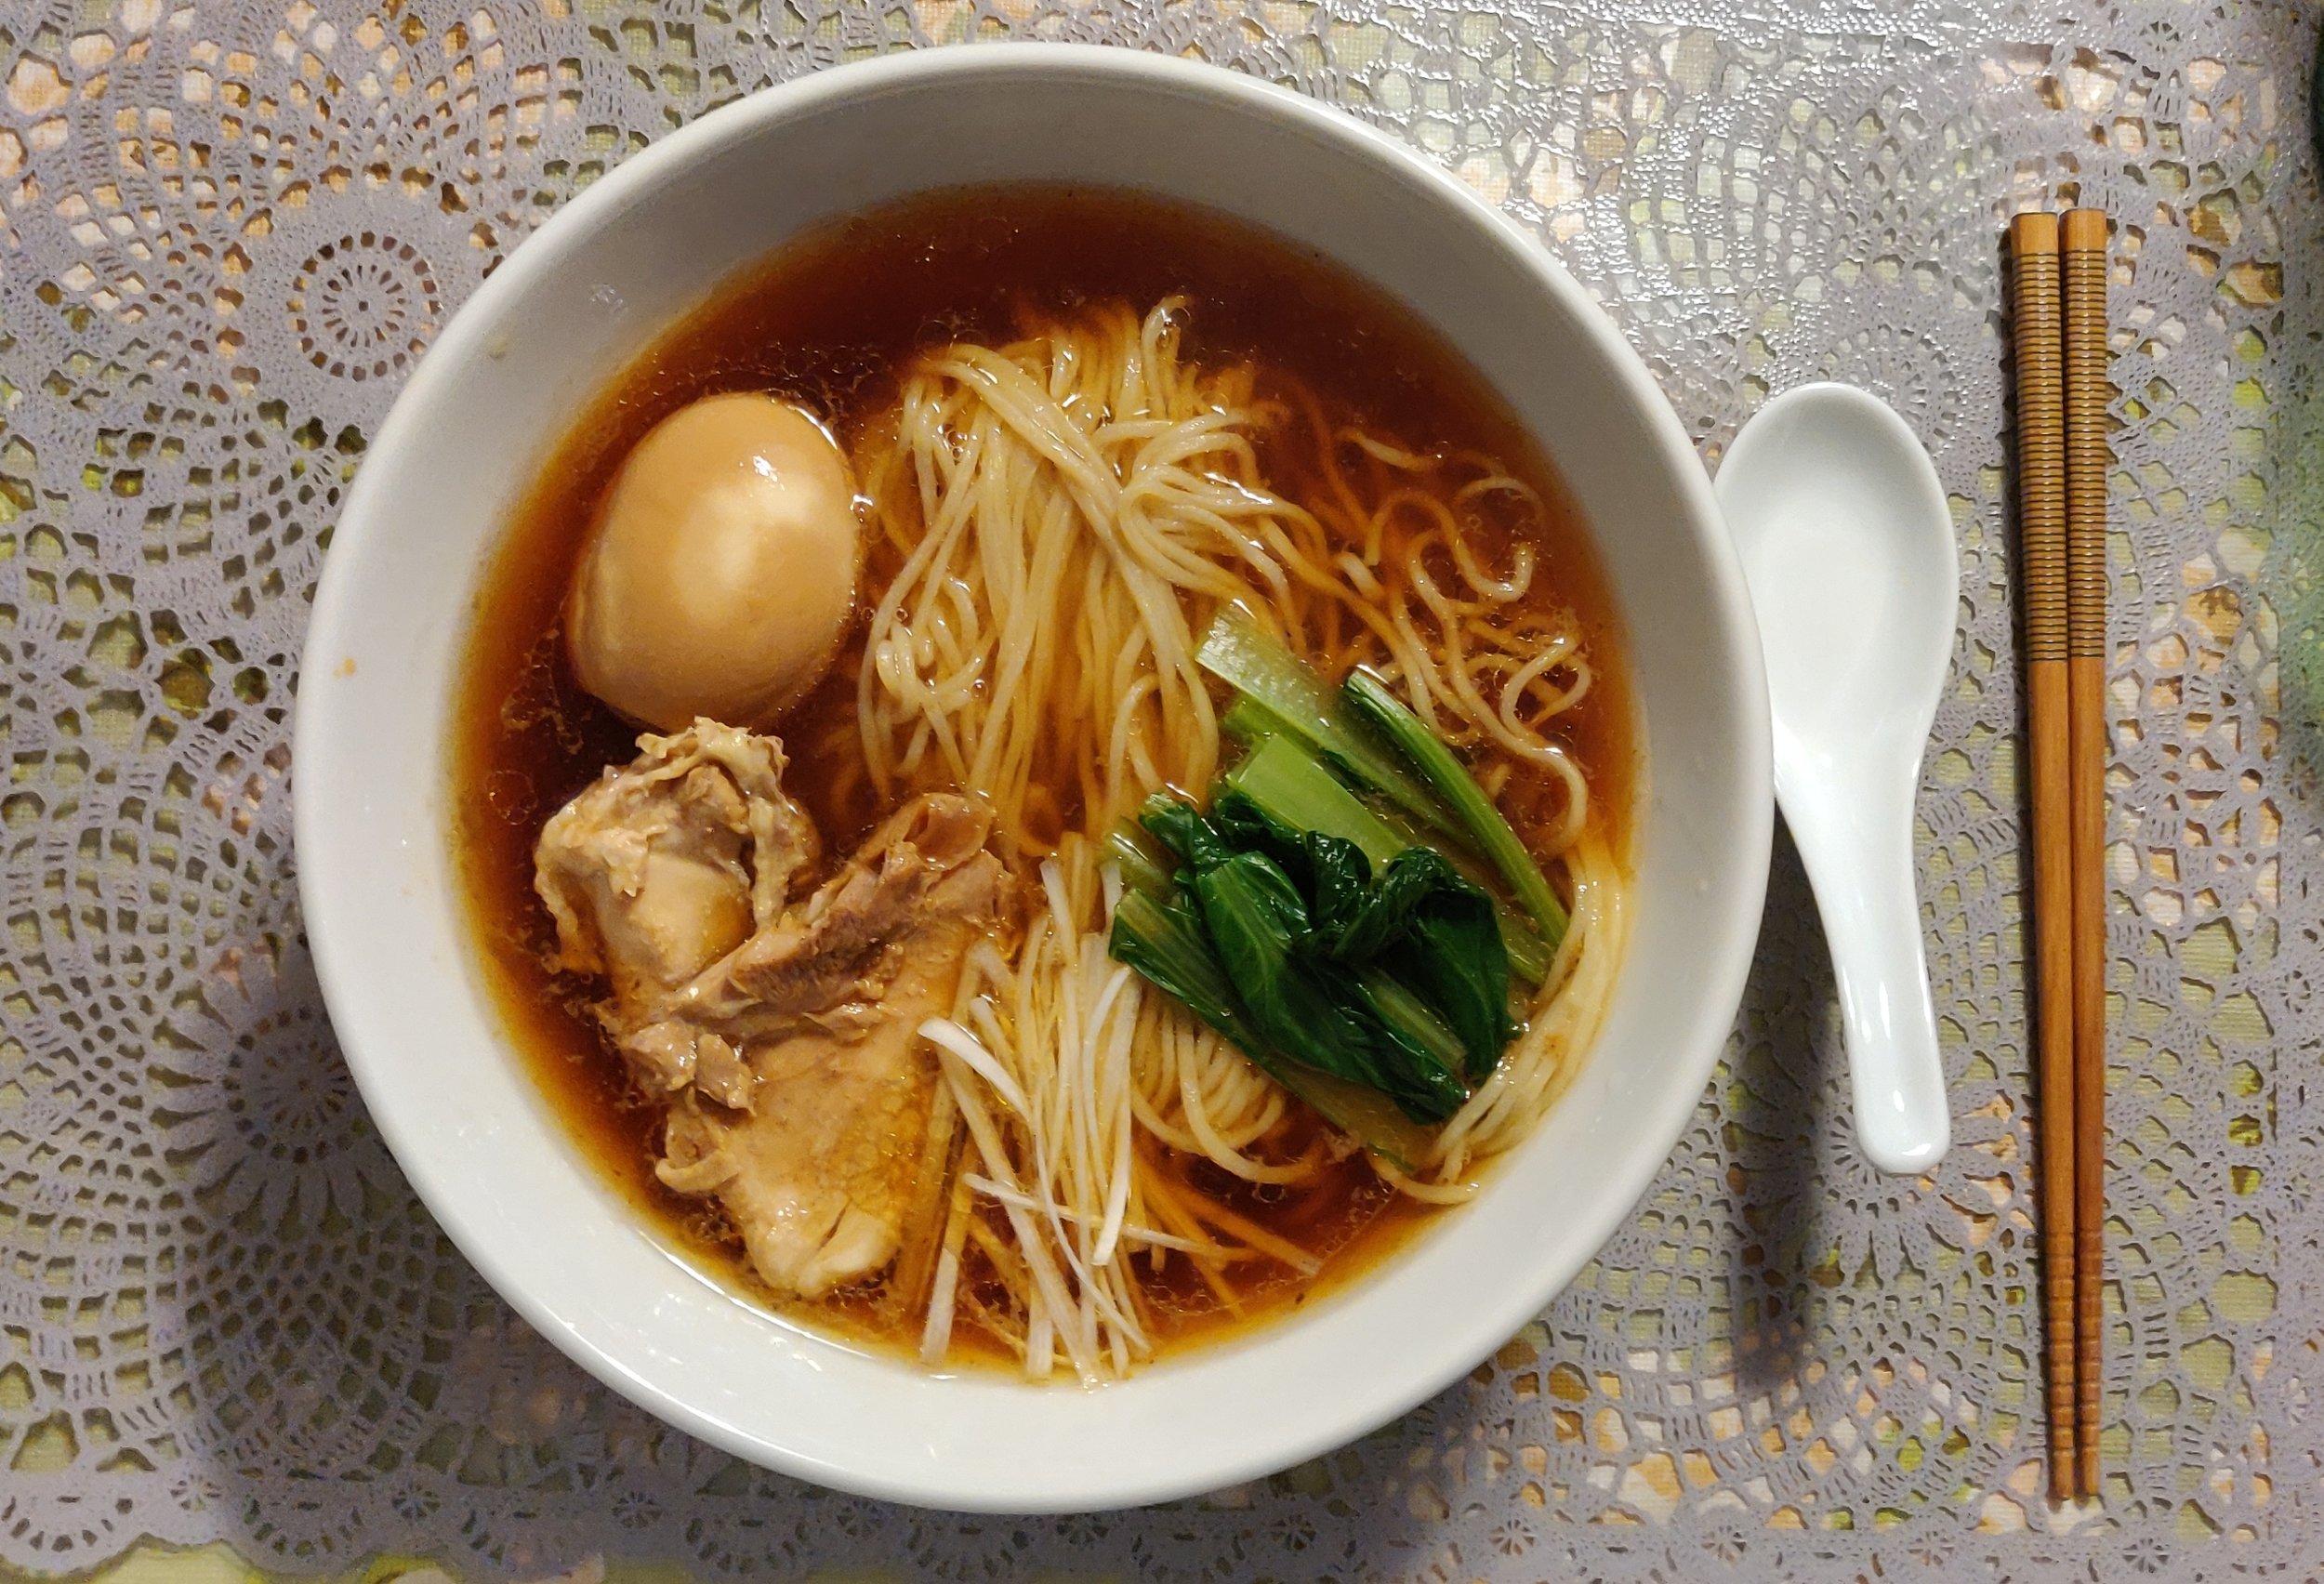
When preparing your bowl, combine about 3 tablespoons of the shoyu tare, a tablespoon of the chicken oil, and about two cups of your broth. Cook your noodles for about 2 minutes. Given how thin they are, it won’t take long to cook. As topping I blanched some mustard greens and thinly sliced the white portion of the leak and soaked them in water to eliminate any sharp bitterness from them. I also made a soft boiled egg by boiling them for about 6 and a half minutes and then letting them soak in my shoyu tare I made earlier. Slice up the chicken thighs and place them on top as well, or if you ended up making the chicken breasts as topping, throw those on top. A bit of scallions would have been a good touch as well if you have any. But yeah, this was my long and painstaking process of making authentic Tokyo style Shoyu Ramen. If you have any questions, feel free to message me on any of my social media platforms or leave it down below!
