How to Make Ramen Jiro at Home

Much like everyone else during this time in 2020, I’ve been self isolating and quarantining myself at home while avoiding going out unless absolutely necessary. Japan isn’t necessarily a standard to look to in terms of isolating as a ton of restaurants, ramen and otherwise, remained open during this time with some even drawing ridiculous lines like nothing is even happening. Admittedly, I foolishly visited a number of these ramen restaurants early on in the quarantine when I left the house for groceries and running errands. As time passed and news of outbreaks became more common, I realized my reckless behavior and decided a self quarantine was necessary thus beginning my brainstorm of ways to enjoy ramen without leaving the confines of my home. Easiest way was just stockpiling a bunch of cup noodles and supermarket ready meal ramen, with another option being buying the takeaway ramen being offered by shops around Tokyo. First option was rather boring and the second meant I still had to leave my house traveling around Tokyo to gather up these ramen kits from the various shops. While I could have feasibly and easily done these two options, I saw that an overwhelming number of readers of this blog were checking out my ramen recipe pages so I figured I’ll give the people what they want and tried my hand at attempting another bowl of homemade ramen.
Fair warning, I am by no means a professional chef. I do enjoy cooking, but I have never worked in a kitchen or held any food prep jobs apart from cutting limes and oranges for cocktails during my short stint as a bartender. The equipment I have at my house, and used in this recipe, are pretty typical of most kitchens. I would even go as far as to say I’m under equipped to be making ramen, but I had the determination and more importantly, I had a a lot of free time, so here’s my amateur recipe of a bowl of ramen you’d typically find in a Ramen Jiro-eque shop.

Relative to other types of ramen, the ingredient list for Jiro is actually pretty easy to obtain if you have a butcher shop nearby. I don’t think your local Tesco or Walmart will carry pork bones, but if you head to your local meat shop, I’m sure they have these in the back that’s ready to be chucked. Just ask them for a bag of them and I don’t think it’ll cost your more than a tenner, or $10. Apart from that, you should find everything else in your local supermarket. I decided on making my own noodles for this recipe, but if you decide that’s a bit of a hassle, pick up some ramen noodles if you find any. If you can’t, a tip I saw online is buying some thick spaghetti noodles and throwing in some baking soda in the cooking water. It should give it the alkaline to the noodles so it more closely resembles ramen noodles. Thicker the better here so skip out on the angel hair (which, by the way, is terrible pasta that you shouldn’t be eating in the first place) and get yourself a nice thick spaghetti or even a fettuccine.
Broth
1 Pork Femur Bones
12 inches of Pork Backbone
Pork Back Fat (as much as you want)
1 Carrot
1 Japanese Long Onion
1 Onion
1 Garlic
1 Ginger
500g Pork Shoulder (For the Char Siu later)
Seasoning Tare
Topping
Bean Sprouts
Cabbage
Garlic
Noodles
High Protein Flour
Water
Salt
Kansui (Linked to an Amazon product page, but you can make your own if you’re not in Japan by baking Baking Soda)
Broth

First off, what you’re gonna want to do is make your broth because this takes the most time. Some people add ingredients in batches and add them in at separate times to adjust for maximum broth steeping, but with Jiro style ramen broths, I tend to just throw everything except the pork back fat in to the pot and let it simmer throughout the day. The problem I had was that I didn’t have a pot big enough to fit all the ingredients I had prepared so I had to throw mine in separate pots. Anyways, I first blanched my bones in boiling water and scrubbed off any blood, bloodlines, and excess scum from the bones before putting them in to the stockpot. Just a heads up, if you bought your pork femur bones whole, I recommend breaking it in half if you have a saw, although not entirely necessary. For the first thirty minutes or so, stay by your stockpot and skim off any foam and scum that float to the surface. Once that clears, stick in the veggies and your pork shoulder for the char siu. Remove the pork char siu after an hour. After pulling out the pork shoulder, replace it with the pork back fat and let it go on low heat for 6-7 hours. As I mentioned in the ingredients list, you can add as much pork back fat as you want. Obviously, from the pictures below, I decided to go heavy on the fat which resulted in me splitting the broth in to two pots, but the more pork back fat you include, the more impactful and flavorful the broth will be. I also quite like using the pork back fat as topping and will marinate it in some soy sauce tare before pouring on top of my bowl, so I include extra for that as well. However, at the minimum, I would add at least 250 grams of pork back fat to your broth as it simmers away. Essentially, this is the last step, aside from checking up on it and giving it a gentle stir so it doesn’t scorch the bottom of your pot. So once you’re done with this, you can move on to the noodle making.

Tare
So at Jiro, the tare seasoning is the same as the marinade they use to flavor the pork char siu. Each shop is different, but for the most part it is comprised of soy sauce, mirin, and an msg called Haimi. If you can’t find haimi, get yourself a sachet of Ajinomoto. If you can’t get your hands on any MSG, just use salt. I go 3 parts soy sauce to 1 part mirin because the MSG/salt tends to up the sodium count. I will add a tablespoon of MSG for every 300 mL of soy sauce and then heat up the liquid until it comes to a boil. Once everything is fully incorporated, add in the pork shoulder from the broth and then seal in a ziplock bag in the fridge, preferably overnight, but at least 6 hours.
Noodles
So for your bowl, if you’re planning on making the noodles yourself, save yourself a lot of hassle by getting yourself a pasta maker. Would make your life even easier if you also get a stand mixer as well, but at the minimum, get a pasta machine. Making the dough is tiring, but not impossible to knead by hand, but rolling out the noodles, especially Jiro style noodles, is borderline impossible. The water content is incredibly low, so the dough will be extremely hard and rigid, hence rolling with just your hands and rolling pin will take a lot of strength and effort. If you end up not making your own noodles, grab some thick noodles at your local Asian supermarket and prepare as written. If you can’t find Asian style noodles, you can also grab some spaghetti, or better yet, fettuccine and add some baking soda while you cook them. The baking soda will add some alkalinity to the pasta and make them similar in texture to Japanese ramen noodles. In fact, a lot of home ramen chefs in Japan will do just that when making ramen at home and they’re too lazy to make their own noodles.
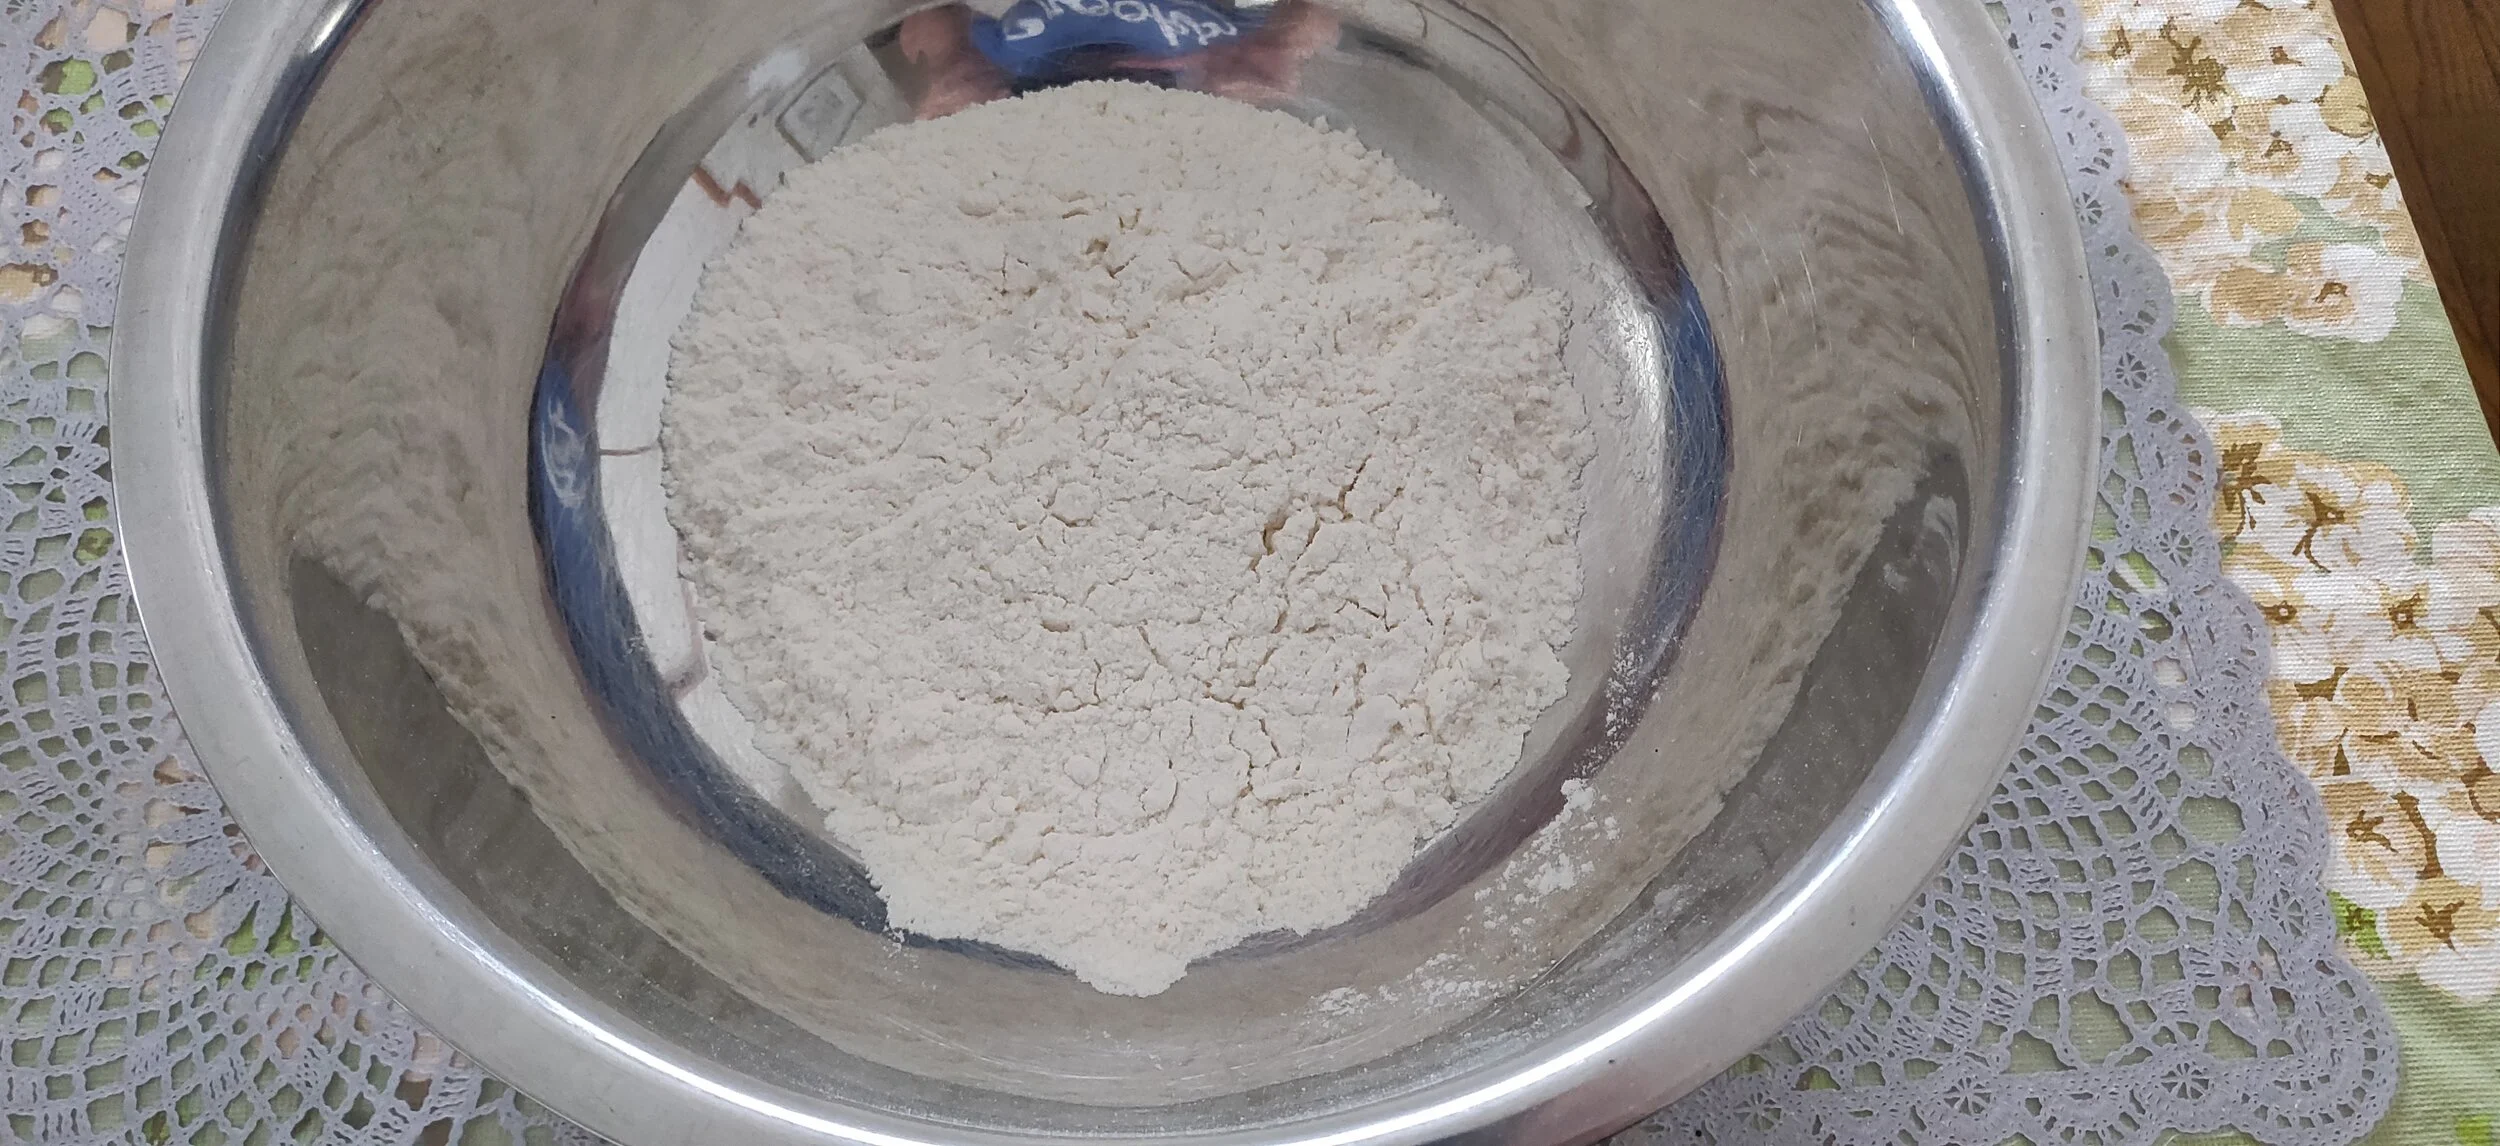
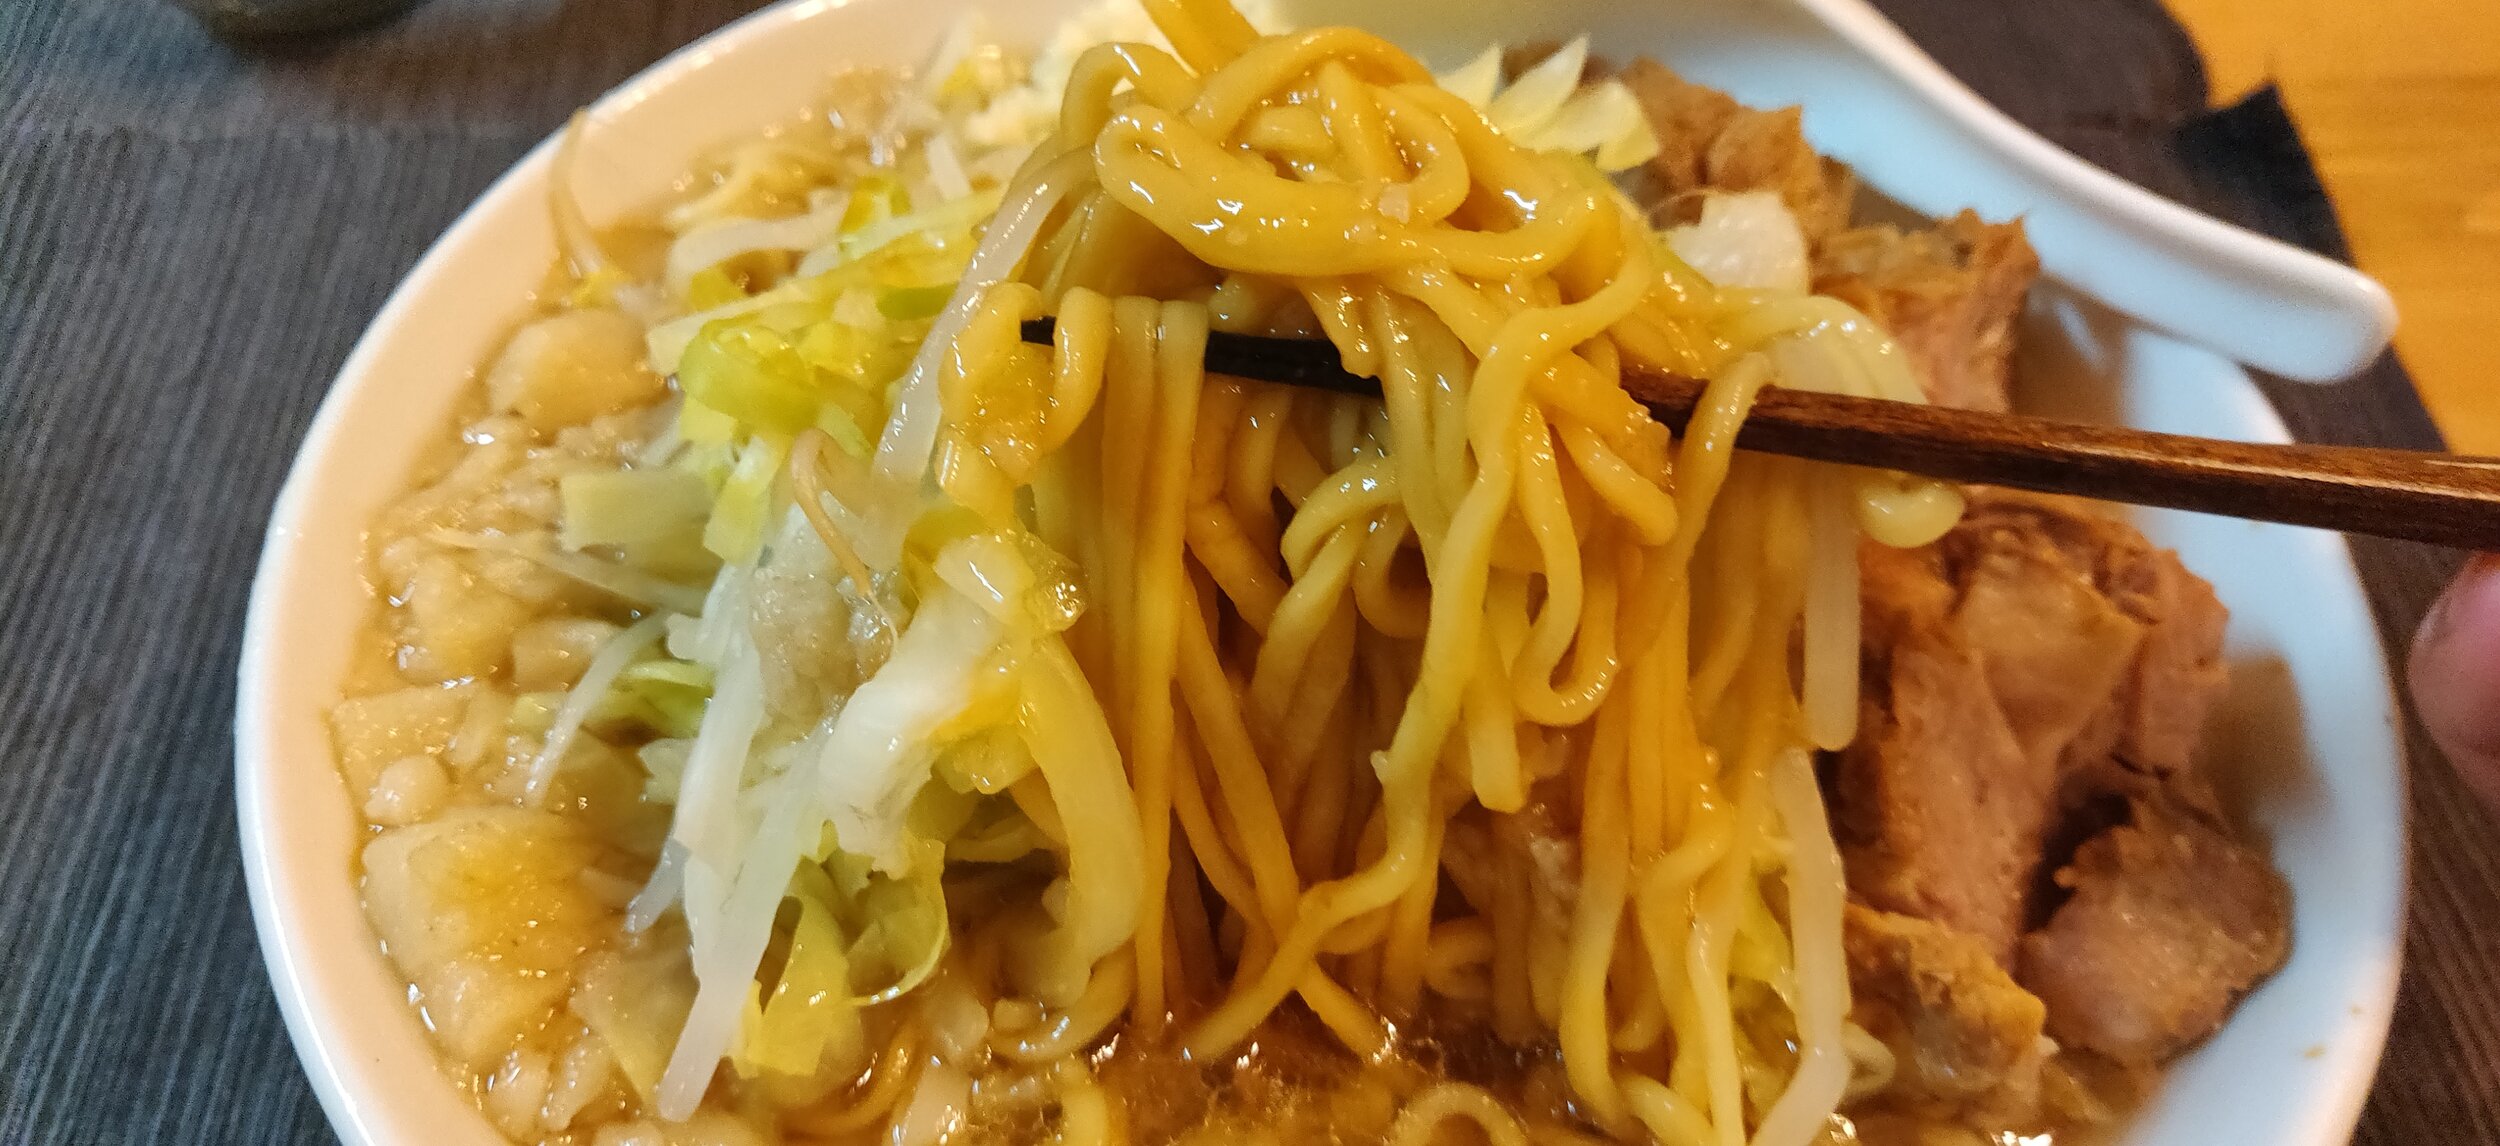
For ramen noodles in general, rather than following a measurement strict recipe, it’s better to think in terms of ratios of flour, salt, kansui, and water. For Jiro noodles, I aimed for a 35% water content noodle so I added 1 kg of flour to 350 ml of water and 10 grams each of salt and kansui. I included the Japanese Amazon link for kansui above, but if you’re unable to get kansui where ever you are, you can google how to make it using baking soda. Anyways, my proportion for noodles resulted in about 8-10 portions of noodles depending on how big one portion size is for you so if you want to make less, feel free to cut the flour amount in half. Just be sure to add enough water to give it 35% water content and 1% each for the salt and kansui.
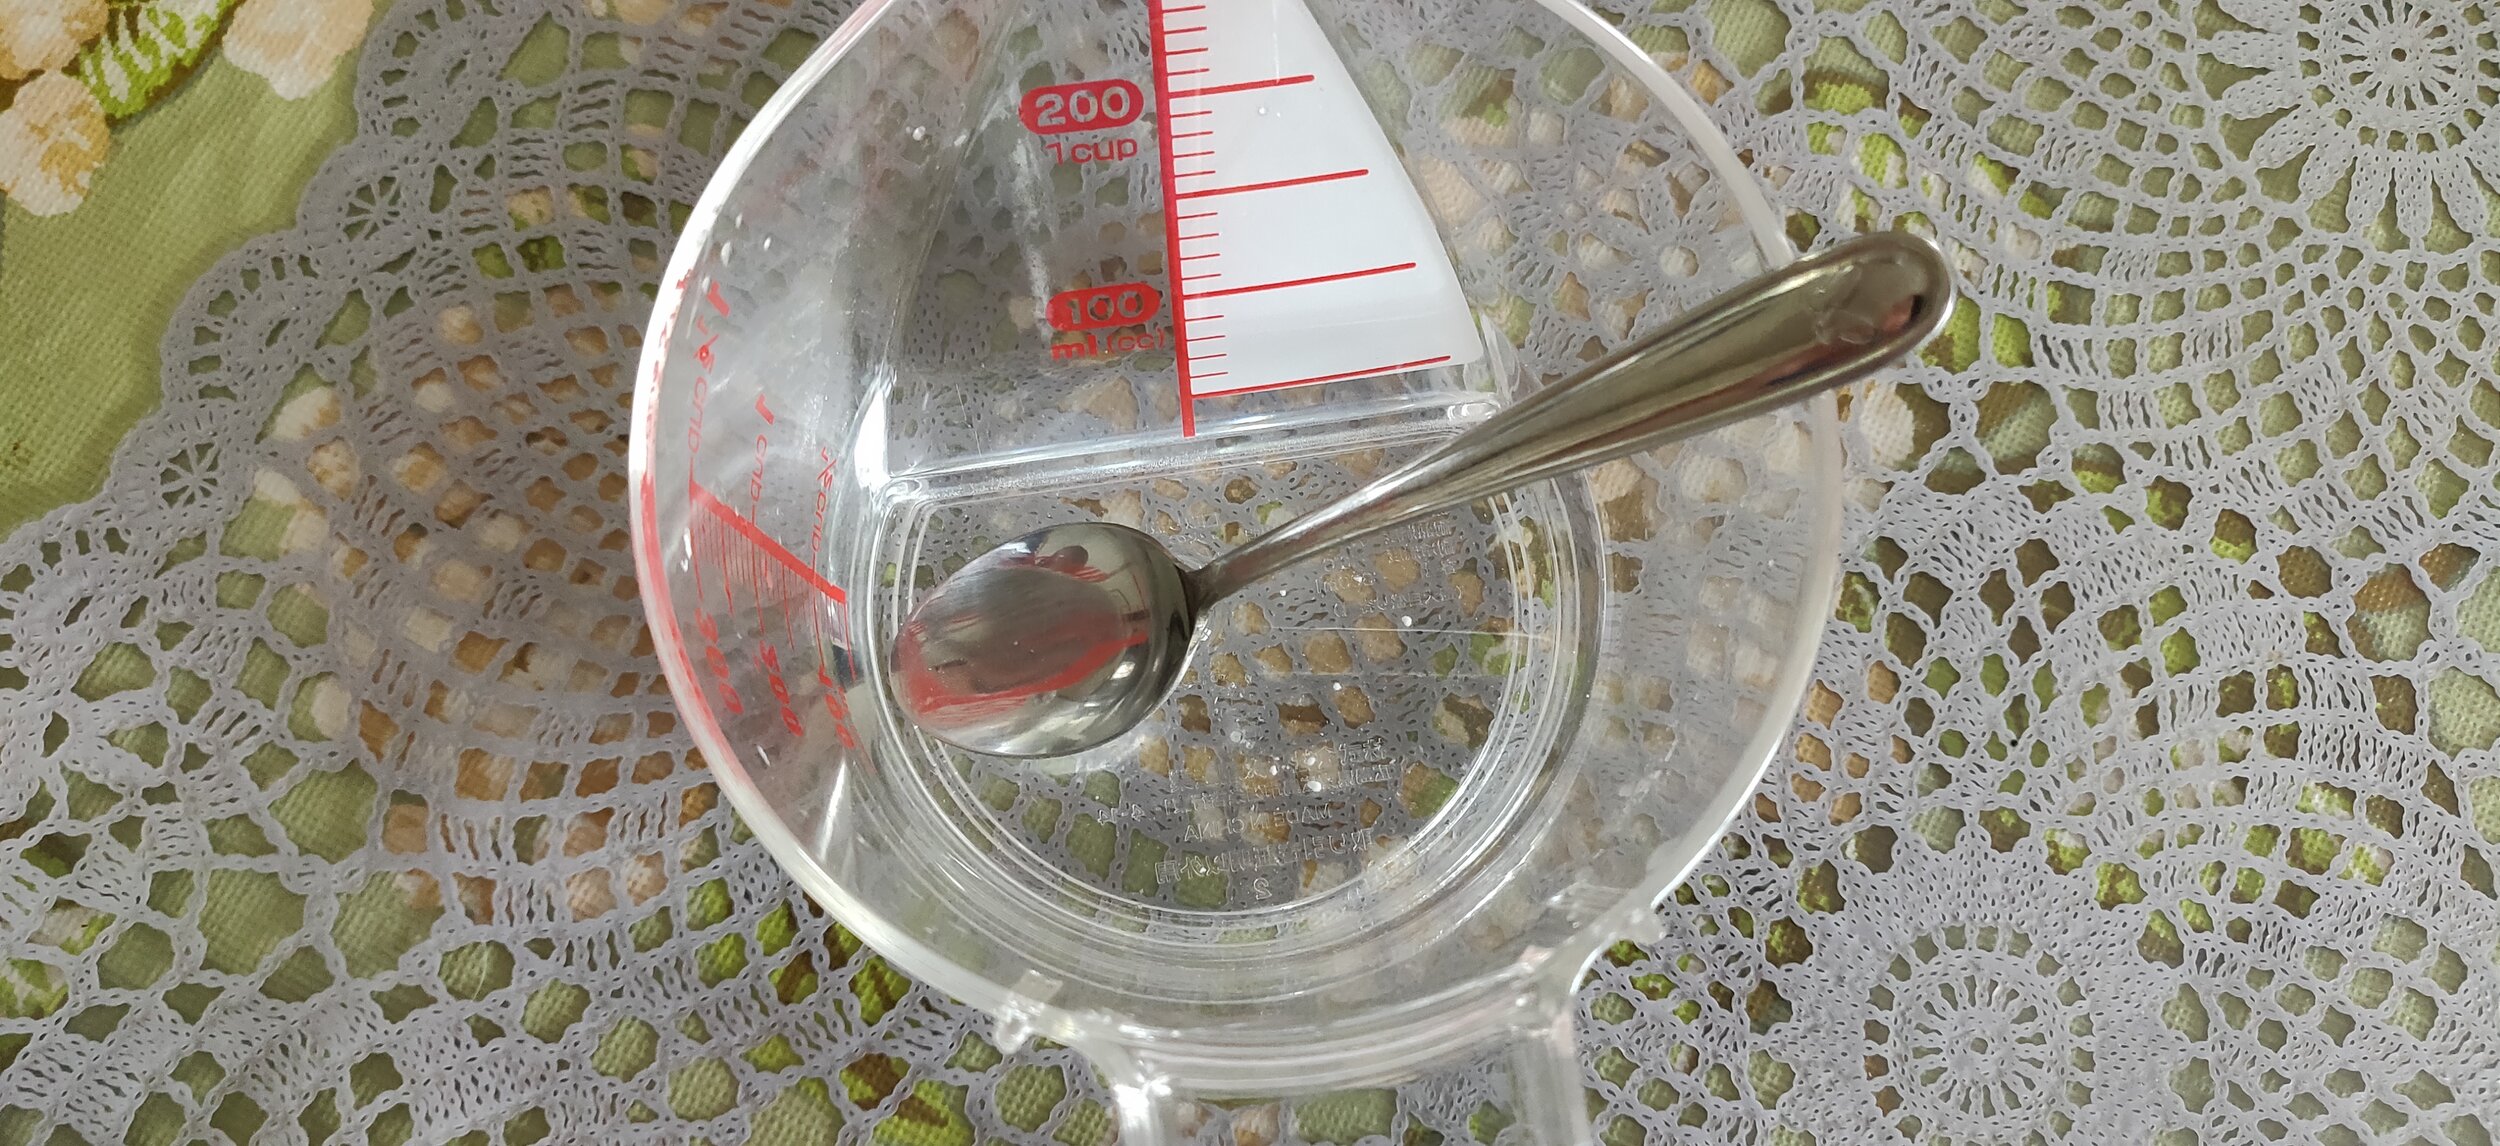
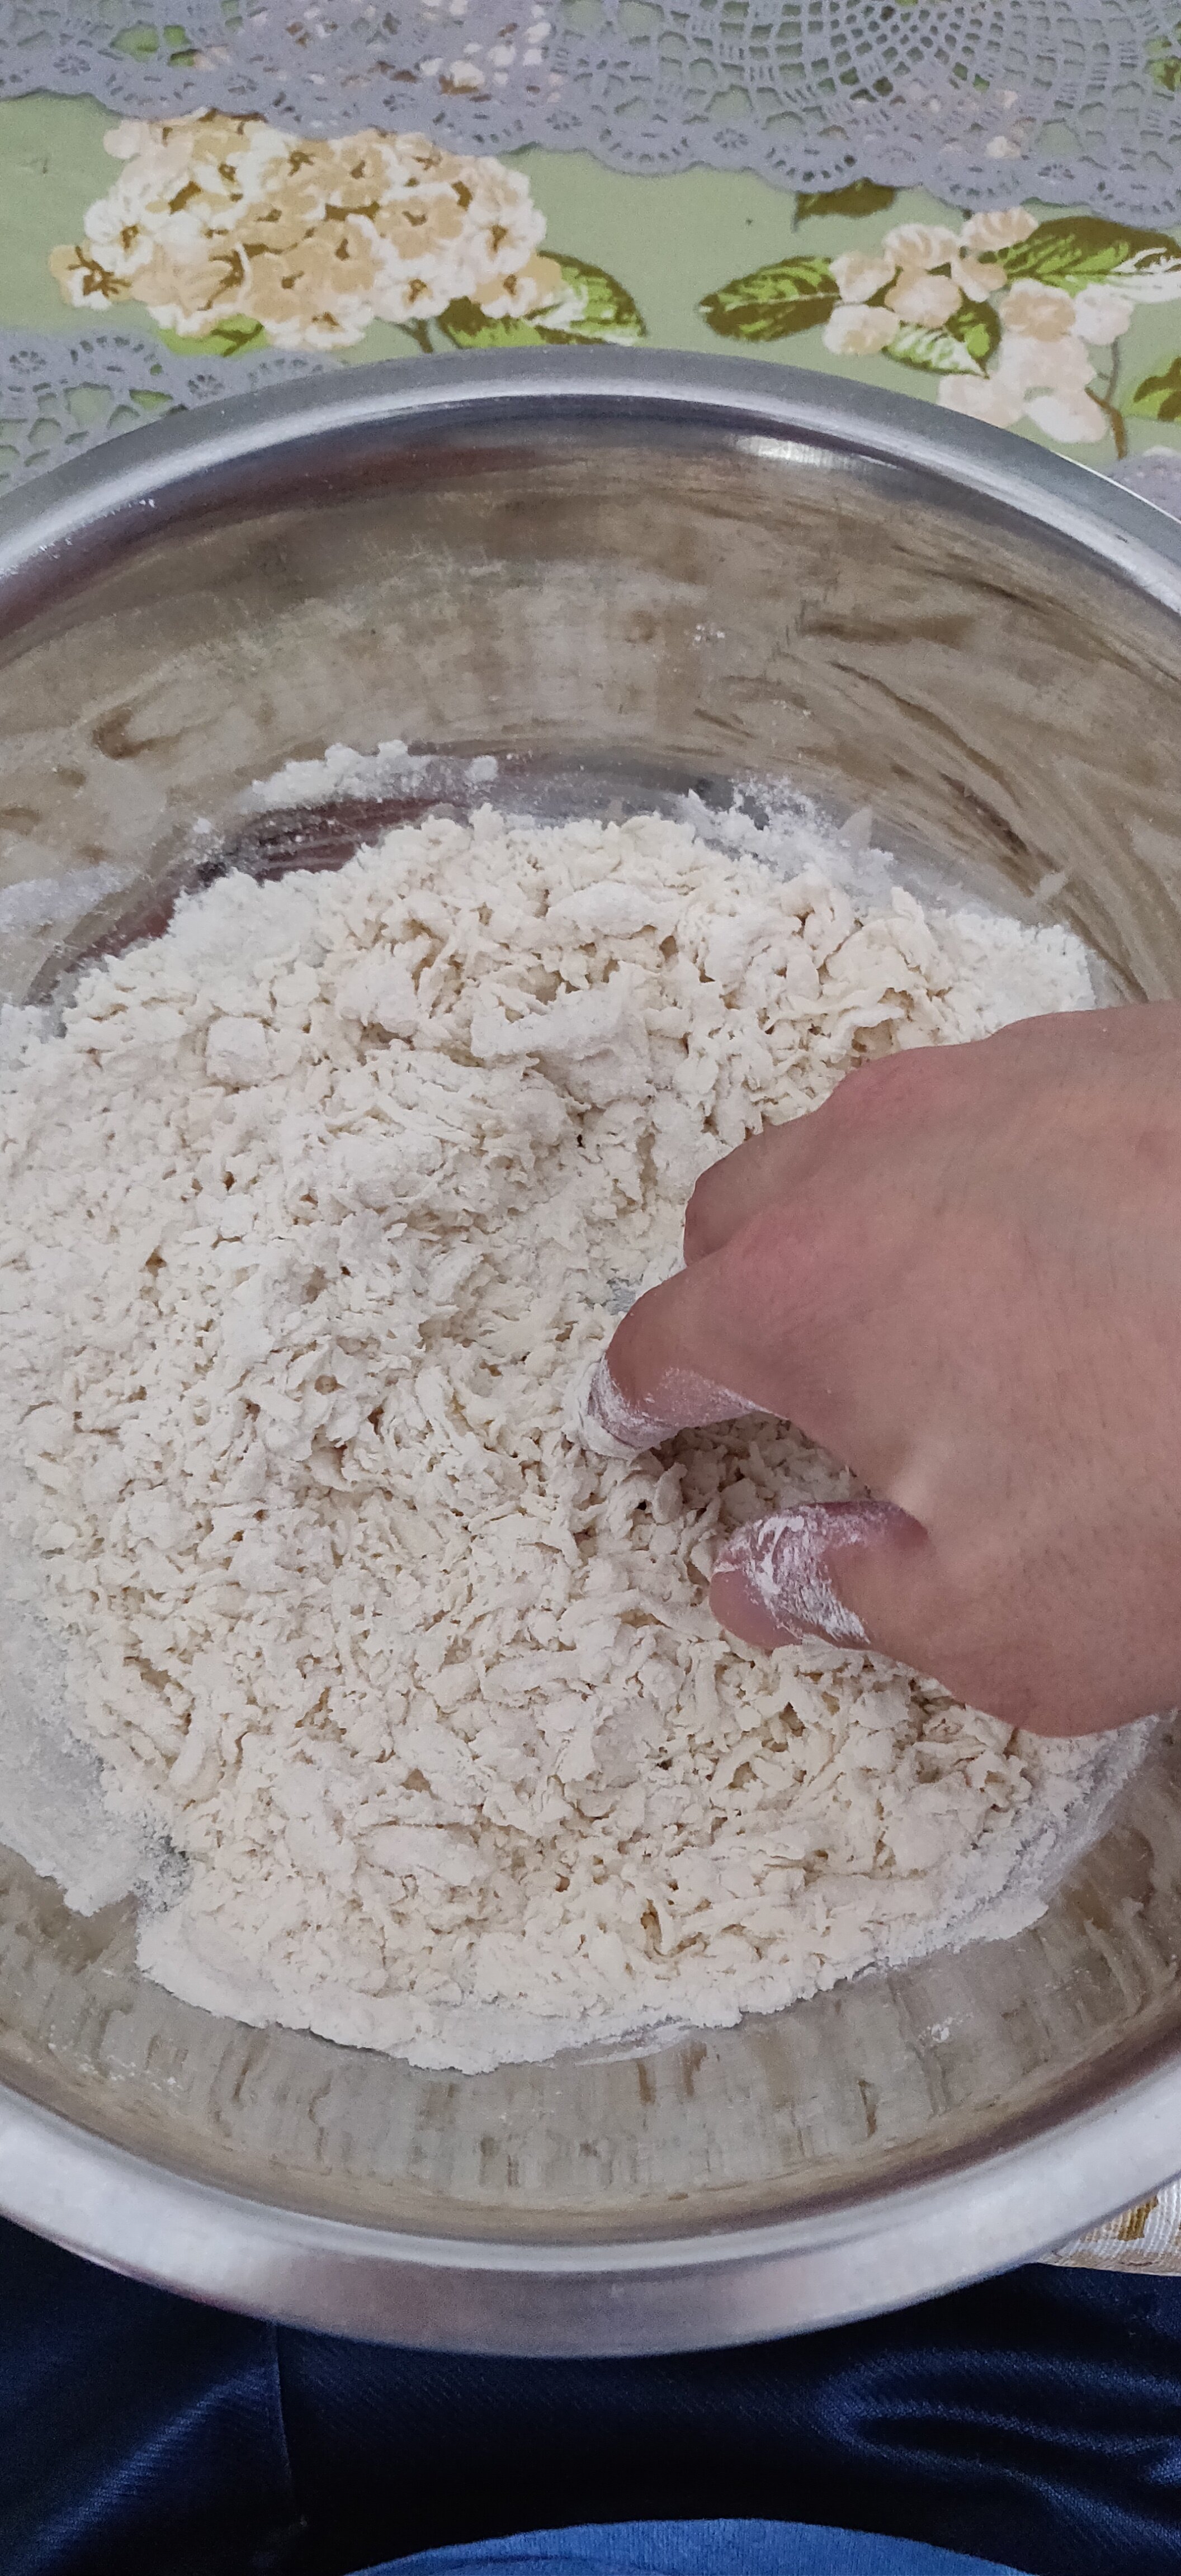
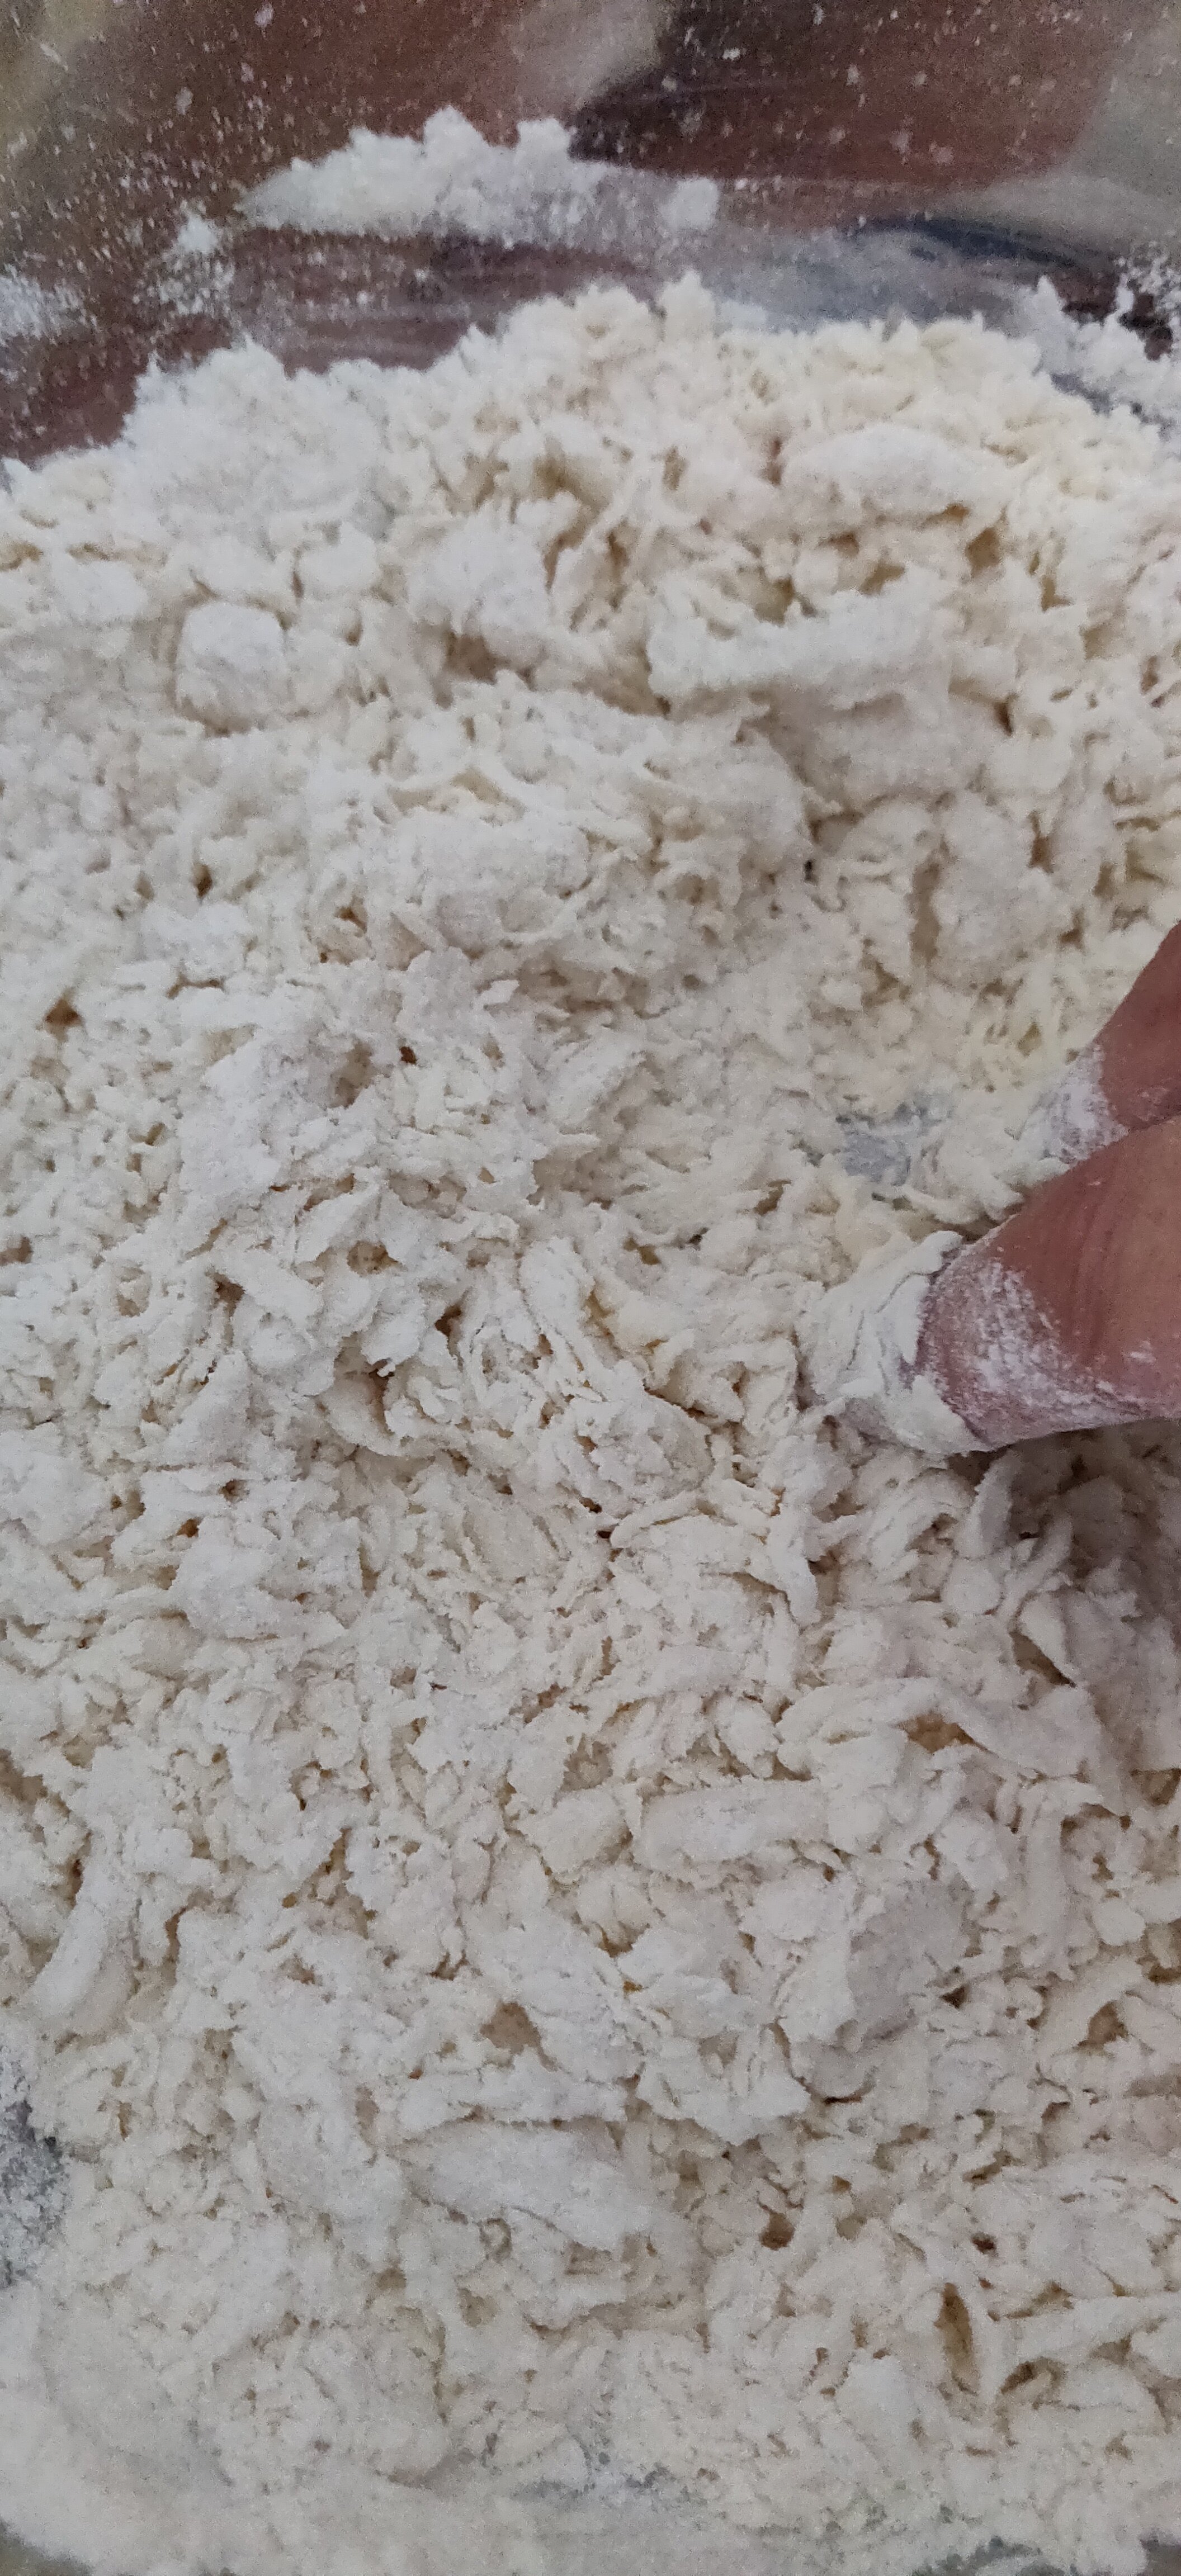
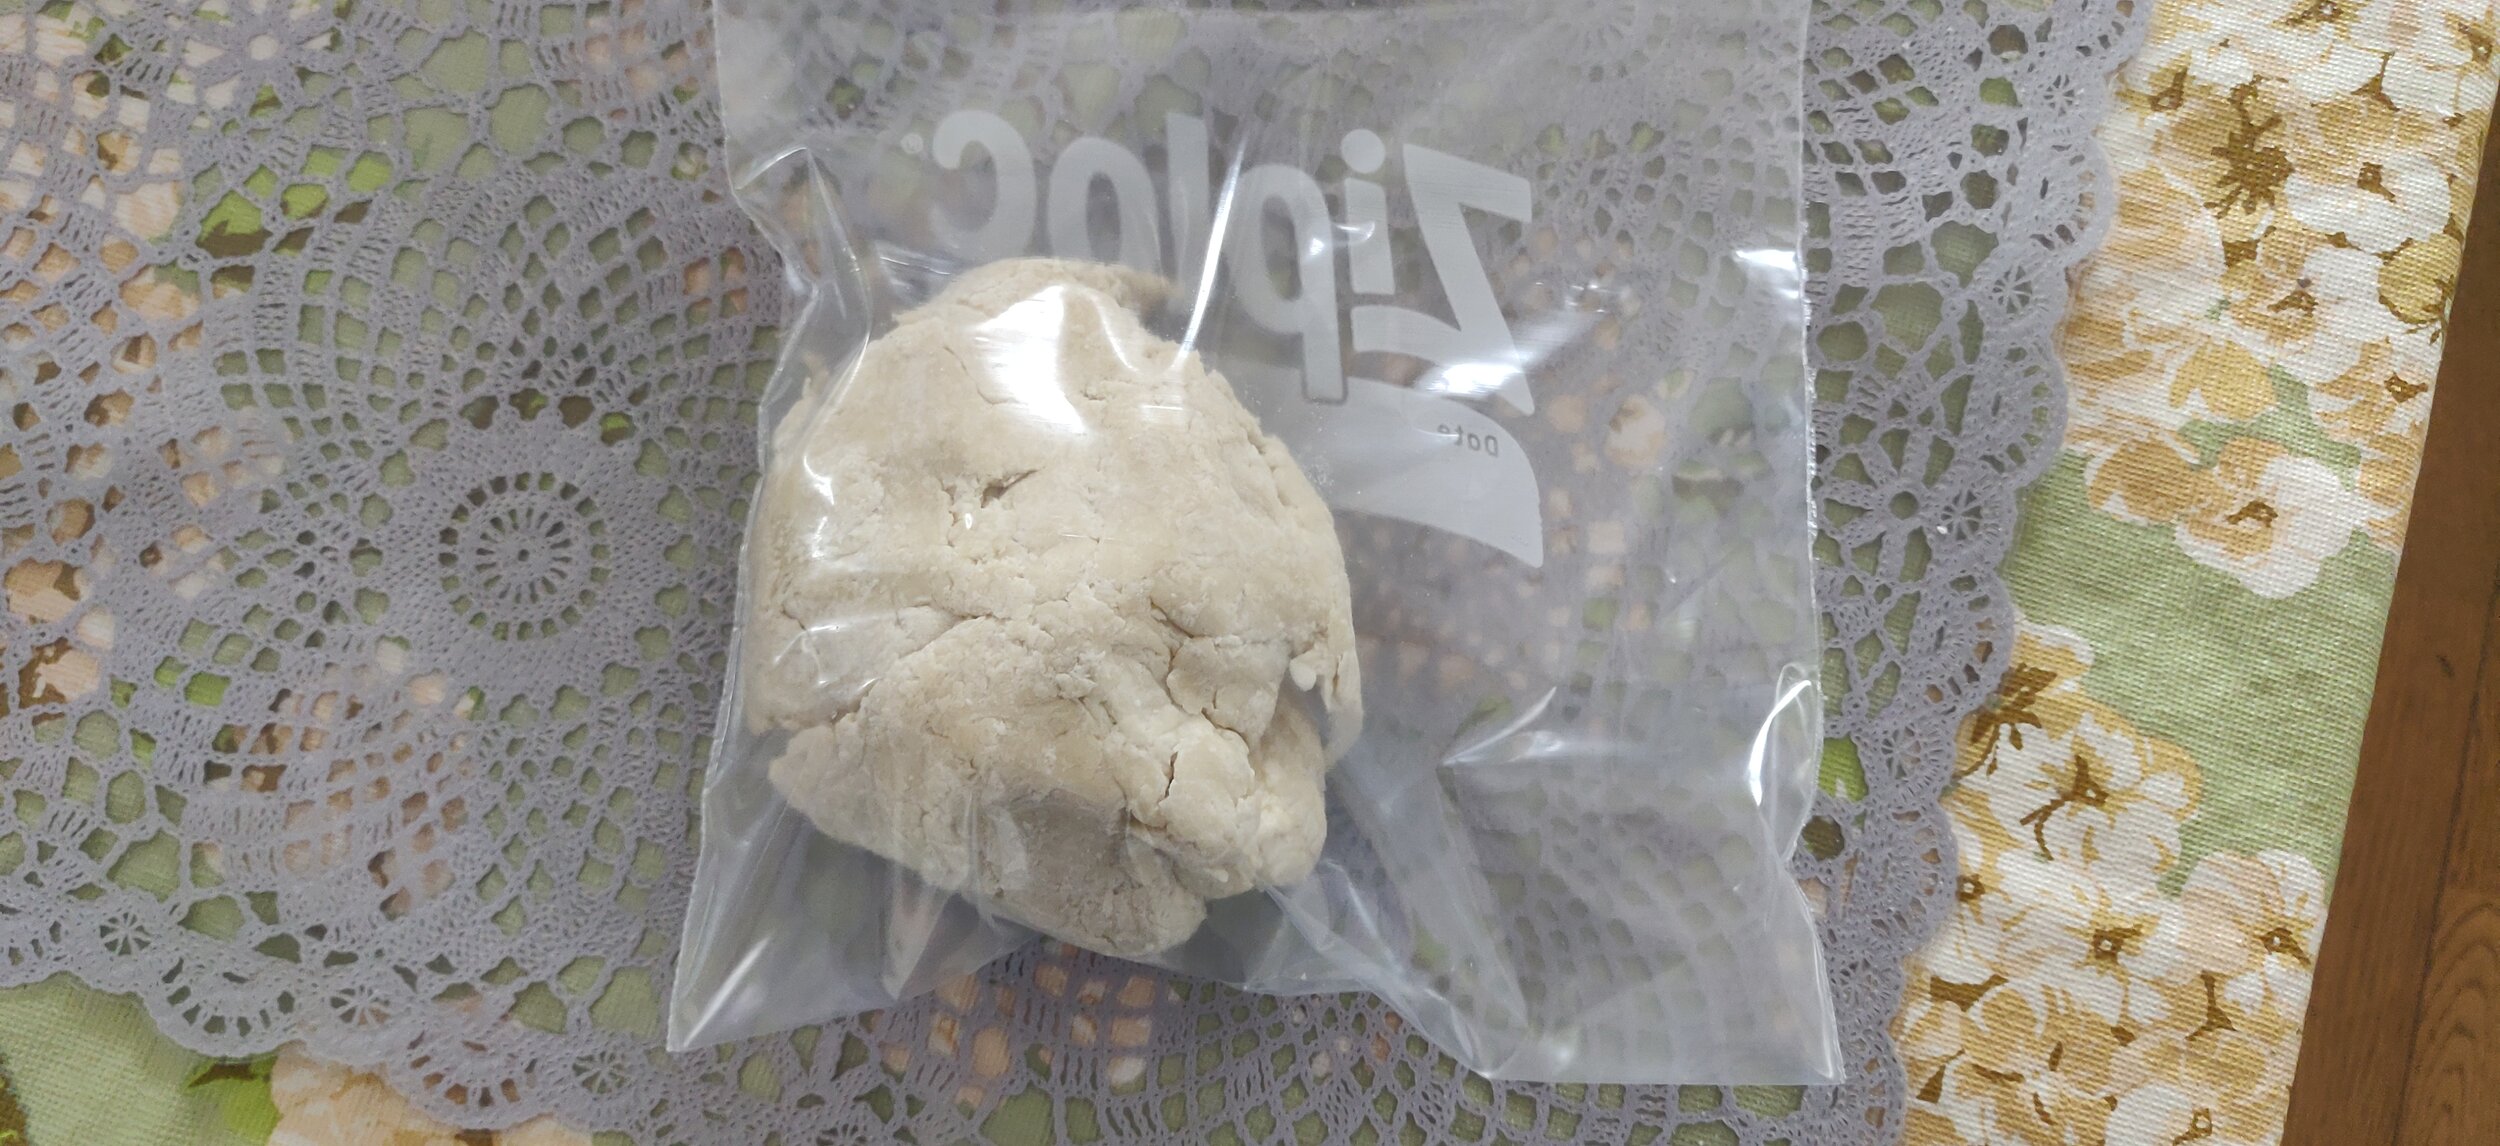
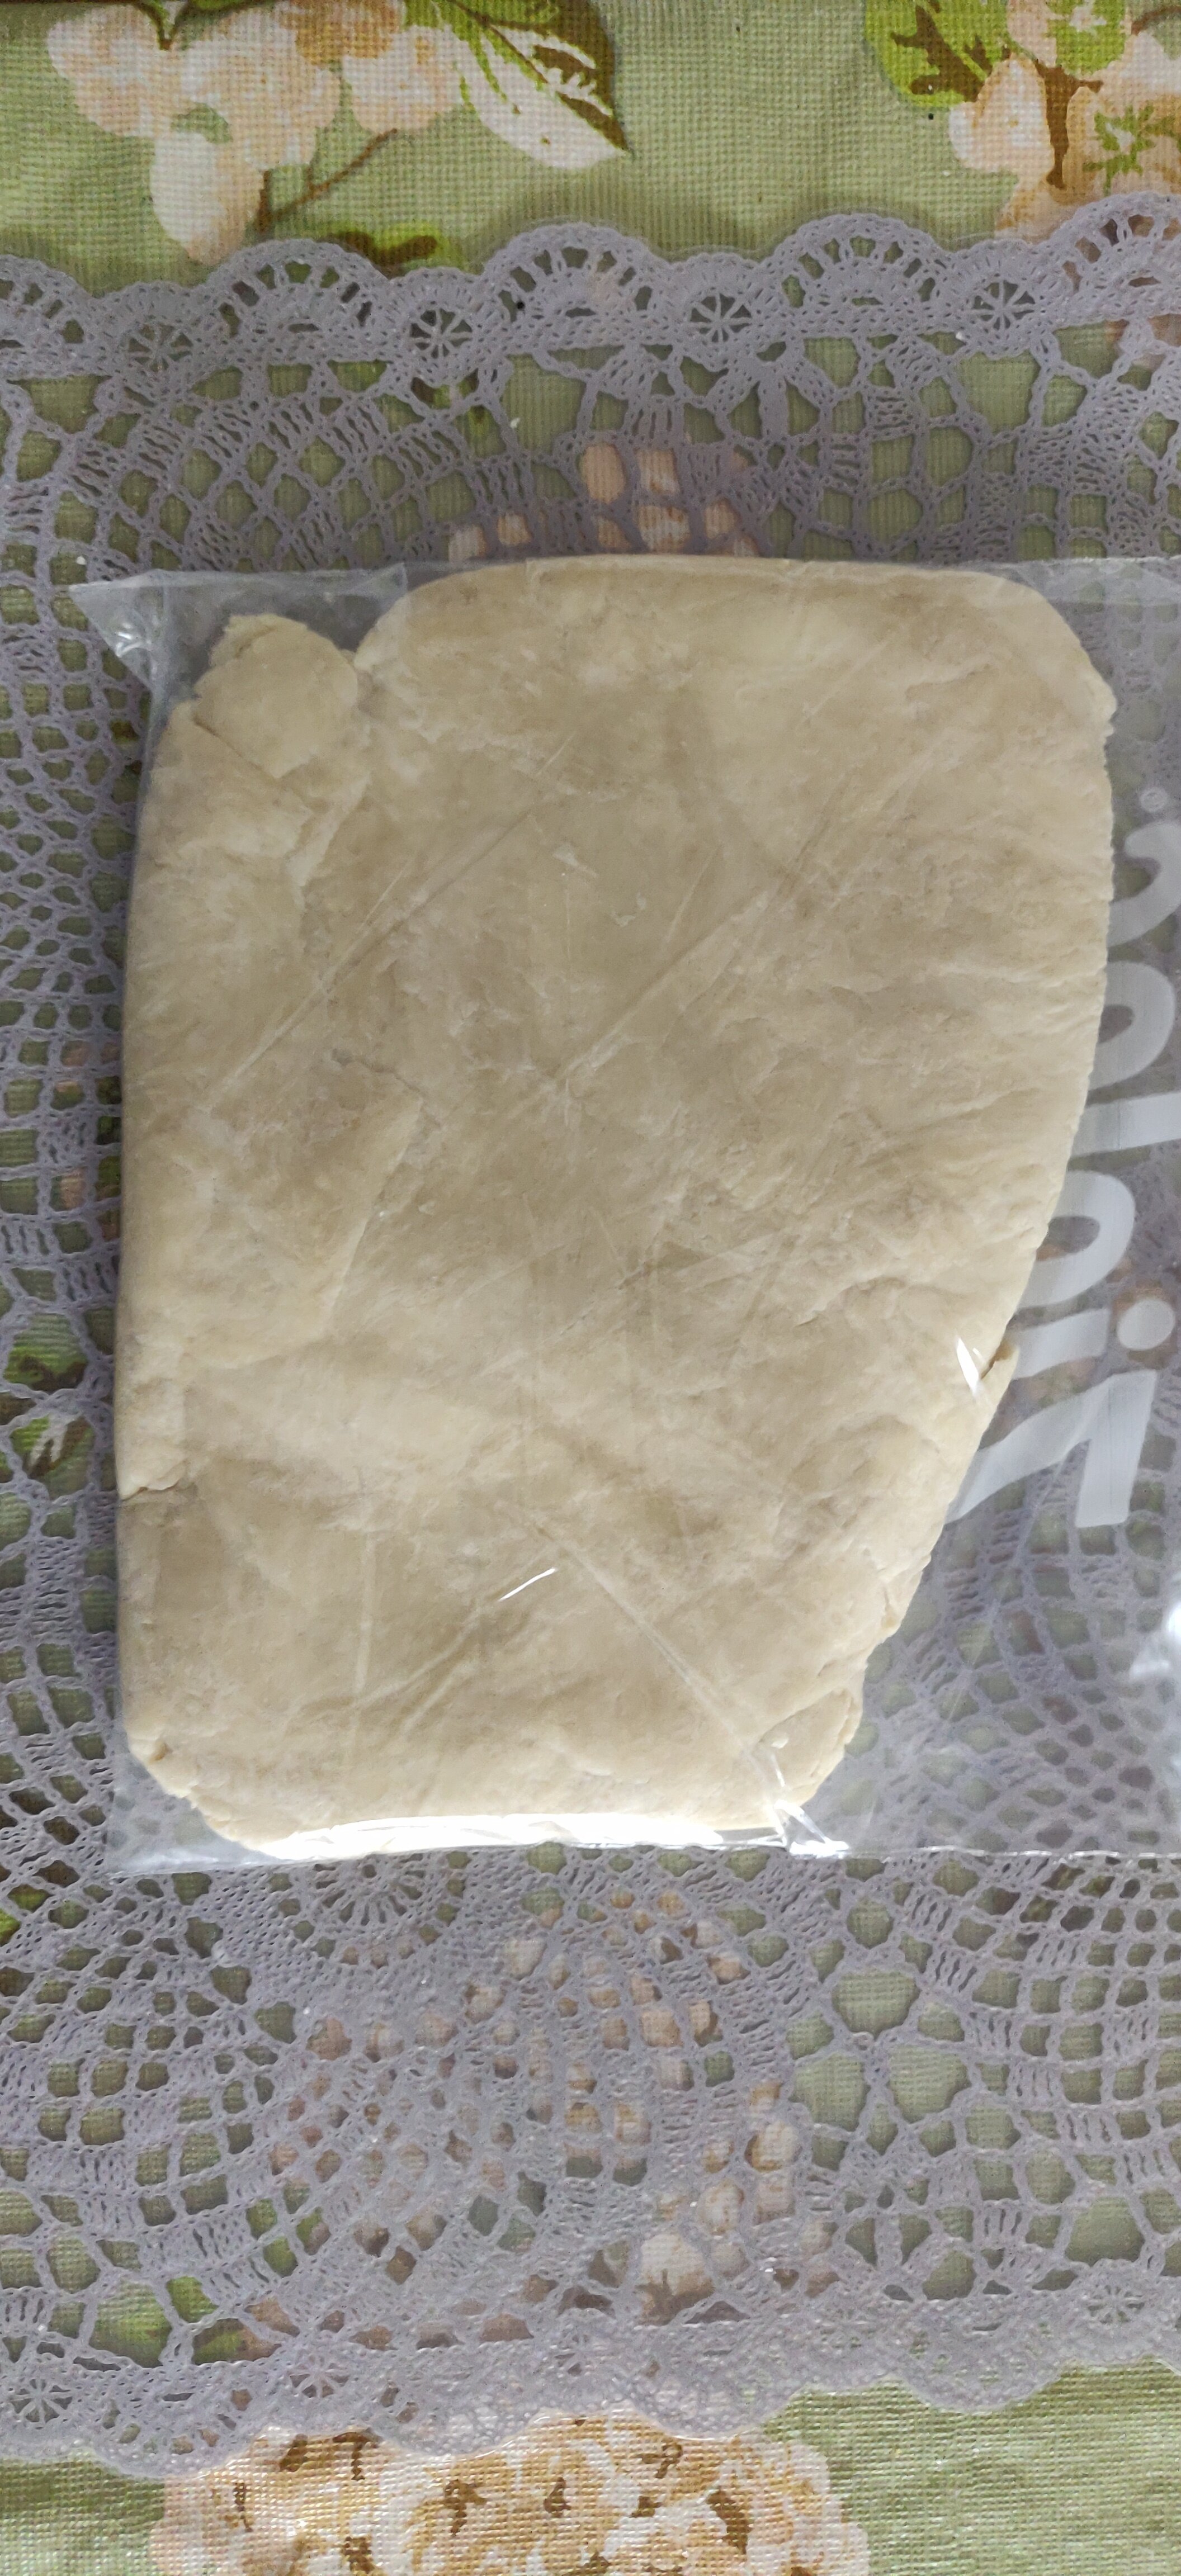
After measuring out your ingredients, dissolve the salt and kansui in the water. Mix thoroughly and make sure they have both fully incorporated in to the water. It’ll help if you warm up the water a bit, but just a tad. Once you have the water prepared, sprinkle in the water a bit at a time and mix the flour in a circular motion. If you do this properly, your dough will look like the fourth photo above by the time all of your water is added. It’ll look like little grains of dough and that is when you ball it up together and form it in to one cohesive shape. Once you ball it together, throw it in a ziplock bag and start flattening it out. I use my feet for this and just start stepping on the dough, but feel free to flatten it with your hands and rolling pin if it’s easier. If you have a stand mixer, go ahead and use it, mimicking the steps I just described. Once you get it smooth, get out your handy pasta maker to begin the kneading process.

Ramen noodles aren’t like regular pasta where you keep kneading to form these long strands of gluten. Ramen noodles form the gluten through stacking and rolling the dough together as pictured below. I do this until the noodles look fully incorporated and completely flat. As you can see from the photo, my noodles still look a bit rigid and uneven while putting them through the pasta machine, but this is what it’ll look like in the beginning. Keep feeding your dough through the machine folding in half each time and thinning the dough out on the noodle maker as your dough become more malleable. If you used a stand mixer when making your dough, this is gonna take a lot less time, but keep at it. In the end, your dough will look like a freshly ironed shirt. I typically use the noodle cutter function on the past maker with the thicker cutter for this Jiro style noodles. The thinner cutter is perfect for regular ramen noodles as well so I do highly recommend buying one. The one I have is this one here. If you plan on making more ramen in the future, or even just making your own pasta noodles, it’s a handy kitchen tool to have.
Toppings/Set UP

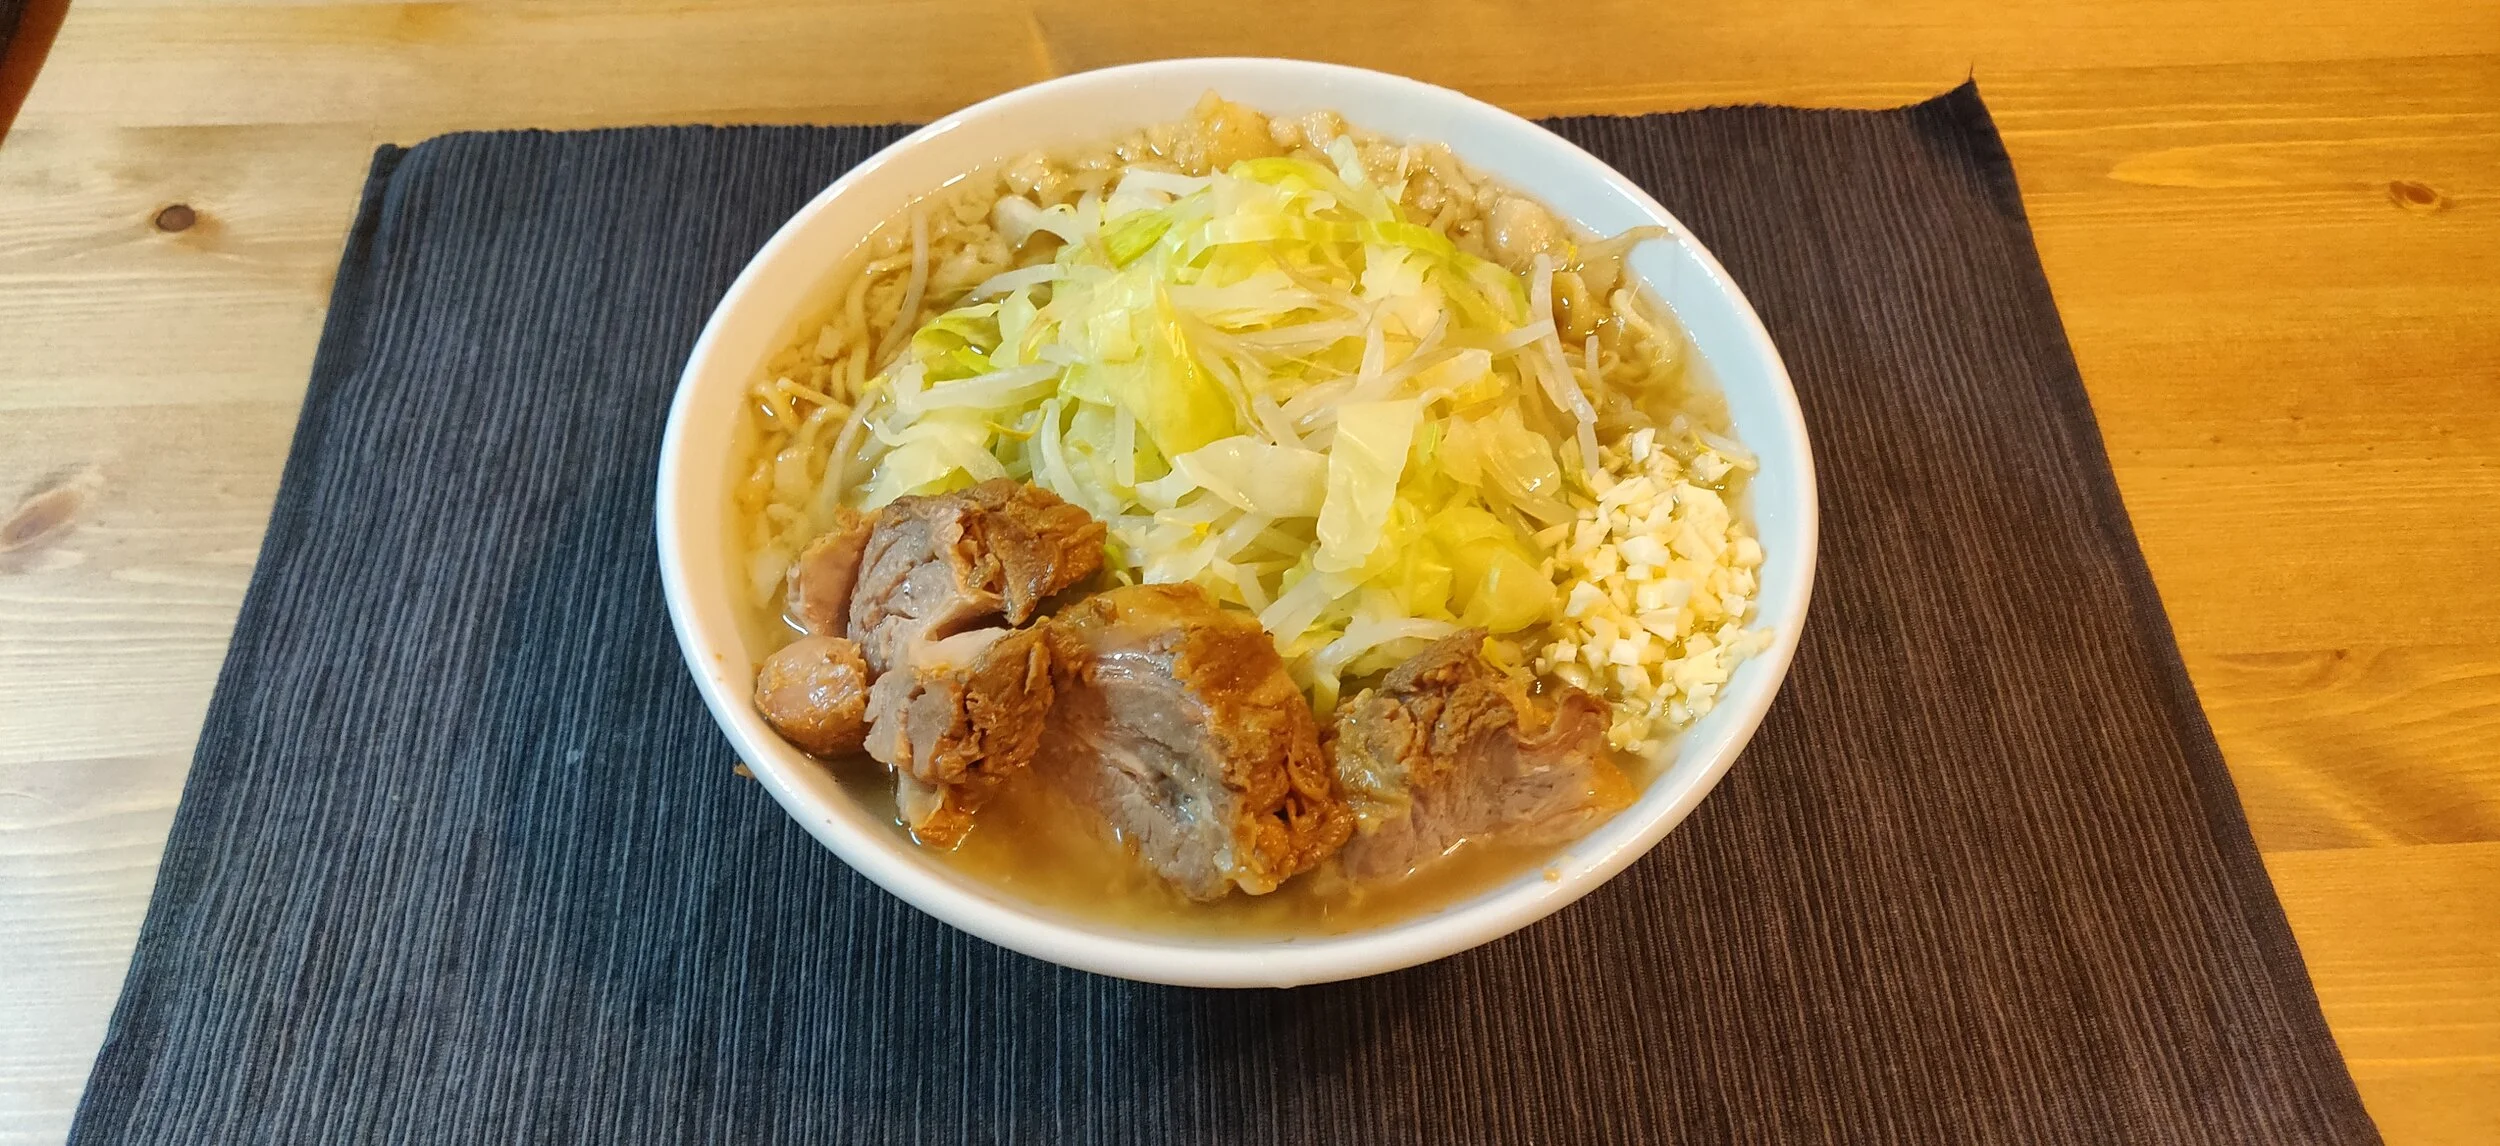
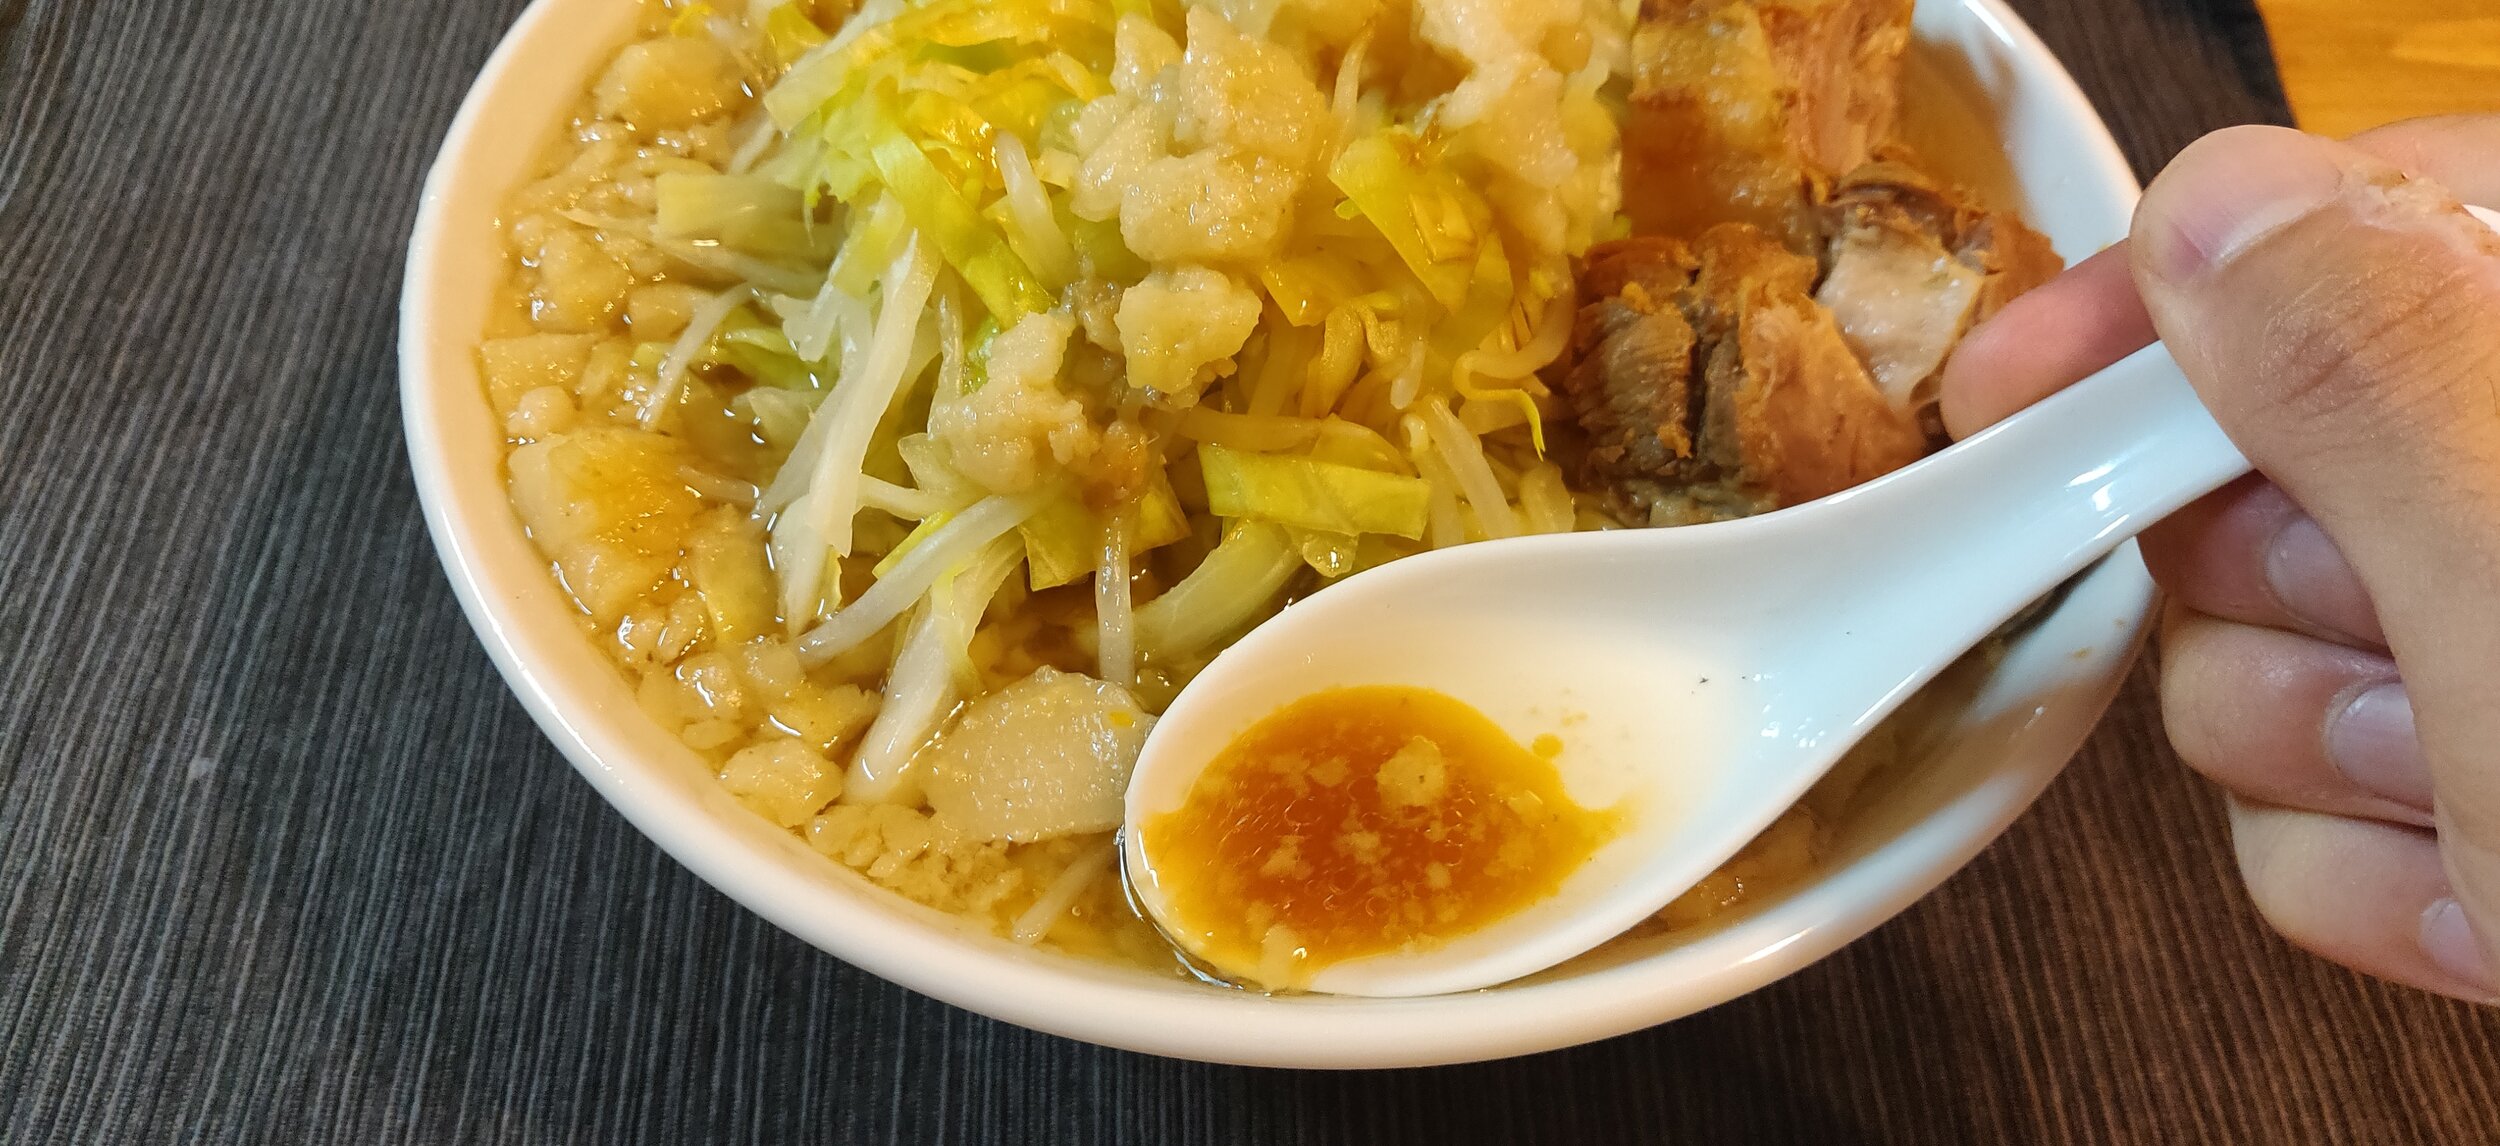
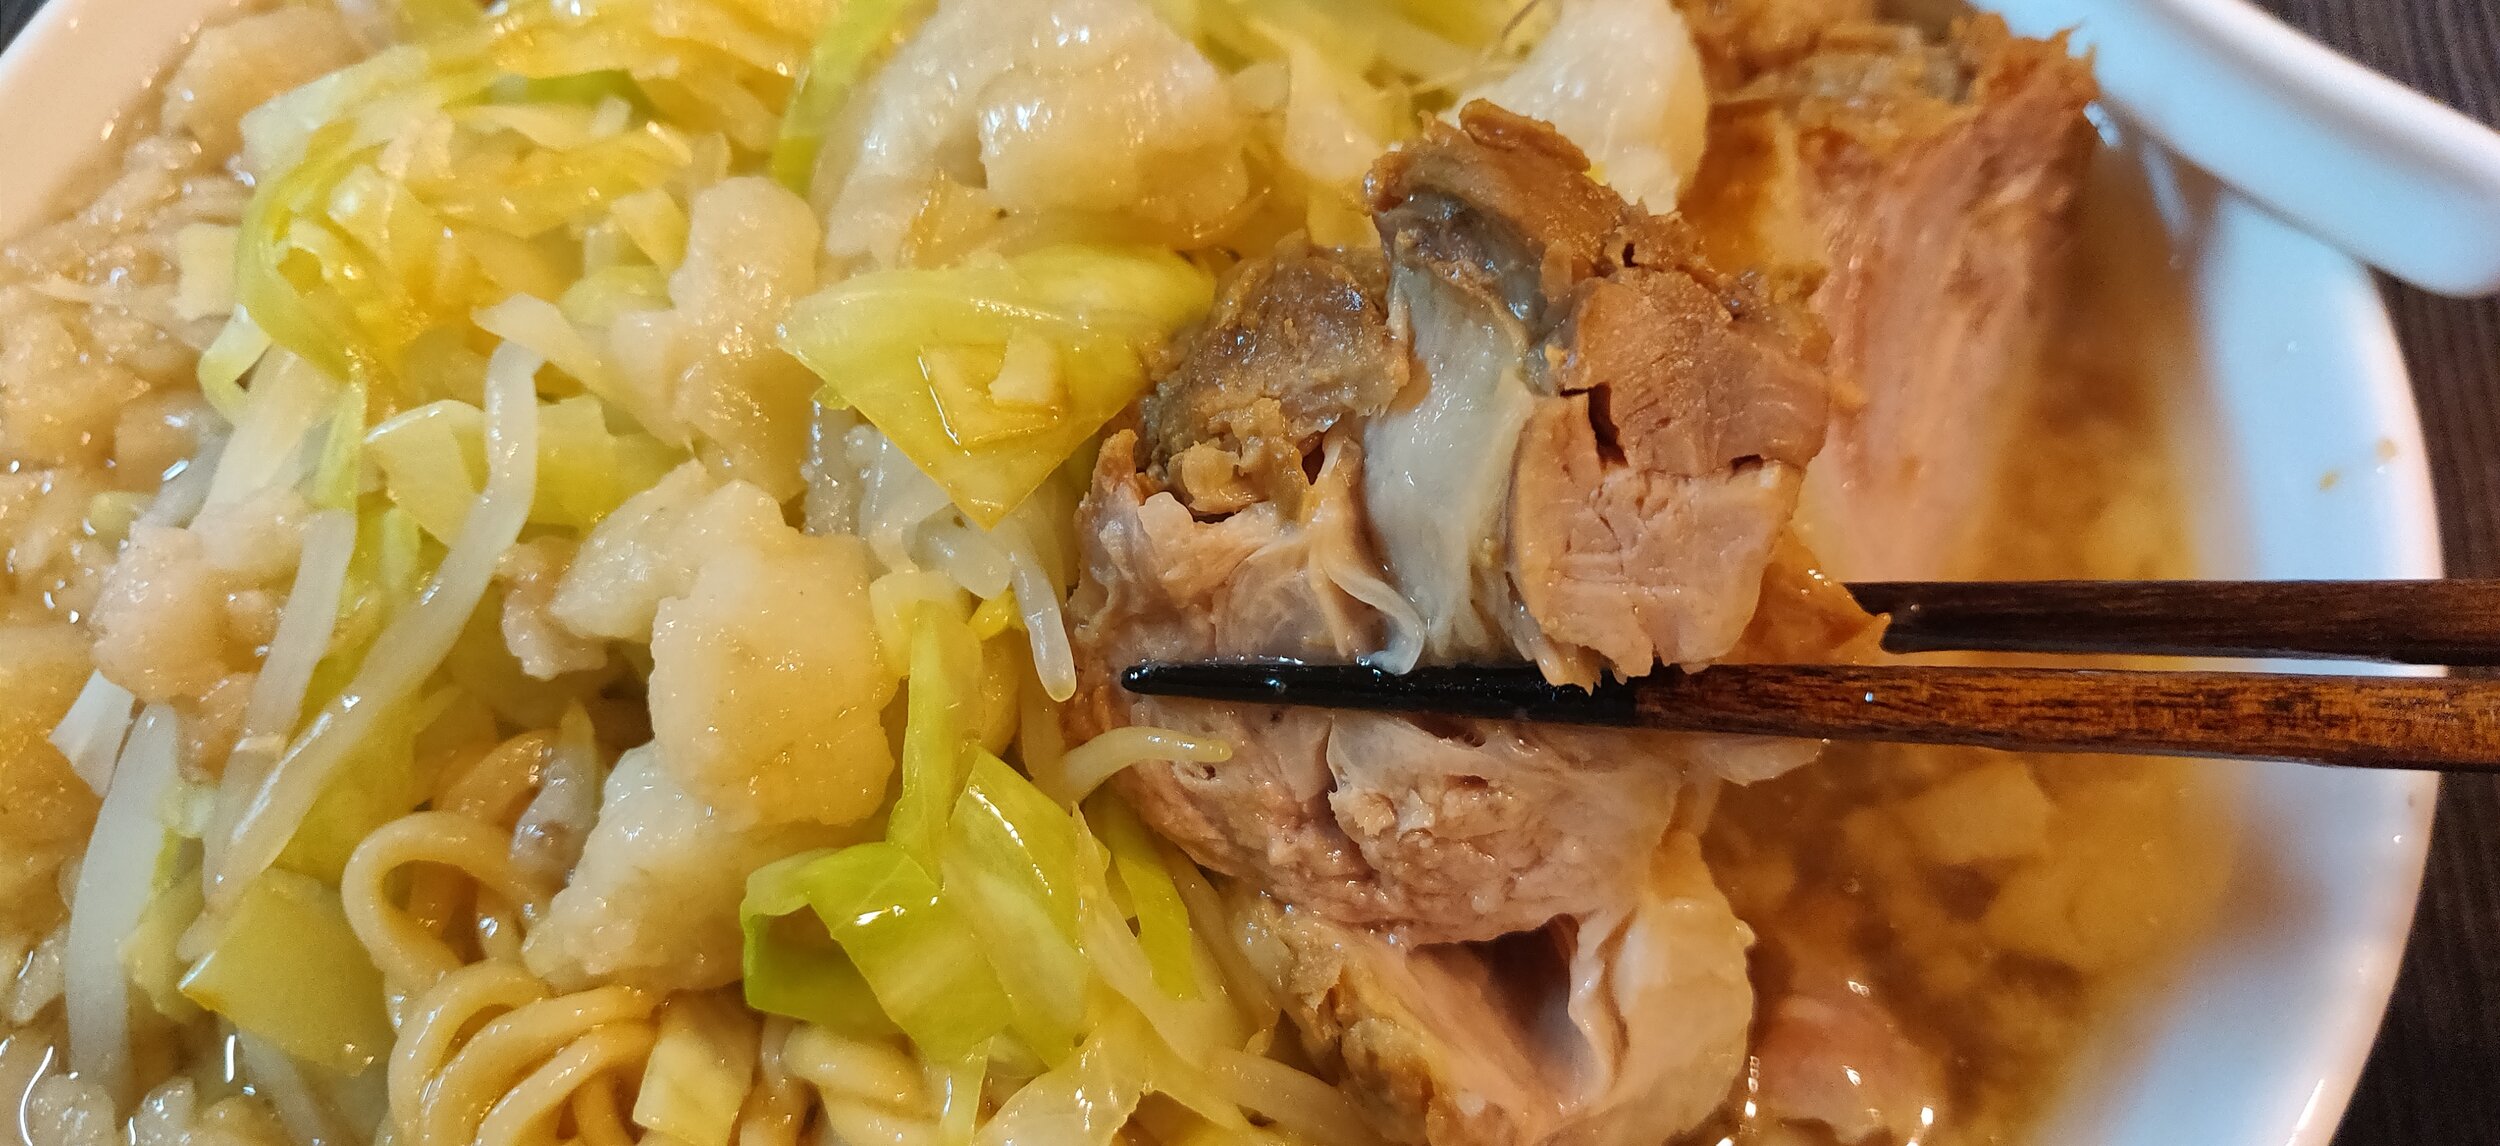
So for the toppings, you want to roughly cut up some cabbage and boil them along with some bean sprouts. Some stores boil them until they become quite soft, while others just blanch it to keep the crunchy texture. Decision is up to you, but I tend to blanch it to give the bowl a nice texture variety. Jiro also includes a nice spoonful of garlic, but feel free to chop up as much as you want to add. I went and chopped up about 6 pieces of garlic for two bowls as I love the spicy kick of raw garlic in Jiro. For the pork char siu, I cut them up in to thick slices so I can have a nice big bite with my ramen. For the soup, I added in about 350 ml of broth and 50 ml of the tare. You can always add more tare later, and I typically pour some above my veggies at the end, so I don’t overdo it in the beginning. Add in your noodles once you get the soup made and top as you’d like. The best part of Jiro is that you can customize it exactly how you want it. There’s no rigid requirements so go nuts. If you want more tare for a saltier soup, go for it. Want more veggies to make it seem like it’s healthy? Do it (guilty of this one, even though, since there’s so much back fat in the soup, it doesn’t make that much of a difference). The bowl is your blank canvas, feel free to set it up as you’d like.
Anyways that’s how I prepared my bowl of homemade Ramen Jiro. Again, this is not a structured recipe, but more of a general blueprint on how to make Jiro, so feel free to add some of your personality and culture in to it. Some shops offer hard boiled quail eggs, others squeeze some mayonnaise, but my personal favorite is kim chee. Don’t limit yourself to what I described in the recipe. The very reason why I loved making this bowl of Jiro is the flexibility it allowed and how much of my personal preference was reflected at the end. I love a pretty low emulsified soup so you can see a bit of the oil floating above the surface of my soup. If you want it a bit more emulsified, you can definitely do so by cranking up the heat a tad bit more when you’re making the broth. I also like mine to be on the saltier end so I added a bit more MSG in to my bowl as I ate it. Again, all up to you if you want to do exactly what I did.
Hope this little guide helped you get started in making your own bowl of Jiro. I understand it’s not for everyone as it isn’t exactly the healthiest or refined bowl of ramen, but it’s one of my favorite and something I enjoyed making at home. If you have any questions, feel free to hit me up on instagram @ramenguidejapan or ask away in the comment section below.